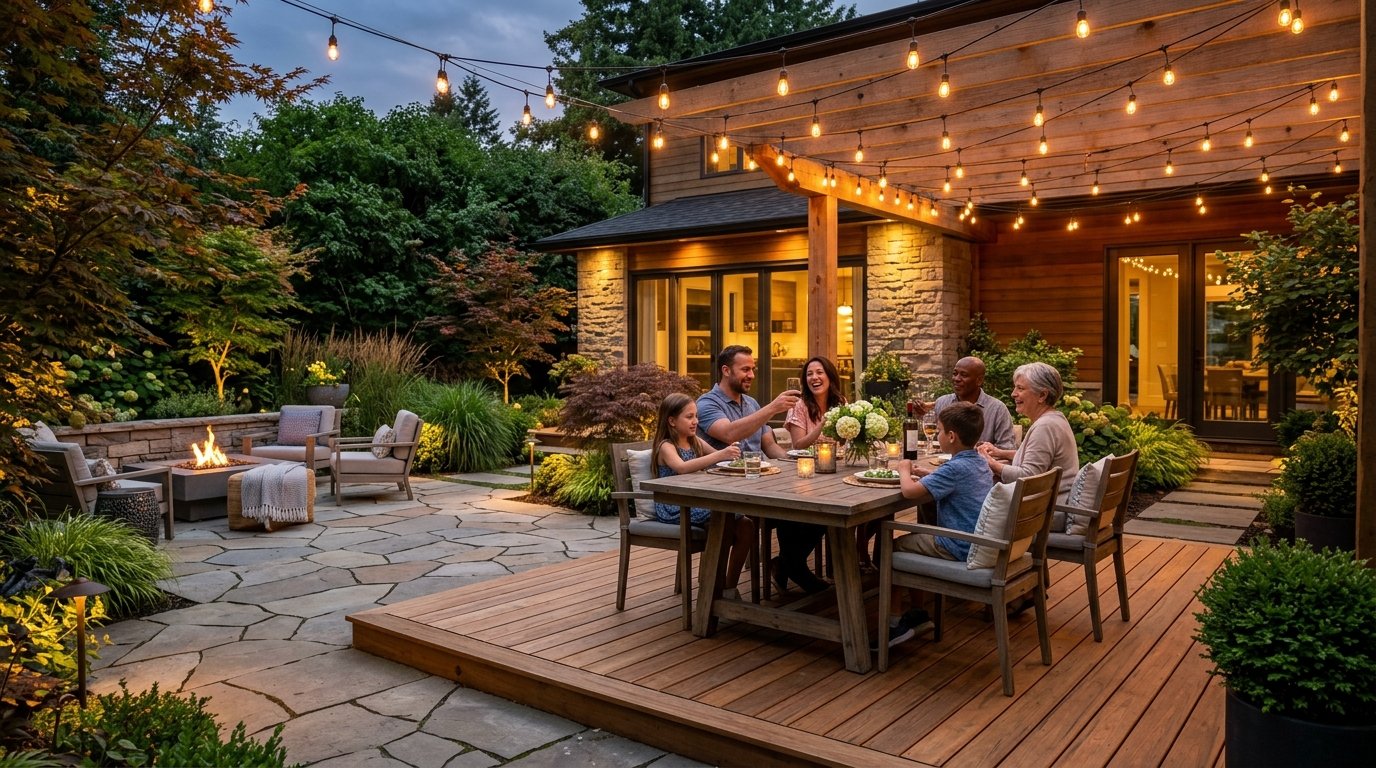
Last summer, a close friend of mine spent six thousand dollars on a stone surface that cracked before the first frost even hit the ground. Most homeowners pick materials based on a single photo without realizing how drainage or temperature swings impact long-term durability. A poor choice turns a relaxing evening into a maintenance nightmare that drains your weekend and your bank account. I have seen beautiful spaces ruined by simple material mismatches that could have been avoided with better planning. This guide provides the exact specifications you need to make a lasting investment. You will find that the right foundation changes how you use your home every single day.
Executive Summary
This guide outlines 23 specific ways to update your outdoor foundation with realistic timeframes ranging from a single afternoon to a full week of labor. You will find outcomes that prioritize drainage, slip resistance, and thermal comfort while avoiding common pitfalls like shifting sands or fading stains. We cover materials from recycled plastics to natural quarried stone, providing cost ranges from $2 to $45 per square foot. While some articles suggest expensive professional overhauls, I focus on options that provide high visual impact without requiring a second mortgage. You will see how to bypass the standard “concrete slab” mindset and adopt surfaces that breathe, drain, and last for decades.
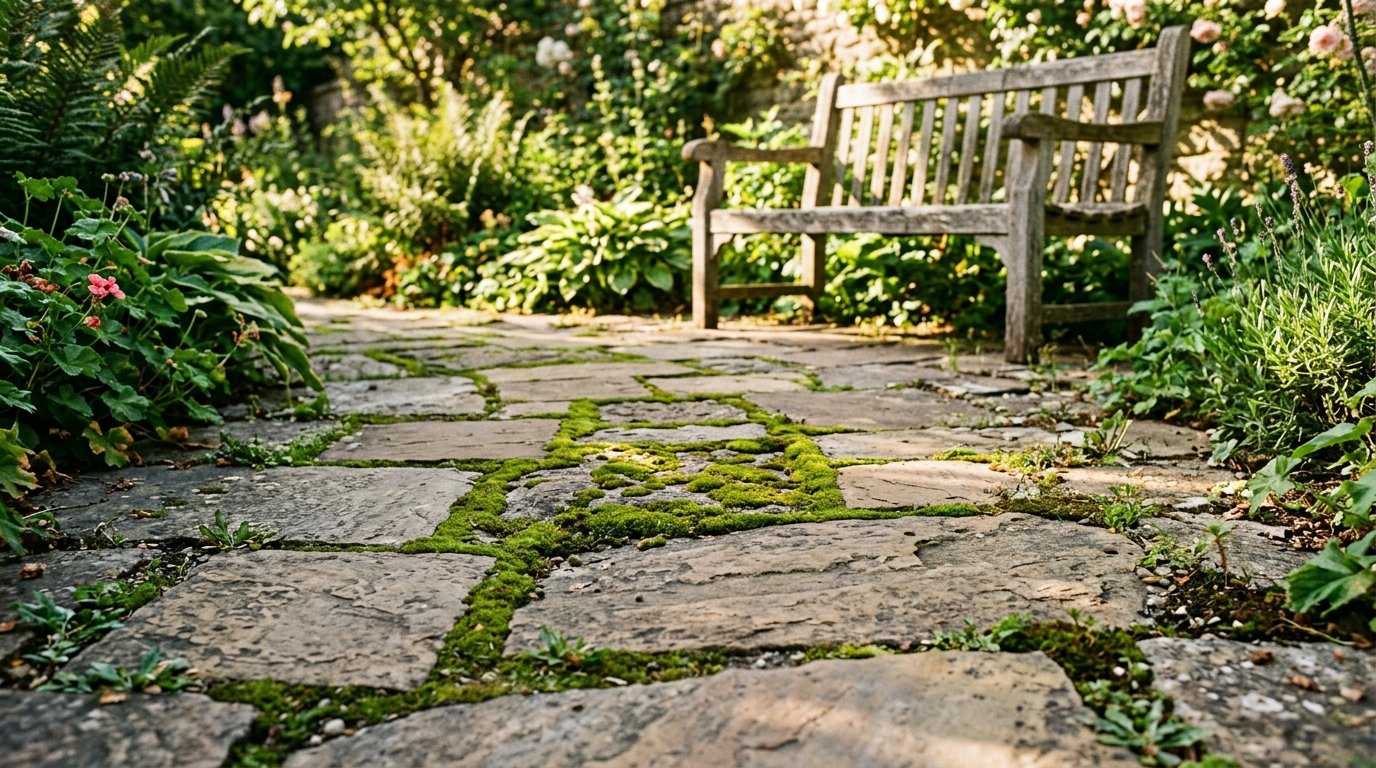
1. Natural Flagstone Pavers
Flagstone offers a rugged, organic look that fits perfectly in traditional or rustic landscapes. In my experience, using irregular shapes creates a more forgiving installation process for beginners because minor gaps look intentional. A homeowner in Ohio used Pennsylvania Blue Hole flagstone to resurface a tired side yard, spending roughly $15 per square foot. To start, clear your area and lay a four-inch base of crushed stone to prevent shifting. This material stays cool under the sun, though it requires heavy lifting during the initial setup. One common error is failing to level the sub-base, which leads to puddling and ice patches in winter.
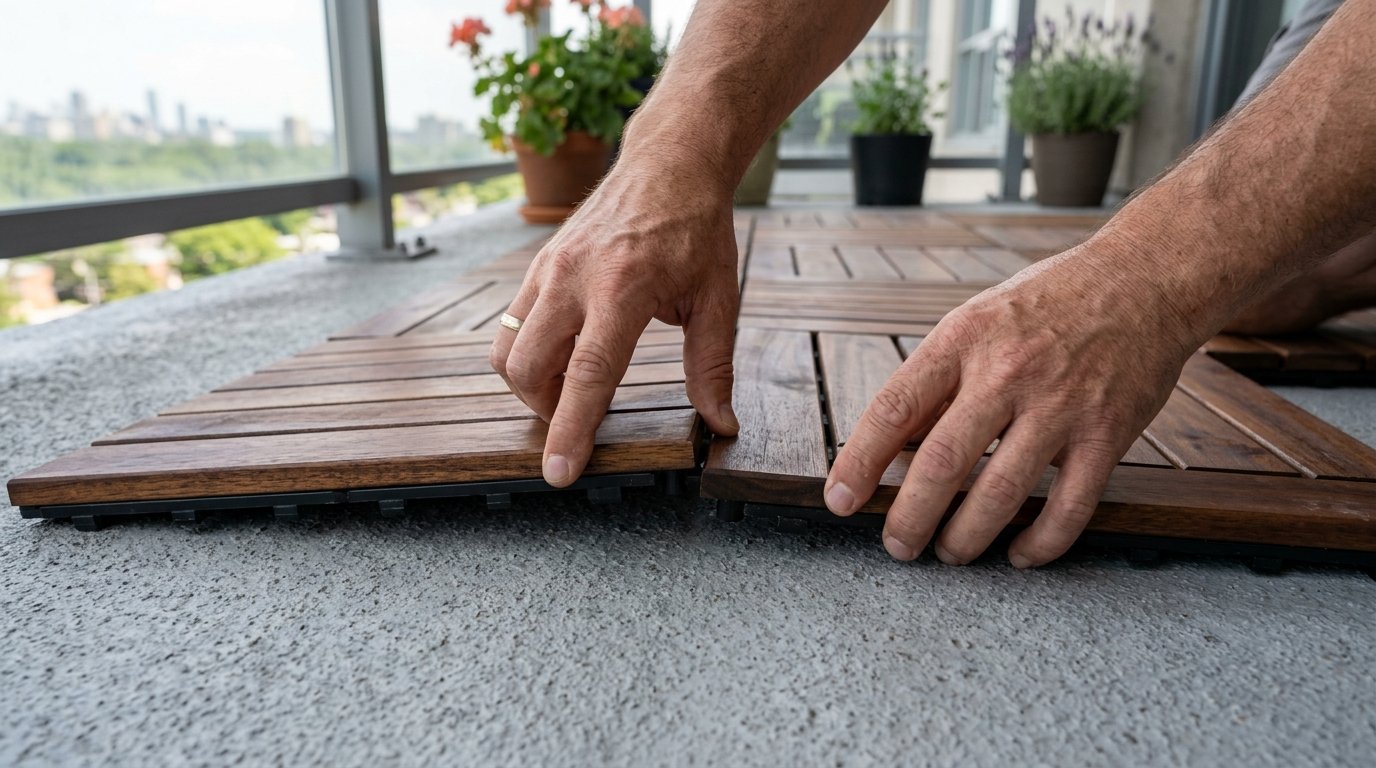
2. Interlocking Deck Tiles
These modular squares are the ultimate solution for renters or those with an existing, ugly concrete base. I recently saw a balcony renovation where the owner used acacia wood tiles to cover a stained surface in under two hours. You simply snap the plastic grid edges together to create a floating floor. These tiles typically cost $4 to $8 per square foot depending on the wood species or composite quality. Always leave a small gap at the perimeter for natural expansion. A frequent mistake is ignoring the dirt that accumulates underneath, so plan to lift and spray the area once every year.
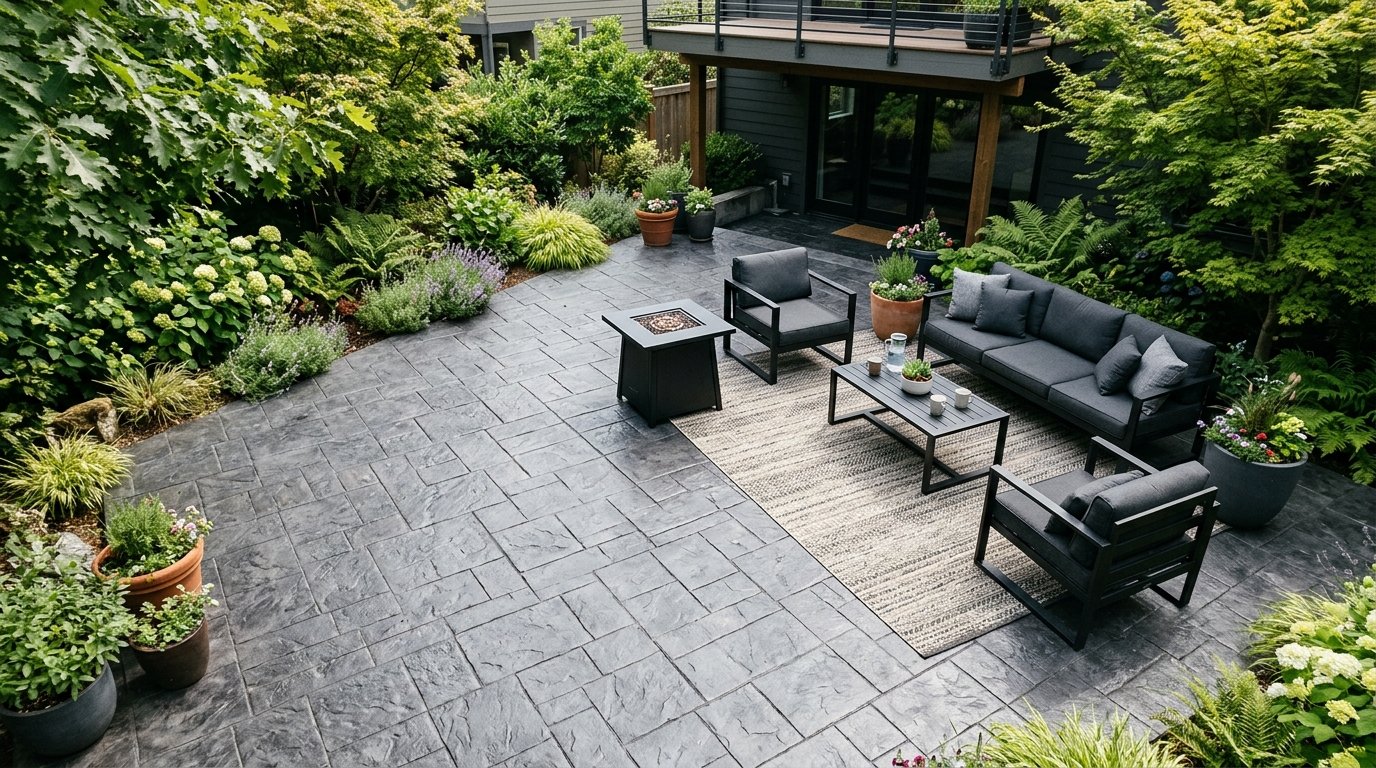
3. Stamped Concrete Textures
Stamped surfaces mimic the look of expensive stone while maintaining the structural integrity of a solid pour. I have noticed that ashlar slate patterns provide the most realistic finish for high-traffic areas. A local project used a charcoal release agent to add depth to a new 20-by-20 extension, costing about $12 per square foot. You must hire a crew with experience in timing the stamps, as concrete waits for no one once it starts to set. The cost is higher than plain pouring but significantly lower than individual masonry. Many people forget to reseal these every three years, which leads to color fading.
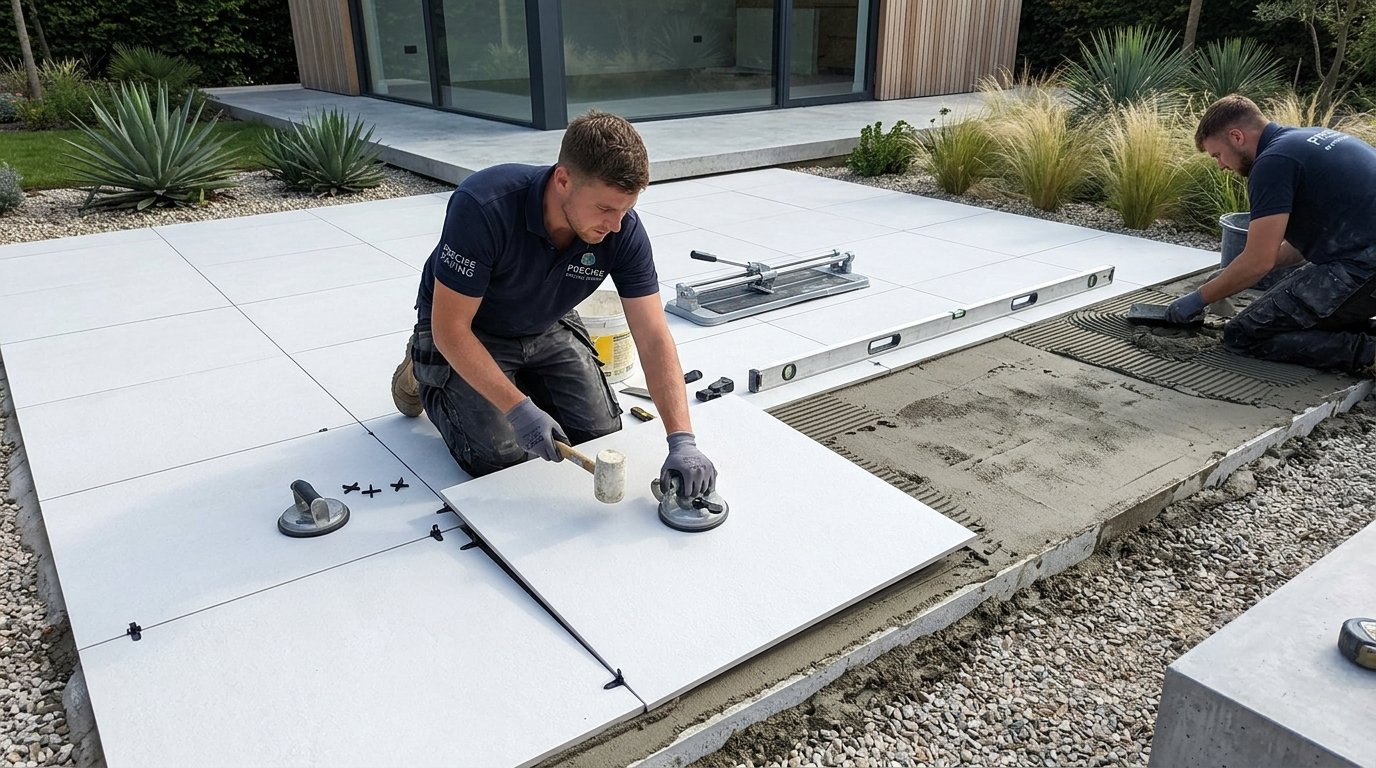
4. Porcelain Outdoor Tiles
Modern porcelain is engineered to be much denser and thicker than indoor versions, making it frost-proof and nearly impossible to stain. I once worked on a project where we used 2CM thick porcelain slabs that looked like white oak. The installation requires a level concrete pad and high-quality thinset rated for exterior use. Expect to pay $10 to $20 per square foot for the material alone. The cleaning process is as simple as a garden hose and a mild soap. A common oversight is using a grout that isn’t rated for heavy moisture, causing it to crumble after one season.
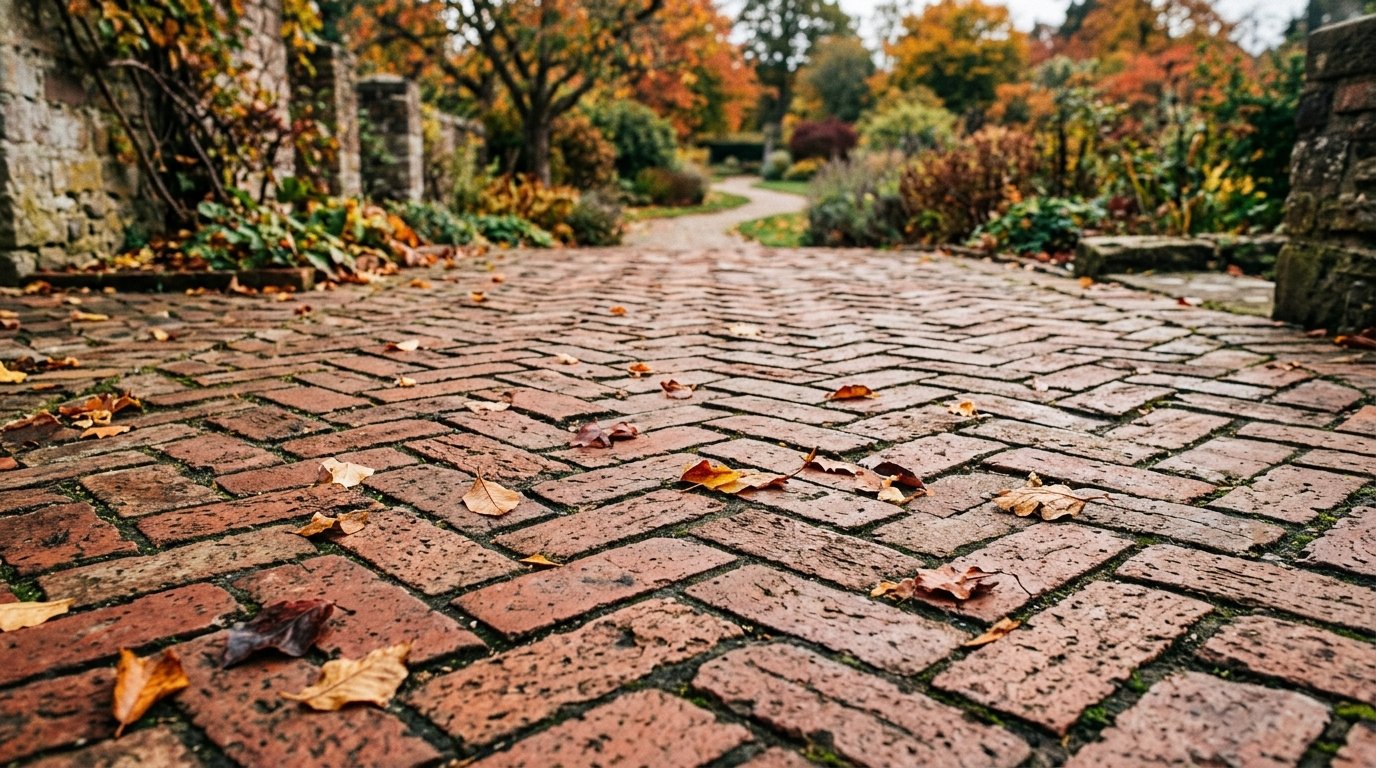
5. Reclaimed Brick Herringbone
Using old bricks provides an instant sense of history and warmth to a garden. I once salvaged bricks from a local demolition site and used them to create a small bistro nook for almost zero material cost. Laying them in a herringbone pattern provides the best structural interlocking, preventing the bricks from tipping. The labor is intensive, taking roughly twenty hours for a medium space. You must ensure the bricks are “severe weather” rated if you live in a cold climate. Many beginners use interior bricks, which will flake and turn to dust after a few freeze-thaw cycles.
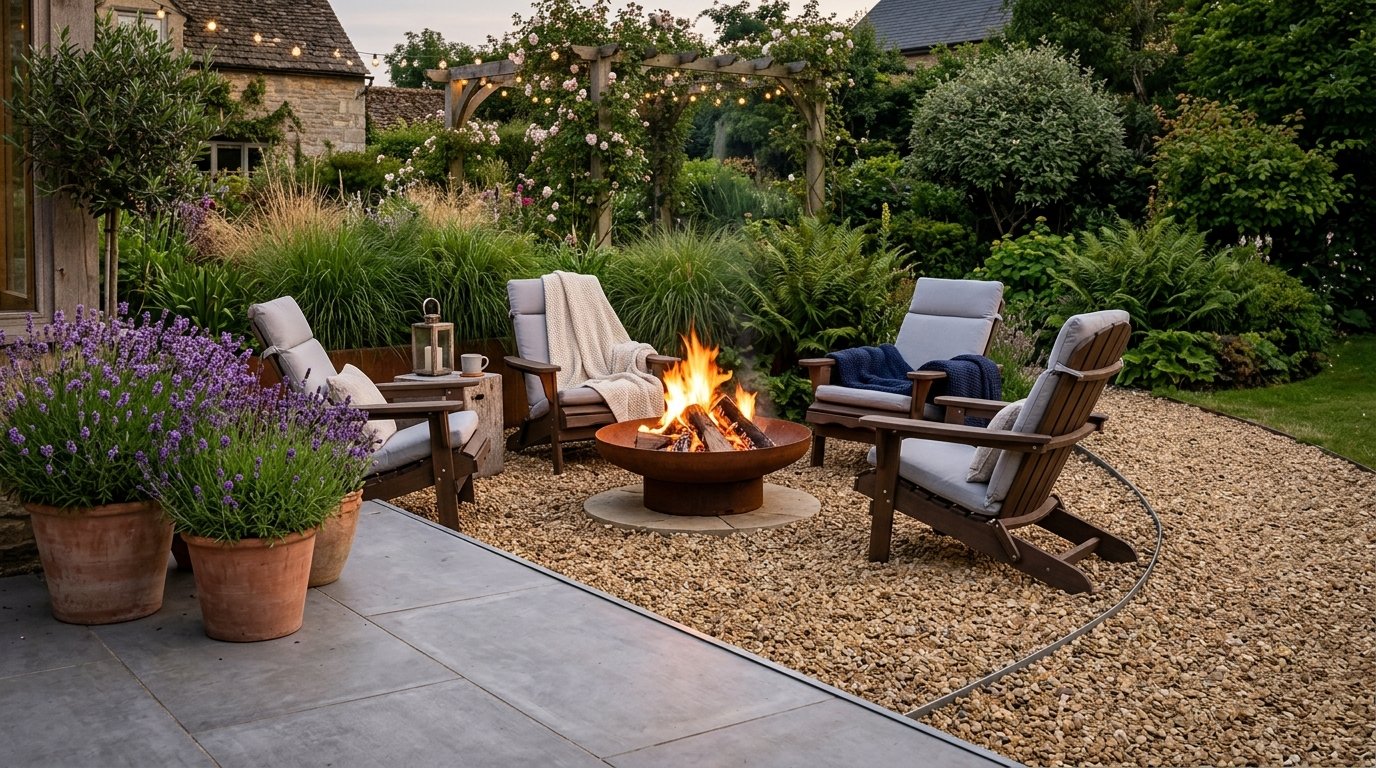
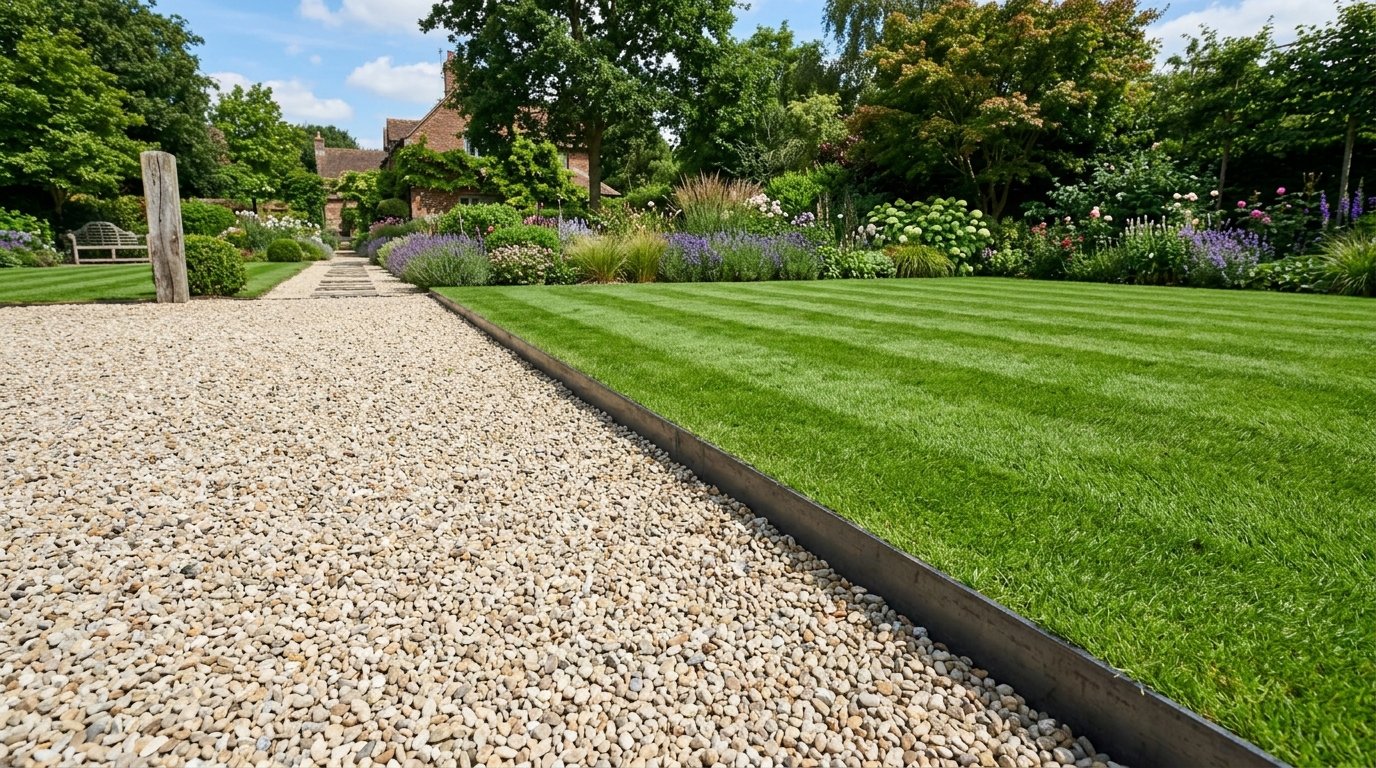
6. Pea Gravel Surfaces
Gravel is the most budget-friendly way to cover a large area quickly. I found that using a 3/8-inch pea stone provides a comfortable walking surface that doesn’t feel too sharp on bare feet. One family in Georgia covered a 400-square-foot area for less than $300 by buying in bulk from a local quarry. You must install a heavy-duty weed barrier and a solid edging material like steel or pressure-treated wood to keep the stones contained. It drains water instantly, making it great for wet climates. The downside is that furniture can feel wobbly if the gravel layer is deeper than two inches.
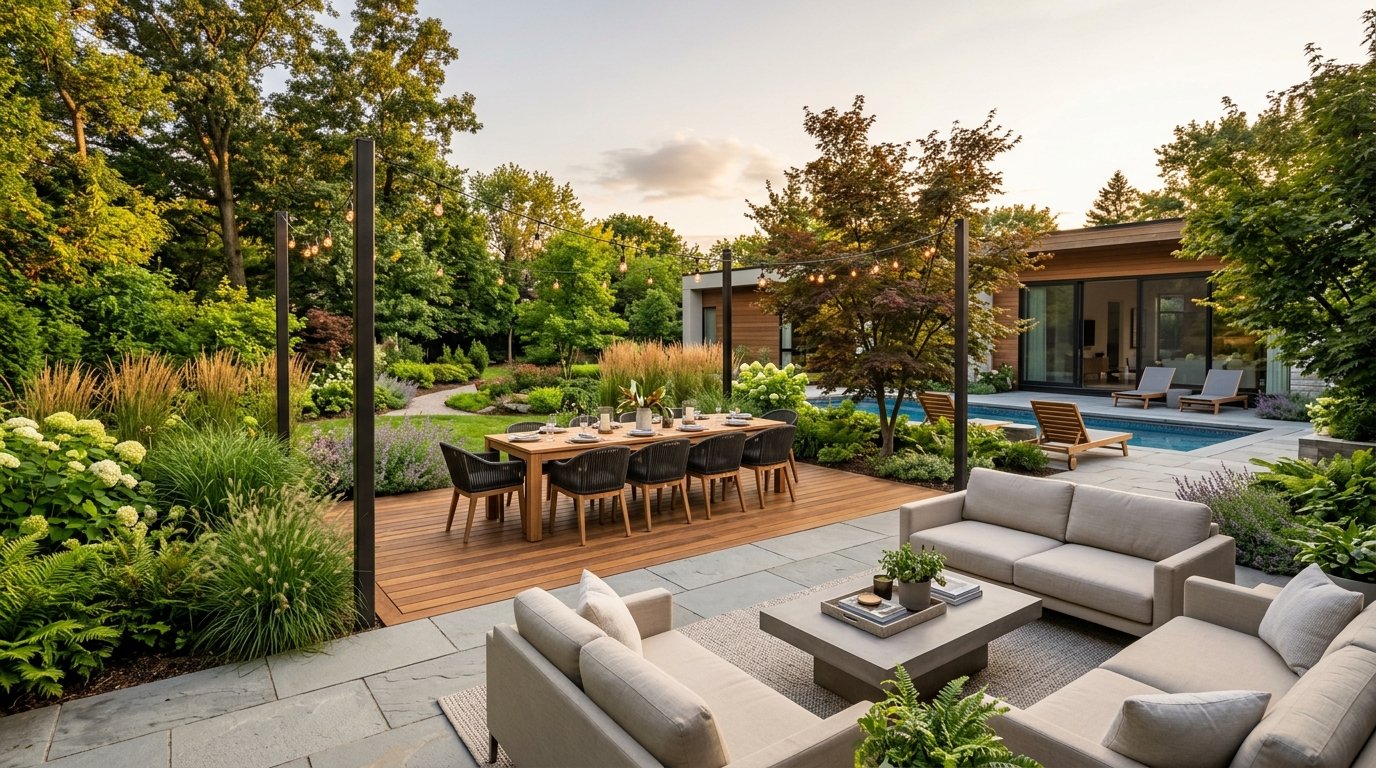
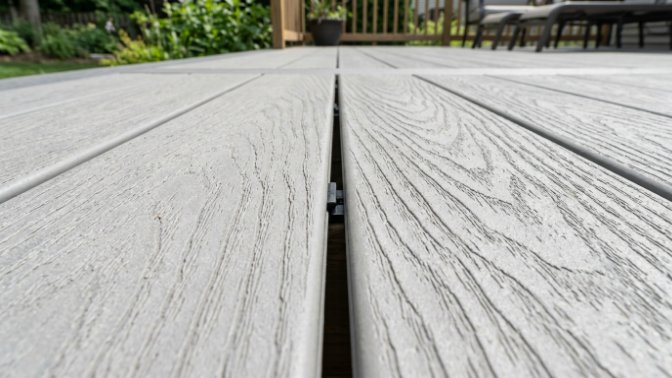
7. Composite Decking Planks
Composite materials offer the look of wood without the sanding, staining, or splintering. I have seen Trex or Azek products last twenty years while still looking fresh. The initial cost is high, often $30 to $45 per square foot including the substructure, but the maintenance savings are massive. You should use hidden fasteners for a clean, professional finish that prevents trips. It takes about three days to frame and plank a standard size. Some brands can get very hot in direct sunlight, so I suggest picking lighter colors if your yard lacks shade.
8. Slate Stone Slabs
Slate provides a sophisticated, dark aesthetic with a naturally cleft surface that is slip-resistant. I observed a mountain cabin project where local slate was used to blend the house into the rocky hillside. It costs about $10 per square foot and requires a mortar bed for a permanent installation. The deep grays and greens stay vibrant even when wet. It is important to realize that slate can sometimes “spall” or peel in thin layers over time. Avoid using power washers on high settings, as the pressure can force those layers apart prematurely.
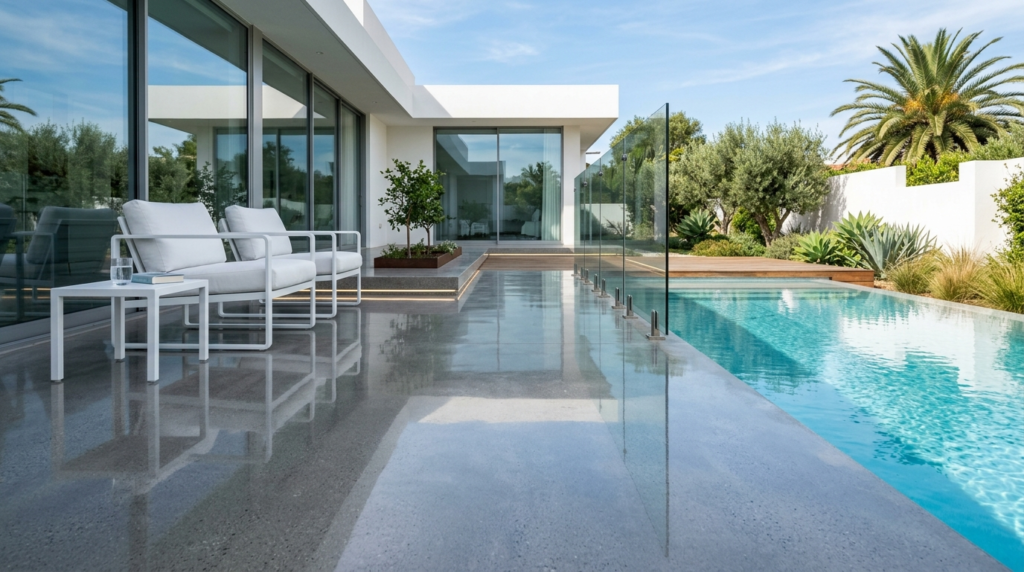
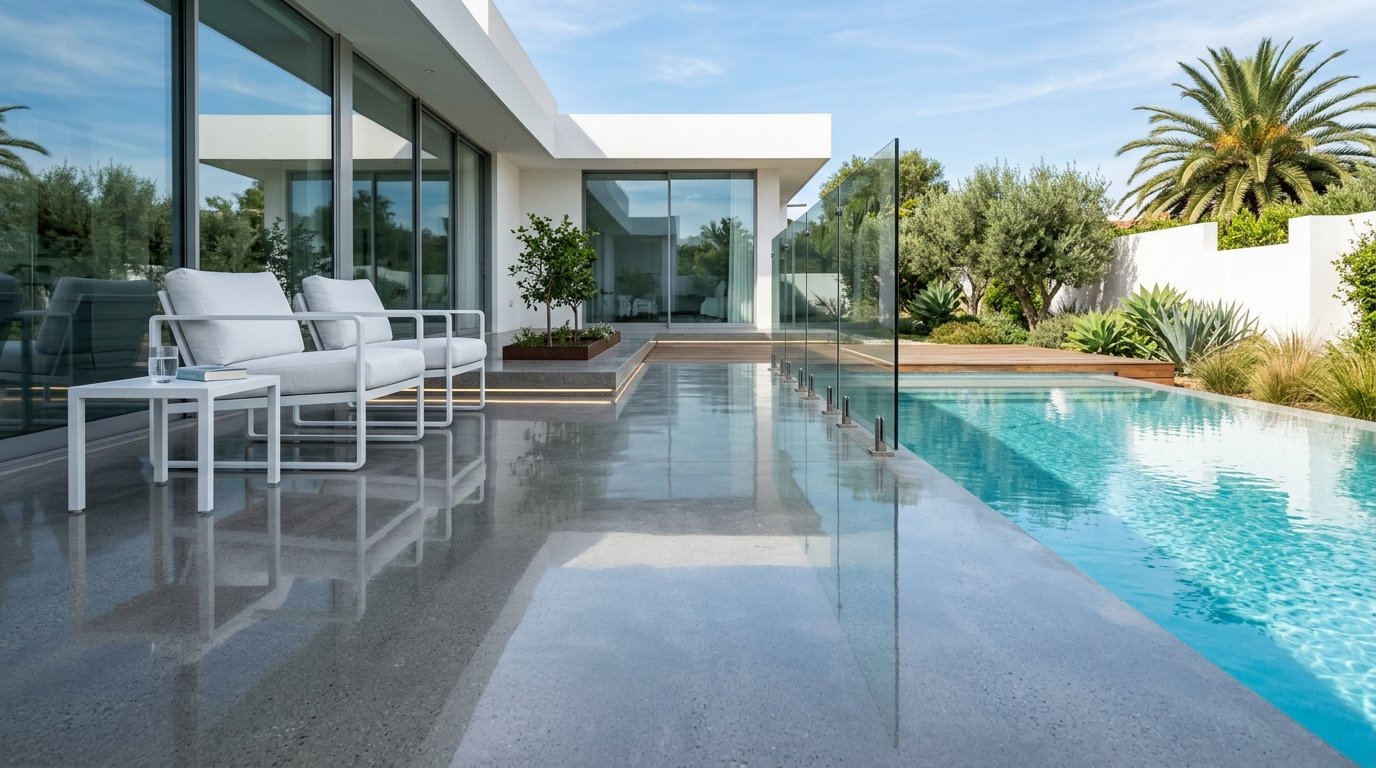
9. Polished Concrete Finish
For a modern, industrial look, a polished finish on a standard slab is unmatched. I recently helped a friend grind down an old garage floor to reveal the aggregate underneath, creating a terrazzo-like effect. You will need to rent a heavy-duty floor grinder, which costs about $150 per day. The result is a smooth, easy-to-clean surface that reflects light beautifully. It is crucial to apply a non-slip additive to the final sealer. Without it, the floor becomes a skating rink the moment a few drops of rain hit the surface.
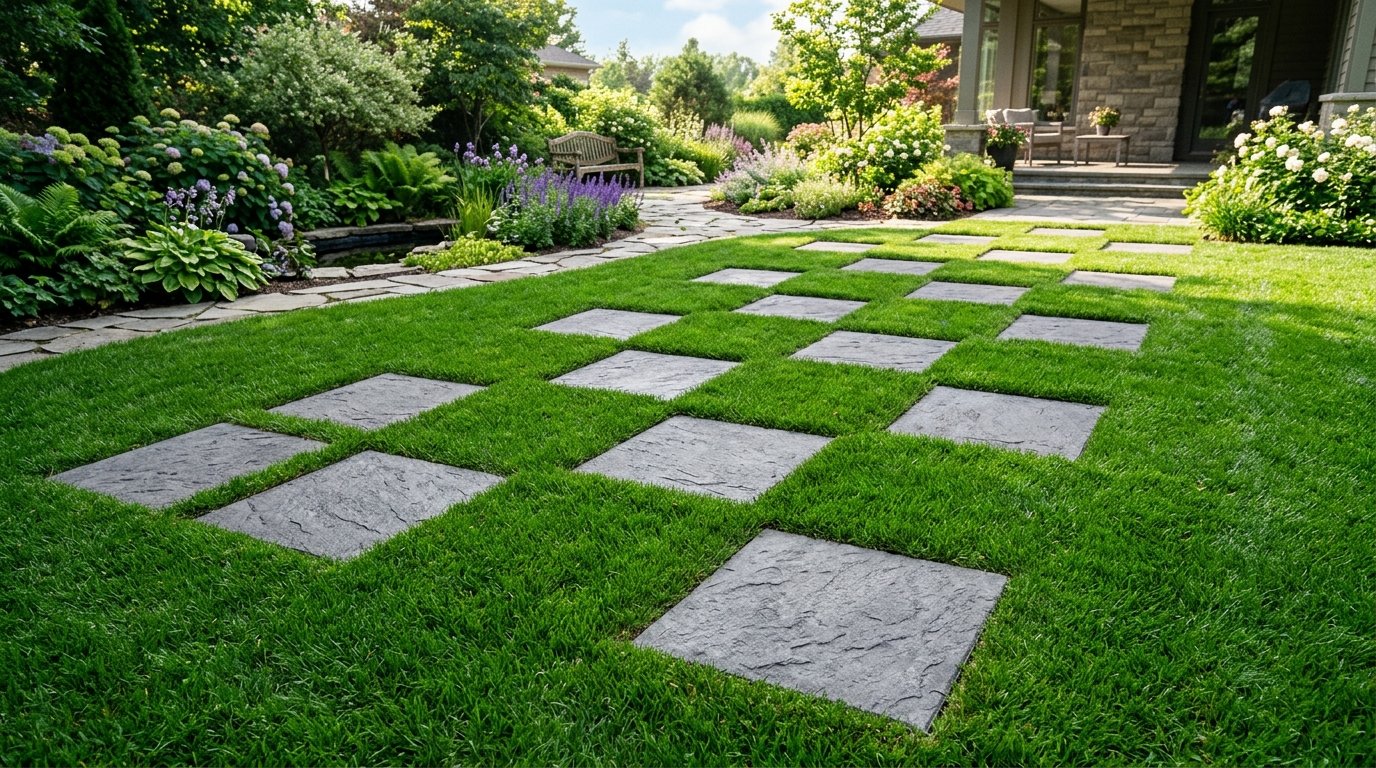
10. Grass Jointed Pavers
This method involves placing large concrete or stone pavers with wide gaps filled with living grass or moss. It is a fantastic way to reduce runoff and keep the ground cool. In my experience, a 4-inch gap provides enough room for roots to thrive without being a tripping hazard. You spend more on the individual stones, roughly $20 each, but save on the volume of base material needed. It requires regular watering and trimming just like a lawn. A common failure is using regular soil instead of a sand-heavy mix, which leads to compaction and dead grass.
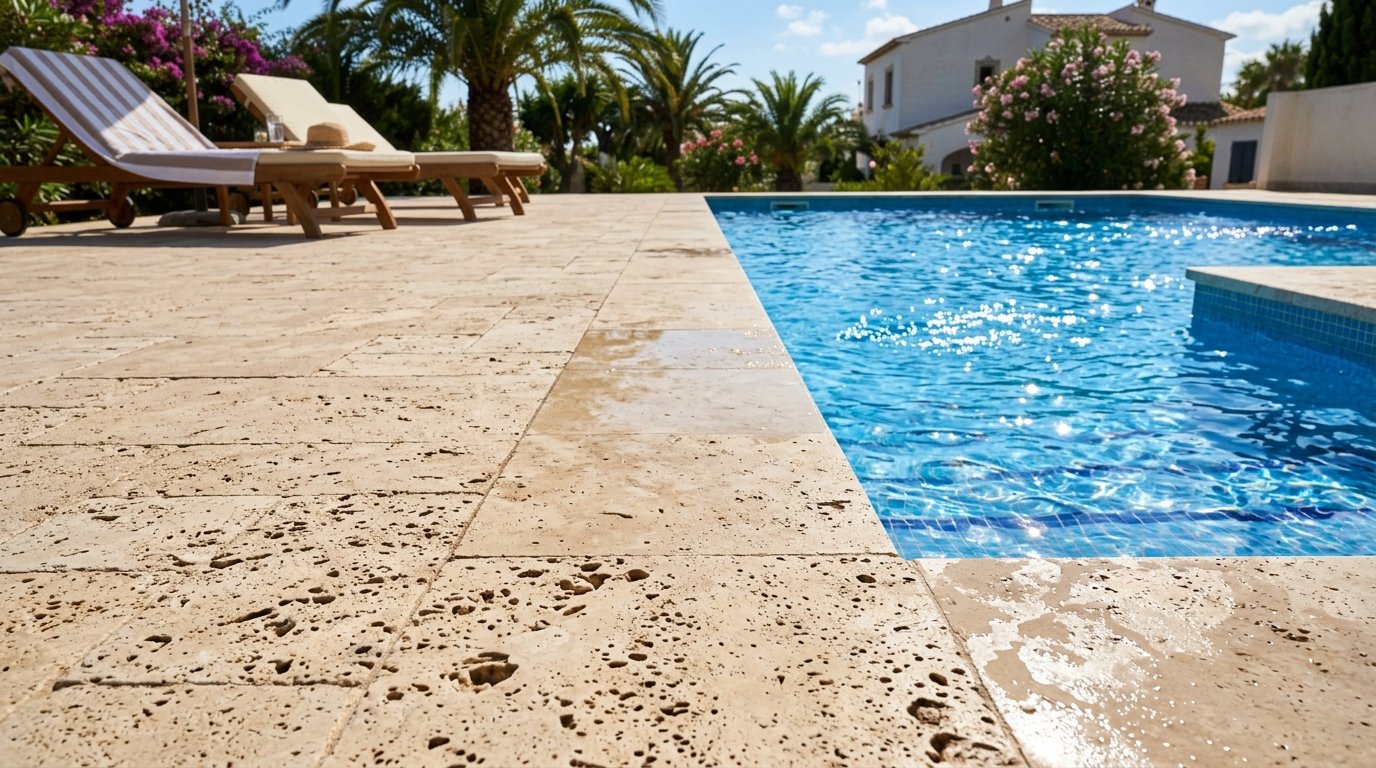
11. Travertine Stone Tile
Travertine is a luxury choice that stays remarkably cool in extreme heat. I saw this used around a pool in Arizona where the ground temperature reached 120 degrees, yet the stone remained comfortable for bare feet. It costs about $15 per square foot for premium grades. The pitted surface provides natural grip, but you can fill those holes with grout for a smoother feel. It is a soft stone, so it can be cut with a standard wet saw. Do not use acidic cleaners on travertine, as they will etch the surface and ruin the finish.
12. Cedar Wood Squares
Cedar is naturally rot-resistant and brings a wonderful scent to an outdoor seating area. I once built a series of 4×4 cedar platforms that could be moved around to change the layout of a yard. The material cost is roughly $7 per square foot. You must treat the underside with a copper-based preservative if it sits directly on soil. It takes a weekend to build a set of four. Cedar will naturally turn a silvery gray over time if not oiled. Many people skip the stainless steel screws, leading to black streaks around every fastener within a year.
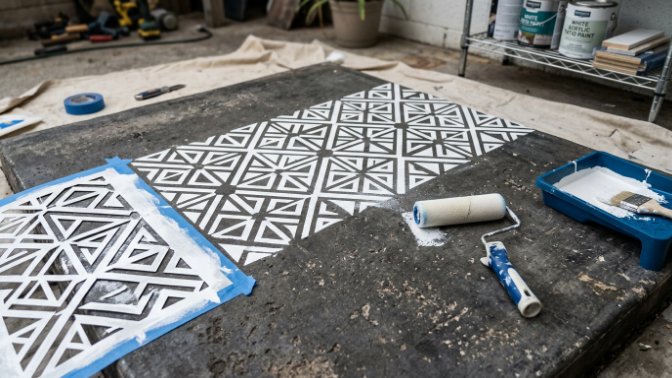
13. Painted Stencil Concrete
If your budget is zero, a stencil and a can of concrete paint can do wonders. I have seen homeowners turn a gray slab into a Moroccan-tiled masterpiece using just two colors of exterior porch paint. The cost is under $100 for the entire project. You must power wash and etch the concrete first to ensure the paint bonds properly. This is a one-day project that yields high visual impact. The paint will eventually wear down in high-traffic spots. A common mistake is using regular spray paint instead of specialized masonry coatings that can breathe.
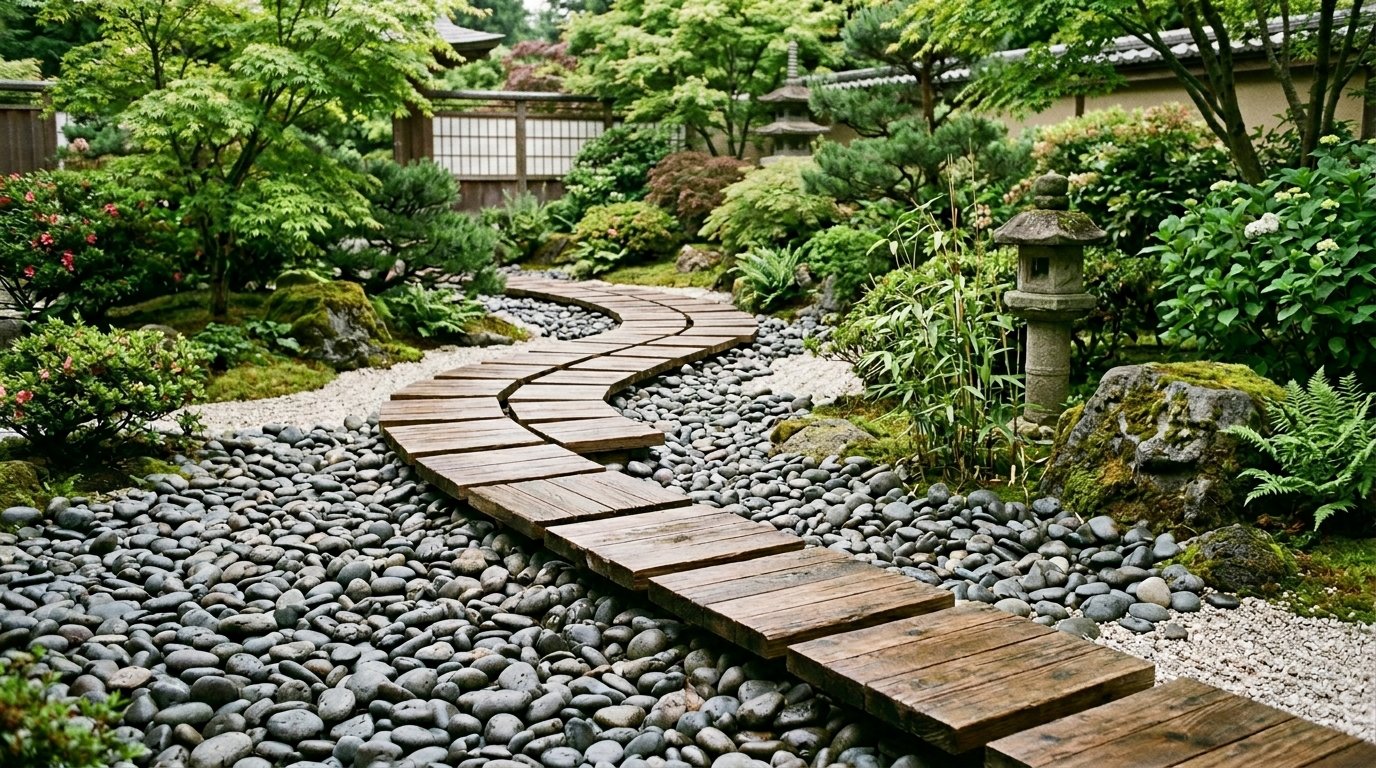
14. Crushed Limestone Path
Limestone screenings pack down into a surface almost as hard as concrete but with a softer, natural look. I found that using “3/4-inch minus” limestone allows the smaller particles to fill the gaps between larger stones. A 50-foot path costs about $200 in materials. You should use a plate compactor to ensure the surface is stable. It is an excellent choice for a French country garden style. Be aware that the dust can track into the house on wet days. I suggest placing a large doormat or a few solid stepping stones near the entrance to catch the grit.
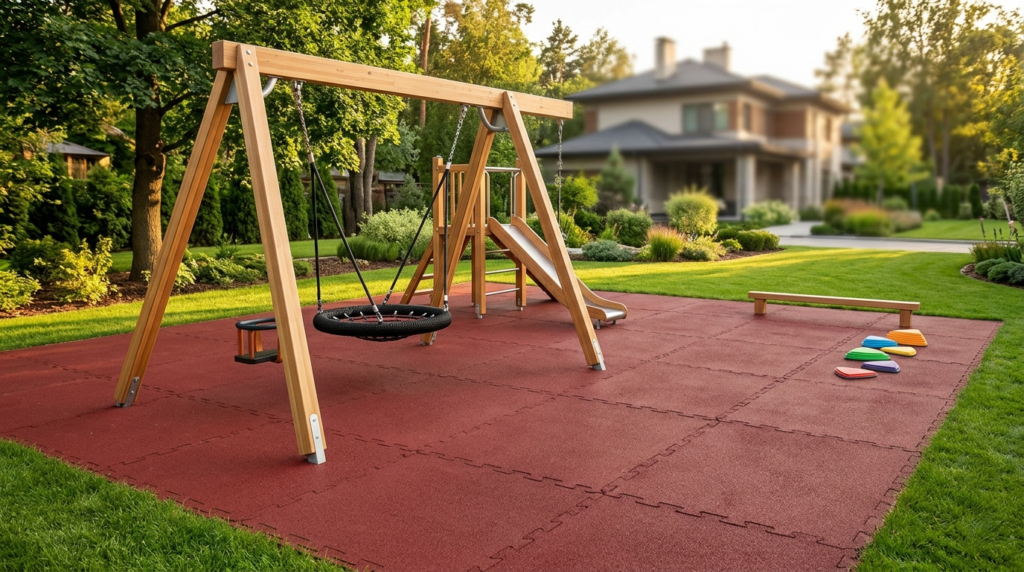
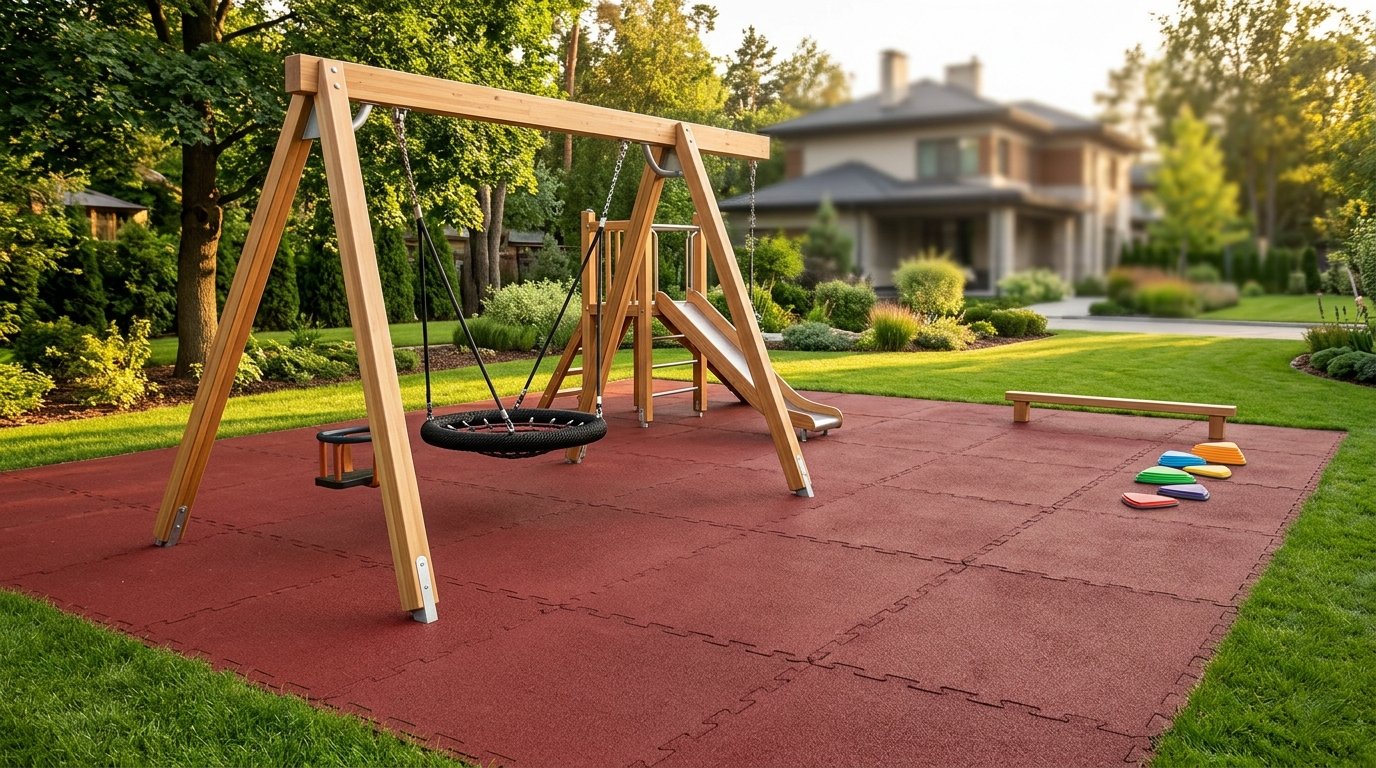
15. Rubber Safety Mats
For families with young children, recycled rubber mats offer a soft landing and extreme durability. I saw a play area converted using interlocking rubber bricks that looked like traditional pavers from a distance. They cost about $6 per square foot and can be laid directly over grass or dirt if the ground is level. They are porous, so water drains right through them. Installation is fast, taking only a few hours. Some cheaper versions have a strong chemical smell for the first few weeks. Always look for UV-stabilized options to prevent the color from rubbing off on clothes.
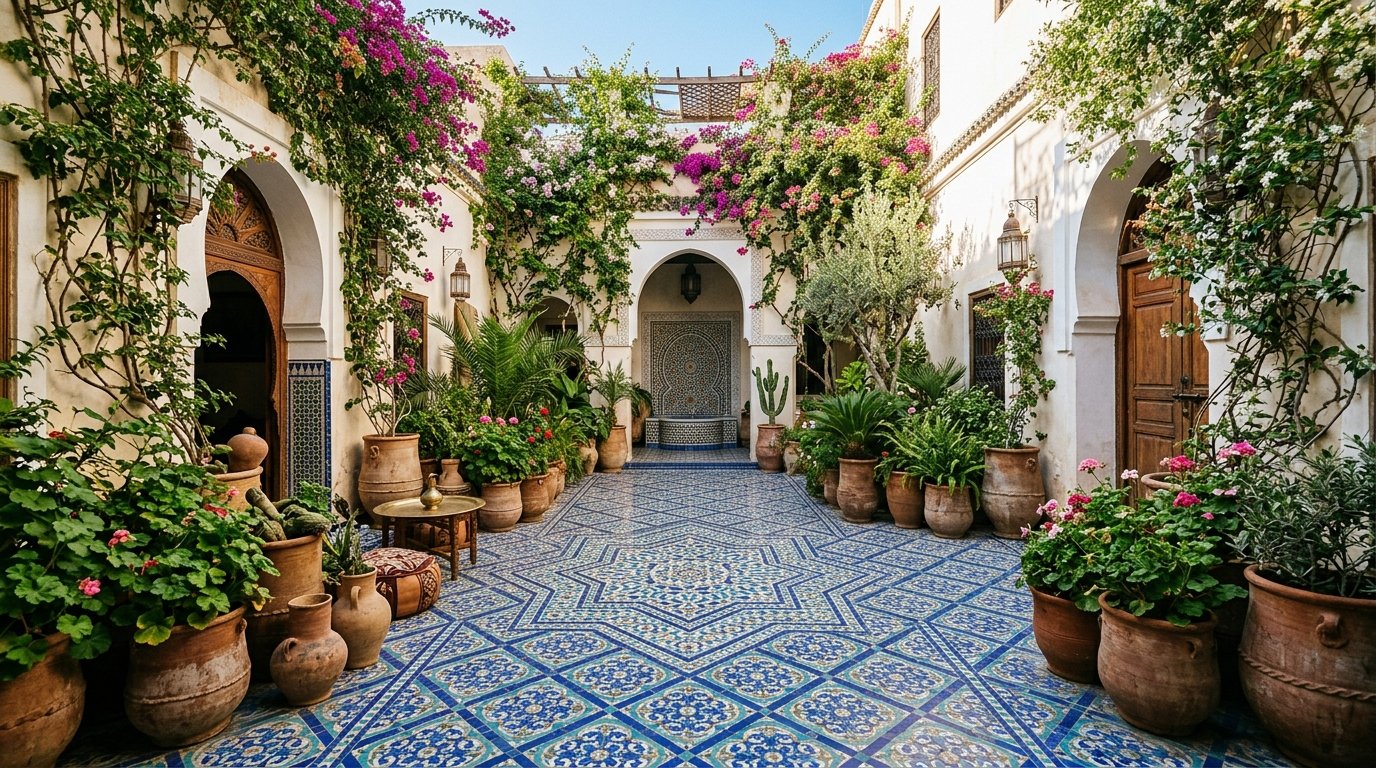
16. Moroccan Encaustic Tiles
These vibrant, patterned tiles create a stunning focal point in a small courtyard or under a covered porch. I once used these to create a “permanent rug” look in the center of a larger concrete area. They cost $15 to $30 per square foot and require professional-grade sealing. The patterns are baked into the tile, so they won’t wear off with foot traffic. They are thick and heavy, requiring a solid mortar bed. You must be careful in cold climates, as these can crack if water gets behind them. I recommend these only for covered or semi-protected areas.
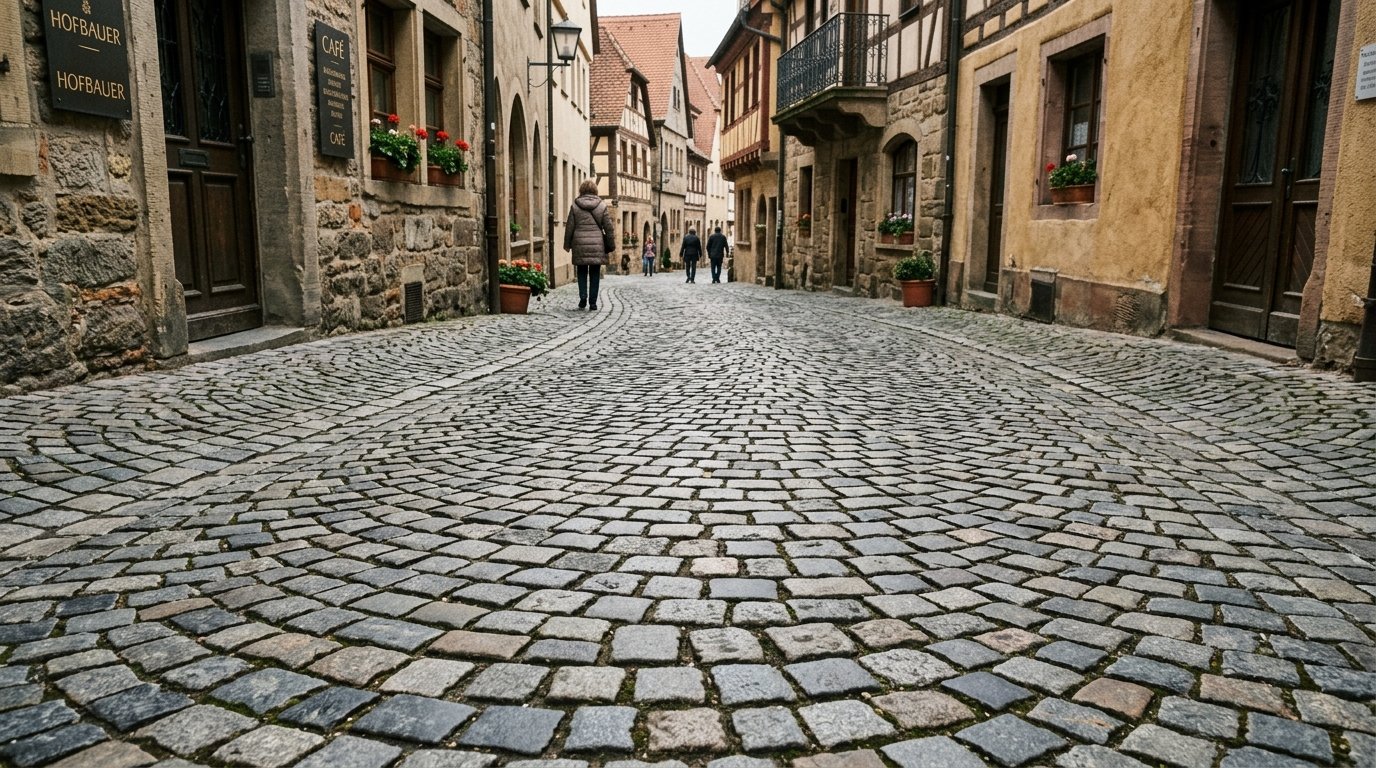
17. Granite Cobblestones
Cobblestones are nearly indestructible and provide an old-world European charm. I noticed that using “tumbled” granite makes the stones feel smoother and more aged. They are expensive to buy and ship, often costing $25 per square foot, but they last forever. The installation is like a giant puzzle and can take a week for a small patio. You should sweep polymeric sand into the joints to prevent weeds from growing between the stones. A common error is making the joints too wide, which makes the surface uncomfortable for chairs and tables.
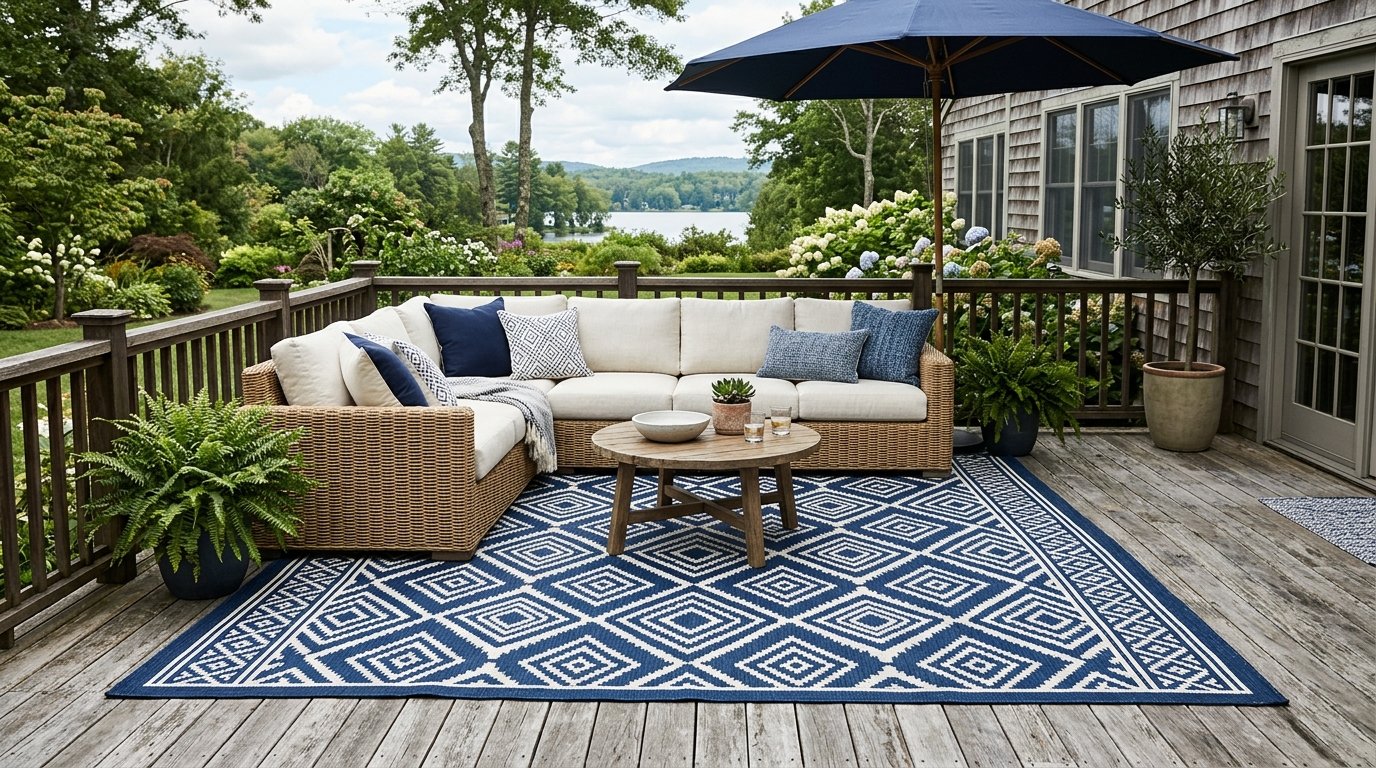
18. Outdoor Area Rugs
Technically a covering rather than a floor, a high-quality polypropylene rug can hide a multitude of sins. I have seen a $50 rug from a big-box store make a cracked wooden deck look like a designer showroom. It takes five minutes to install. Look for rugs labeled as “UV-resistant” to prevent fading in the sun. You should pull them up occasionally to let the floor underneath dry out. Leaving a wet rug on a wood deck for months is a recipe for rot. I rotate mine every season to ensure even wear on both the rug and the surface below.
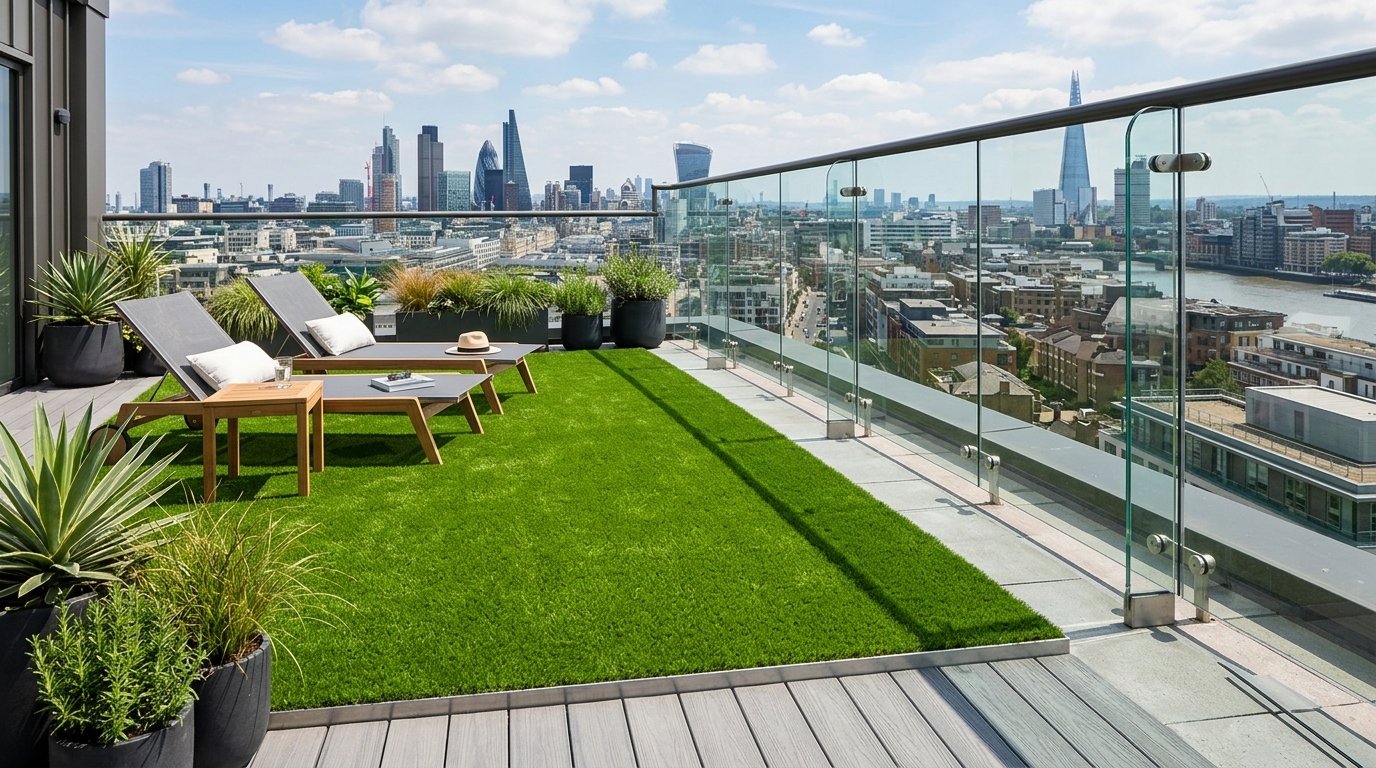
19. Artificial Grass Turf
High-quality synthetic turf provides a lush, green look year-round without the mowing or mud. I recently helped install a small patch of “pet-rated” turf on a concrete balcony to give a dog a comfortable spot. It costs $8 to $12 per square foot. You must install a layer of crushed stone and a weed barrier underneath for proper drainage. It takes a full day to prep and lay the turf correctly. Cheap turf looks like plastic carpet, so spend a little more on versions with “thatch” fibers that mimic real grass. It can get very hot, so keep a hose nearby to cool it down on summer afternoons.
20. Limestone Flagstone Blend
Blending different sizes of limestone creates a sophisticated, multi-tonal surface that hides dirt well. I saw a project in Kentucky where the builder used three different shades of local limestone to create a random pattern. This variety makes the space feel larger than it actually is. The cost is around $18 per square foot. Using a wet-set method in mortar is best for longevity. You must seal limestone to prevent it from absorbing oils from food or fallen leaves. Many people forget that limestone is reactive to acid, so keep the lemon juice and vinegar away from the floor.

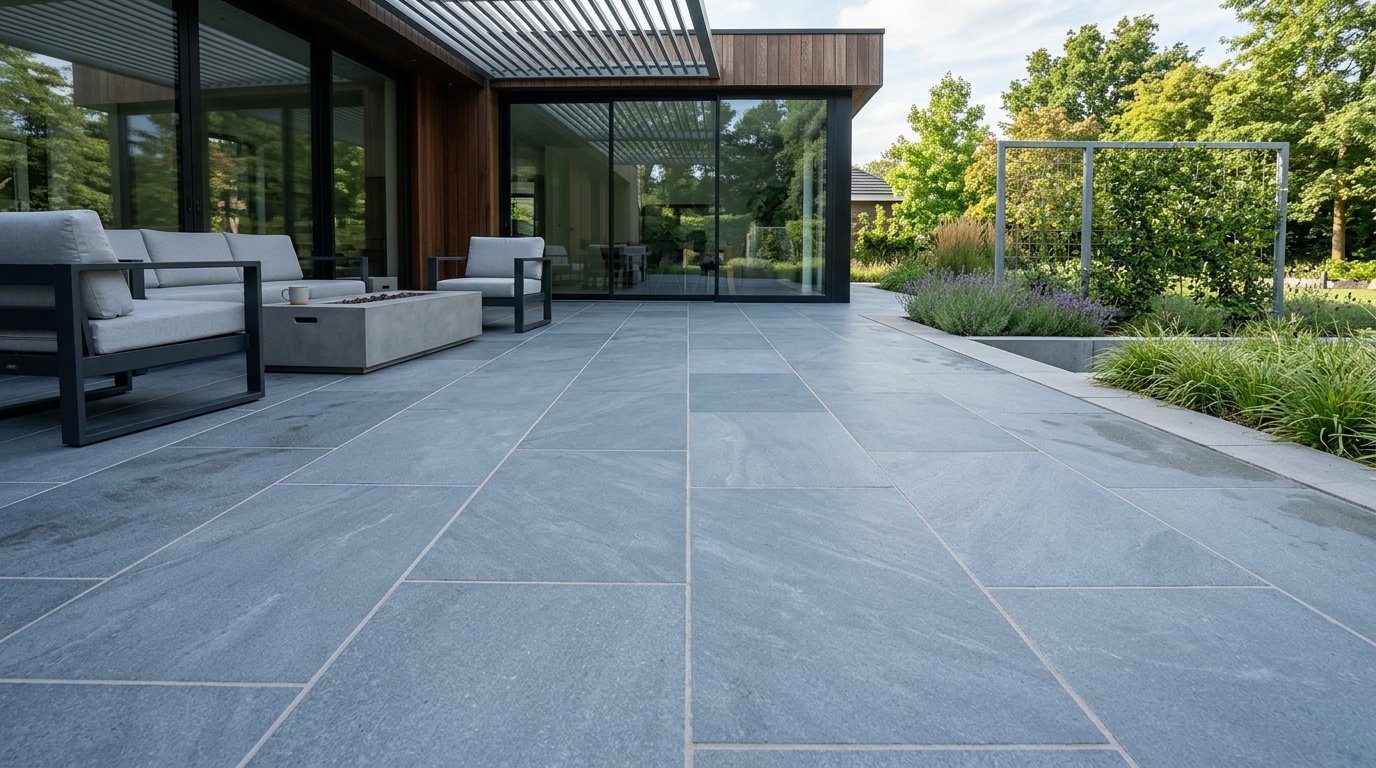
21. Bluestone Patio Tiles
Bluestone is a dense sandstone known for its beautiful blue-gray hues and consistent thickness. I have seen “thermal” bluestone used for modern designs because it is cut to exact dimensions with a smooth, flat top. It costs about $22 per square foot. It is very heavy, so you will likely need a second set of hands for the install. The stone stays relatively cool but can become slippery when wet if not textured. Always buy about 10% more than you need to account for cuts and breakage. A common mistake is using a dark grout that highlights every minor alignment error.
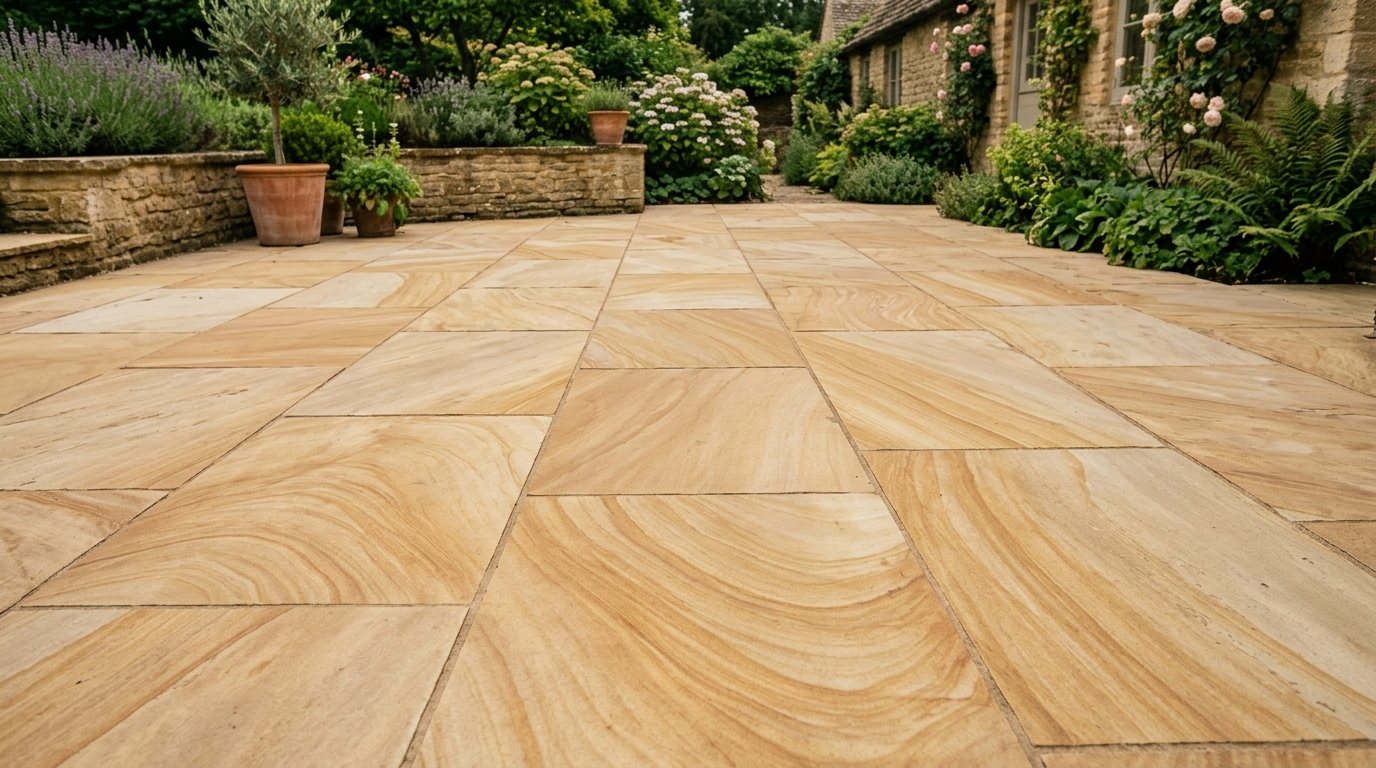
22. Sandstone Paving Slabs
Sandstone offers a warm, desert-inspired palette ranging from tan to deep red. I noticed that Indian Sandstone is currently very popular for its affordability and range of textures. It costs about $12 per square foot and is quite easy to work with. It is naturally porous, which helps with grip but means it can absorb water and freeze. You must seal it annually to maintain the color and structural integrity. Some varieties are prone to “delamination,” where thin layers flake off. I suggest choosing a “honed” finish for a more durable and modern look.
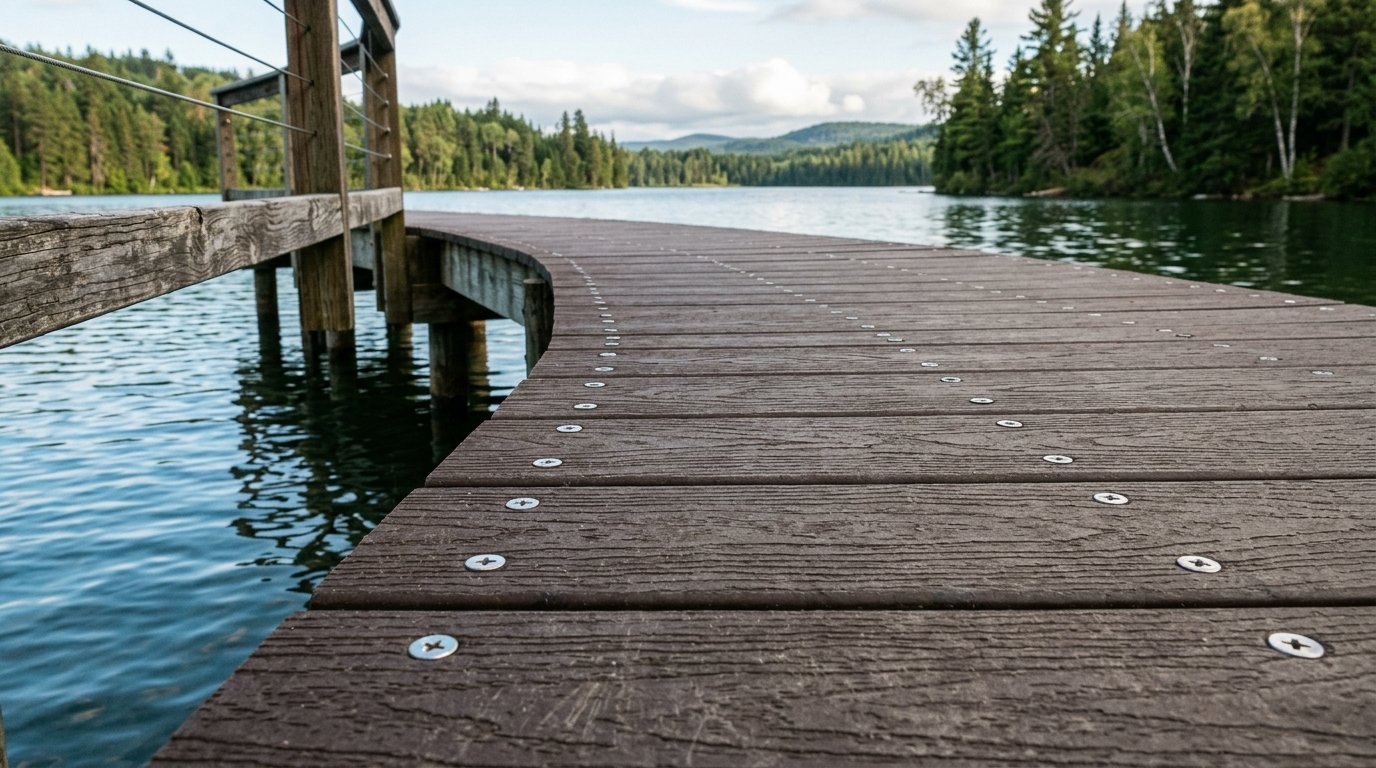
23. Recycled Plastic Planks
These planks are made from high-density polyethylene and are often used in marine environments because they never rot. I have seen these used on a lakefront property where wood decks would fail in two years. They cost about $15 per square foot and come in a variety of wood-grain patterns. They are extremely heavy and require a stout frame with joists spaced no more than 12 inches apart. It takes about two days to install a standard deck. While durable, they do expand and contract significantly with temperature changes. You must leave specific gaps at the ends of every board to prevent buckling.
Frequently Asked Questions
What is the most durable material for a wet climate?
Porcelain tiles and composite decking are the top performers in rainy regions. Porcelain is non-porous, meaning it does not absorb water that could freeze and crack the tile. Composite materials are engineered to resist rot and mold, which are the primary enemies of traditional wood in damp areas. In my experience, even high-quality stone like limestone can struggle with moss growth in constant shade and moisture. If you choose stone, ensure it has a high density and is sealed with a breathable, water-repellent coating.
How do I prevent weeds from growing through my stone?
The secret lies in the base and the joint material. Always use a professional-grade geotextile fabric under your base layers. For the joints, polymeric sand is the industry standard. When swept into the gaps and misted with water, it hardens like plastic, creating a barrier that seeds cannot penetrate. I have seen many people try to use regular sand, but it simply washes away in the first rain, leaving the door wide open for dandelions.
Can I install a new surface over my old concrete?
Yes, but the concrete must be structurally sound. If the slab is sinking or has cracks wider than a quarter-inch, a new surface will likely mirror those problems. For stable slabs, you can use thin-set mortar for tiles or a “floating” system like interlocking deck tiles. I once saw a homeowner lay thin flagstone directly over a porch, but they forgot to account for the new height, which blocked the screen door from opening. Always check your clearances first.
Which options are best for a tight budget?
Pea gravel and painted stencils offer the highest impact for the lowest cost. A gravel area can be completed for a few hundred dollars and looks incredibly high-end when paired with the right furniture and lighting. Stenciling requires only paint and patience. I have seen these two methods used together to define different “rooms” in a backyard for a fraction of the cost of a single masonry project.
Is professional installation always necessary?
It depends on the weight and the complexity of the cuts. Materials like gravel, deck tiles, and stencils are perfect for a solo weekend project. However, heavy natural stone or large-scale concrete pours often require specialized tools and extra muscle. If you are working with 2CM porcelain or thick granite, a wet saw and a plate compactor are non-negotiable. I usually suggest DIY for the layout and prep, but hiring a pro for the final “set” if you are using expensive materials.
How often should I seal my outdoor floor?
Most natural stones and concrete surfaces require resealing every two to three years. This protects against UV damage, salt, and oil stains. You can tell it is time to reseal when water no longer beads on the surface but instead soaks in and darkens the material. I have noticed that homeowners who stay on top of this schedule spend far less on deep cleaning and repairs over the life of the home.
What is the coolest surface for bare feet?
Travertine and light-colored natural stones are the best for hot climates. These materials have low thermal mass, meaning they don’t hold onto heat as much as dark brick or concrete. White or light gray porcelain also performs well. I once tested a dark composite deck next to a light travertine slab on a 95-degree day; the difference was nearly 30 degrees. If you live in the south, color choice is just as important as the material itself.
How do I handle drainage on a flat patio?
A proper outdoor surface must have a “pitch” or slope of at least one inch for every eight feet of length. This directs water away from your home’s foundation. If your yard is naturally flat, you may need to install a French drain or a trench drain system along the edge. I have seen many beautiful renovations lead to flooded basements because the homeowner didn’t realize they were sloping the new floor toward the house.
Are recycled materials as good as new ones?
In many cases, they are better. Recycled plastic planks and rubber mats are engineered to solve the natural flaws of wood and stone. They don’t rot, splinter, or crack from frost. From an aesthetic standpoint, some people prefer the “soul” of reclaimed brick or salvaged stone. In my experience, using recycled materials adds a unique story to your home that off-the-shelf products can’t match.
What is the best way to clean my outdoor flooring?
A simple mix of warm water and mild dish soap is usually all you need. Avoid using a power washer on high settings for soft stones like limestone or slate, as it can etch the surface or blow out the grout. For stubborn stains on concrete, a stiff brush and a paste of baking soda and water works wonders. I always tell people to test any cleaner on a small, hidden corner before doing the whole area.
Can I mix different materials?
Absolutely. Mixing textures is a great way to define spaces. For example, use solid pavers for the dining area where chairs need to be stable, and surround it with gravel for the fire pit area. I have seen successful designs that border a concrete slab with a row of dark bricks to add contrast. It breaks up the visual monotony and can save money by using cheaper materials in low-traffic zones.
Do I need a permit for a new patio?
Rules vary by city, but generally, if the surface is “permeable” (like gravel) or sits directly on the ground, you don’t need a permit. However, if you are pouring a large concrete slab or building a raised deck, your local building office will likely want to see plans. I always recommend a quick phone call to the city hall before you start digging; it is much cheaper than paying a fine later.
Conclusion
Updating your outdoor foundation is one of the most rewarding home projects you can undertake. Whether you choose the rugged beauty of natural flagstone or the modern convenience of snap-together tiles, the right patio flooring creates a destination for relaxation and connection. I have seen how small changes in texture and color can completely shift the energy of a backyard, turning a neglected patch of grass into a beloved living space. Pick a project that fits your current skill level and budget, and don’t be afraid to start small. Save this guide to your Pinterest boards for your next weekend project and share your results with friends who are looking for their own backyard revival.