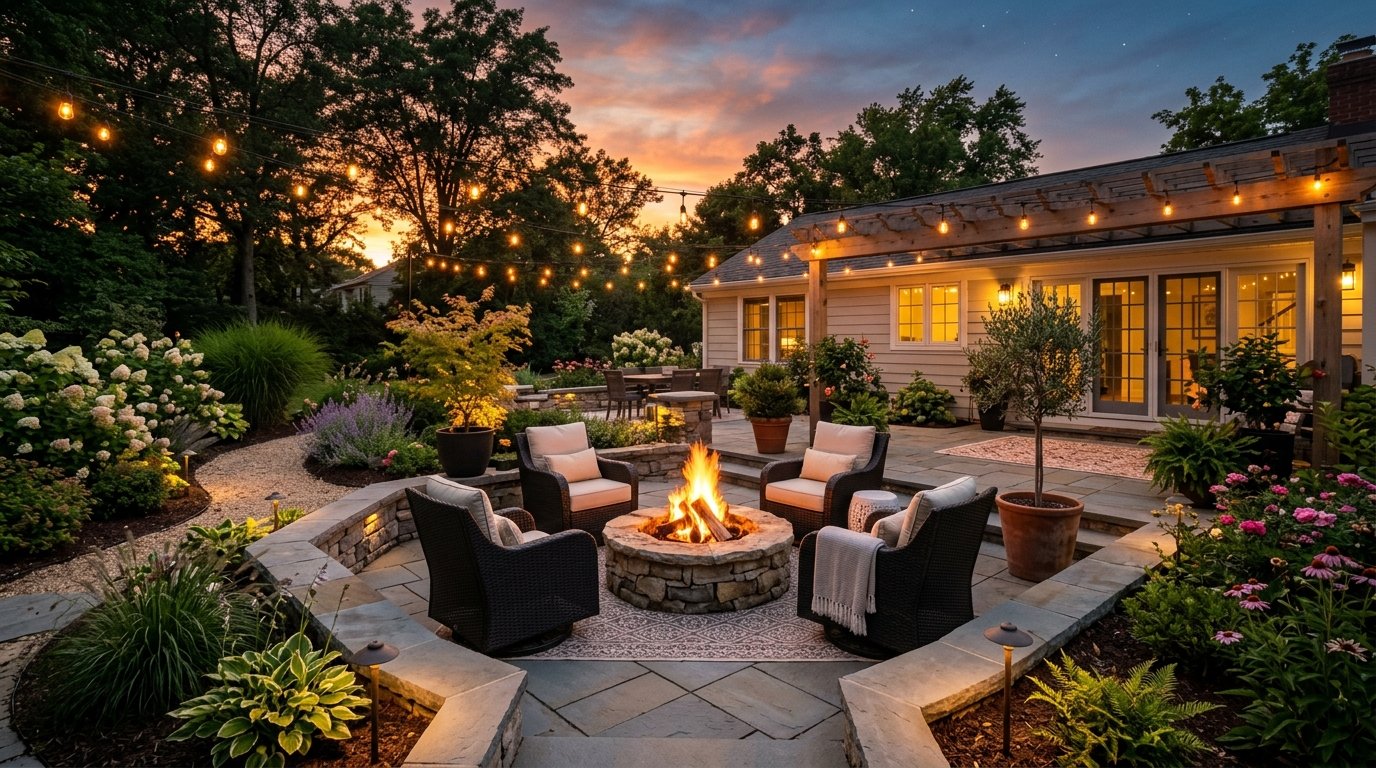
Last summer a neighbor spent four thousand dollars on a professional crew only to have their yard flood during the first heavy rain because of poor drainage. You do not need a massive budget or a degree in architecture to fix your outdoor space. This patio landscaping guide provides the exact steps to transform a boring concrete slab into a high end retreat that looks expensive but costs very little to maintain. Most people fail because they focus on plants that die in a single season instead of building a permanent structure that works with their local climate.
Executive Summary
You will discover how to create a professional look using simple materials like river rock and cedar wood while avoiding the common mistakes that lead to cracked pavers and overgrown weeds. This guide covers twenty three specific upgrades ranging from five dollar lighting fixes to strategic stone placements that define your backyard zones. Most of these projects require only a weekend and basic tools such as a level and a shovel. We focus on low maintenance choices that thrive in various weather conditions and provide a high return on investment for your home value. By the end of this article you will have a clear plan to execute a sophisticated outdoor design that feels intentional and high quality without the high end price tag.
1. Pea Gravel Borders
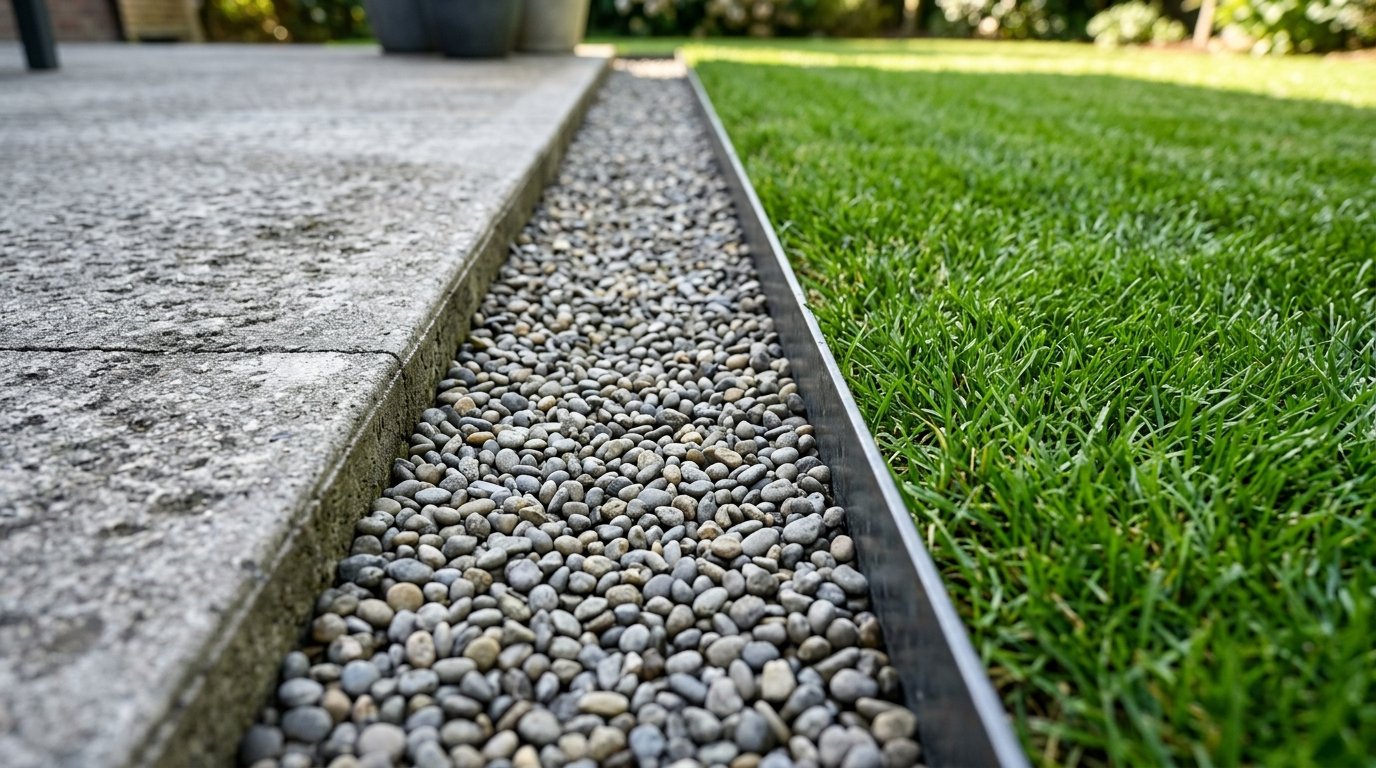
Pea gravel provides a clean transition between hard surfaces and lawn areas while allowing for natural water drainage. Use a brand like Pavestone to find consistent grey or tan tones that match your existing stone. Dig a shallow trench four inches deep around the perimeter of your patio and fill it with two inches of crushed limestone before adding the decorative gravel on top. This project usually costs less than fifty dollars for a standard twelve foot section and takes roughly two hours. Many homeowners skip the base layer of limestone which causes the gravel to sink into the mud after one season.
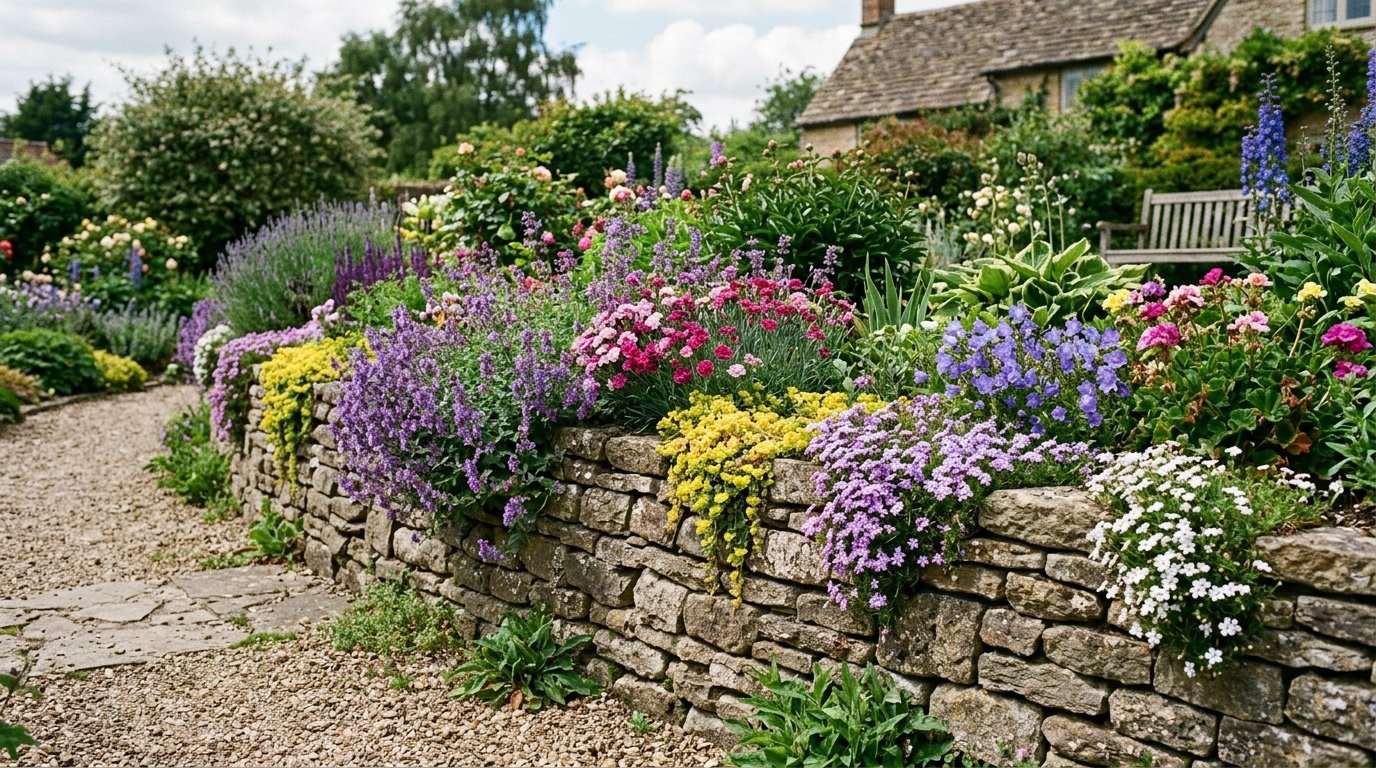
2. Stone Garden Edging
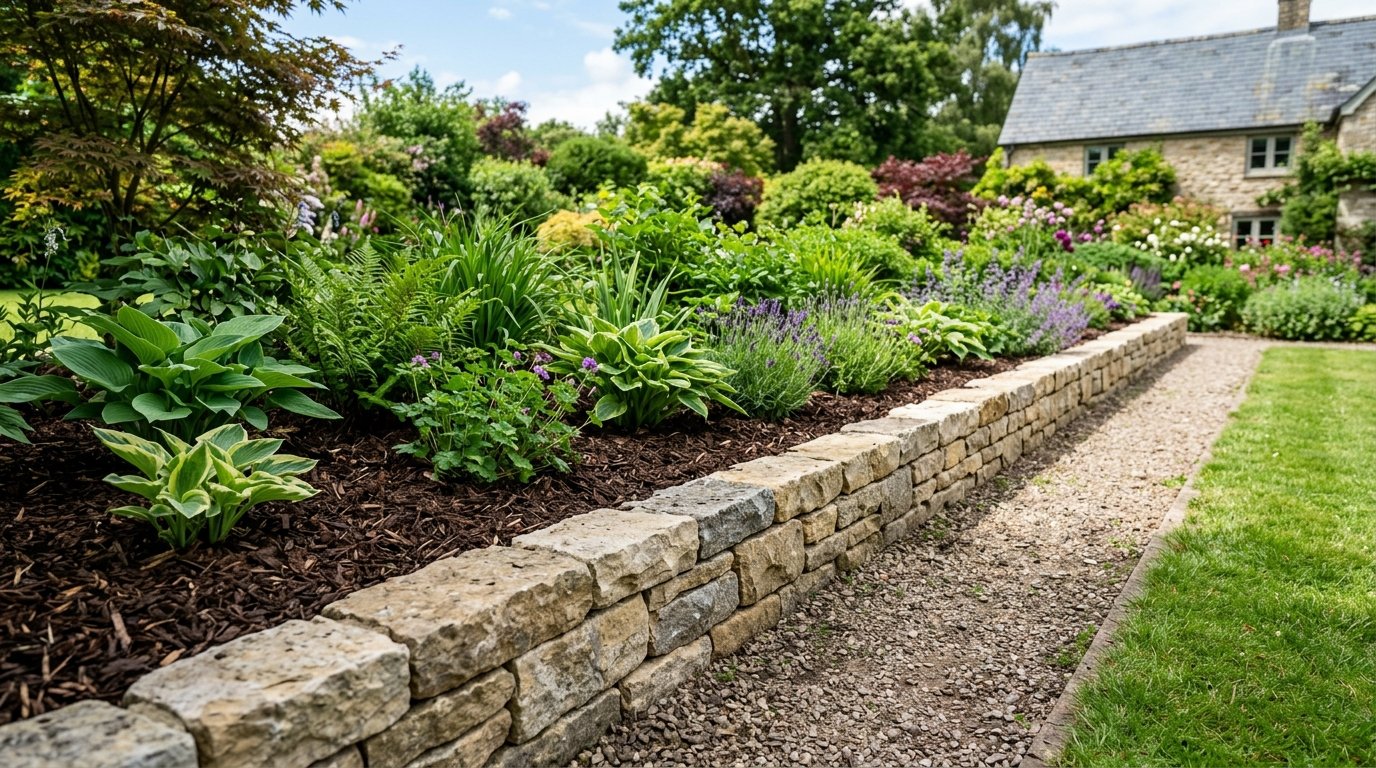
Stone edging prevents grass from creeping into your flower beds and gives the yard a finished appearance. Select natural limestone or stacked slate blocks from a local supplier to create a heavy permanent boundary. Lay the stones in a dry stack method without mortar to allow for slight ground shifts during winter freezes. A ten foot section of natural stone edging typically runs about eighty dollars and requires a sturdy rubber mallet for leveling. A frequent error is using thin plastic edging that cracks in the sun and fails to stop aggressive root systems from invading the space.
3. Cedar Privacy Walls
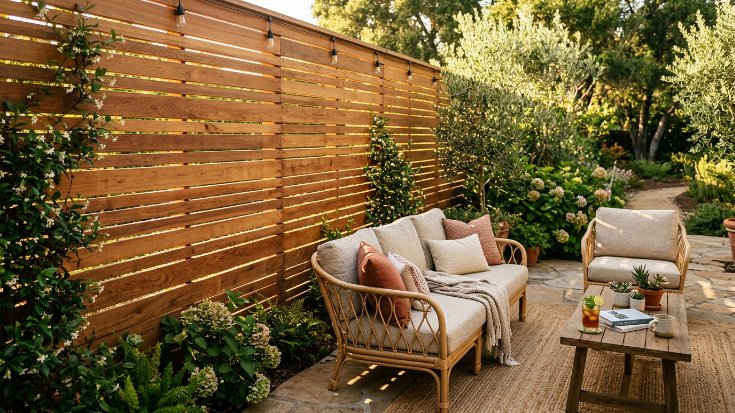
Cedar wood offers a warm natural texture that acts as a visual shield from neighbors while smelling incredible when it rains. Build a simple frame using four by four posts and horizontal slats spaced one inch apart to maintain airflow while blocking the direct line of sight. This structure costs roughly two hundred dollars in lumber and requires a power drill and galvanized screws to prevent rust streaks. Do not use pressure treated pine for these visible screens because it often warps or turns a dull green color within a few months of exposure.
4. Modern Solar Lighting
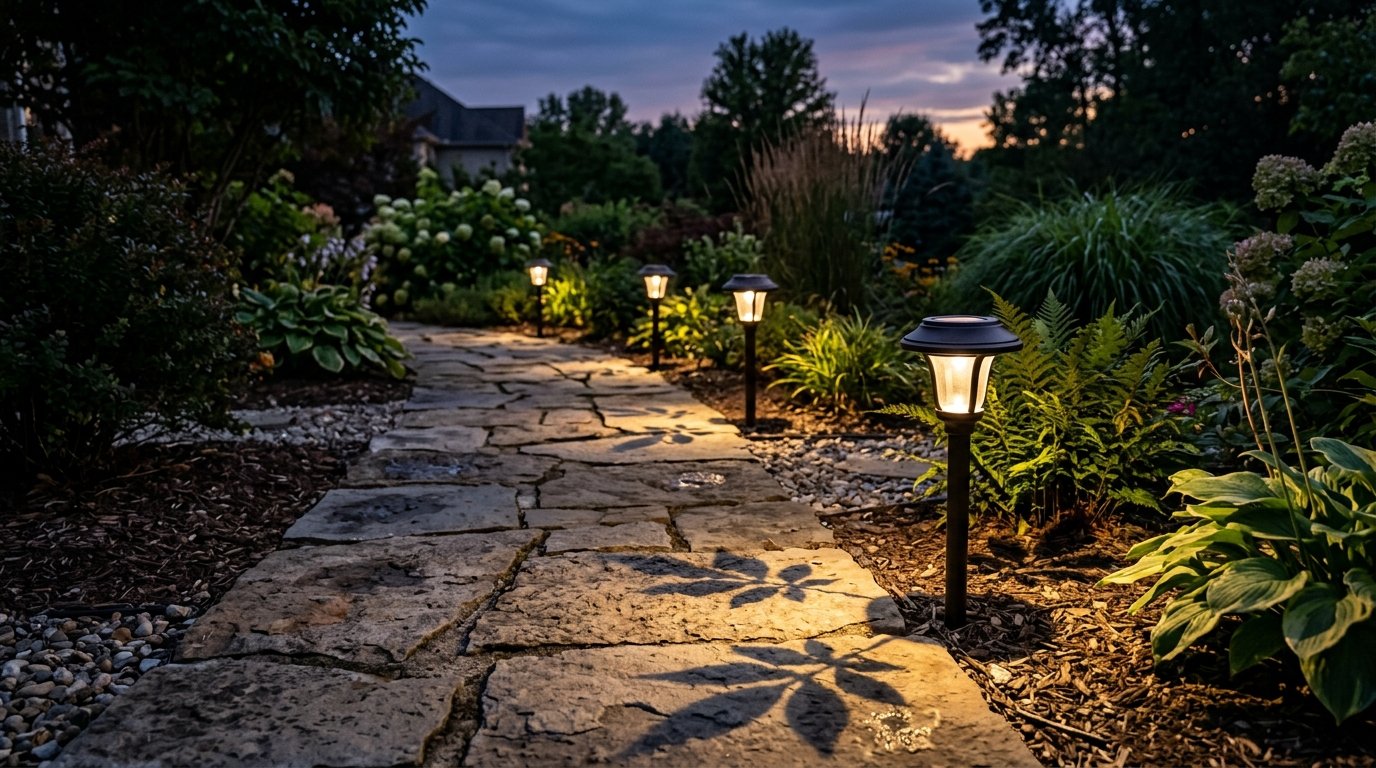
Modern solar lights have evolved beyond the flickering plastic sticks of the past to offer bright consistent warm white tones. Look for metal fixtures with glass lenses from brands like Ring or Westinghouse that feature high capacity batteries for all night performance. Position these lights every three feet along the edge of your walkway to define the path and create depth at night. A set of six high quality metal lights costs about sixty dollars and takes ten minutes to install. Avoid the cheap multi packs from big box stores because they rarely last through a single winter.
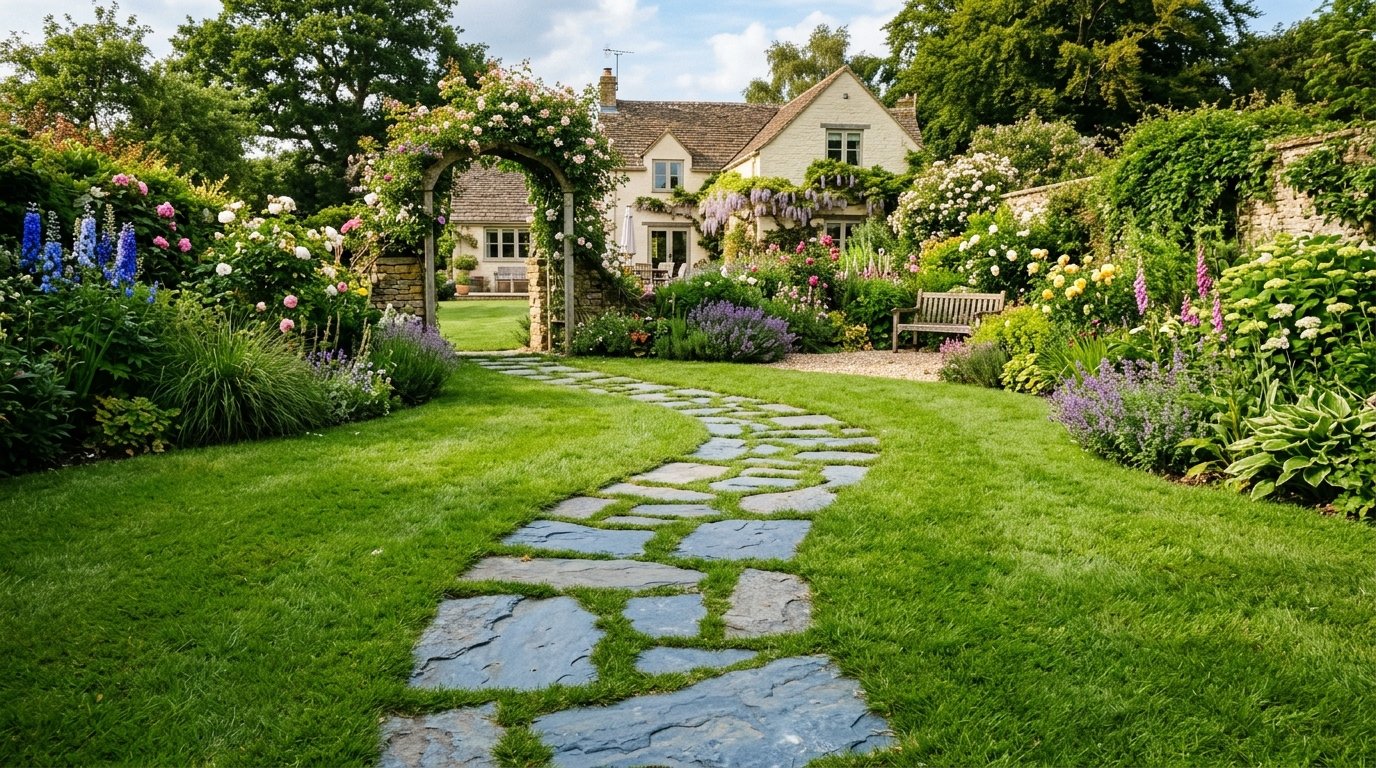
5. Flagstone Walkway Paths
Flagstone creates an organic flowing connection between your patio and other areas of the backyard like a fire pit or garden. Select irregular pieces of Pennsylvania Bluestone for a classic look that feels like it has been part of the property for decades. Dig out the sod in the shape of each stone and backfill with sand to ensure the path remains level and safe for walking. Expect to spend three dollars per square foot and an entire afternoon for a twenty foot path. Skipping the sand base is a mistake that leads to tripping hazards when the soil settles unevenly.
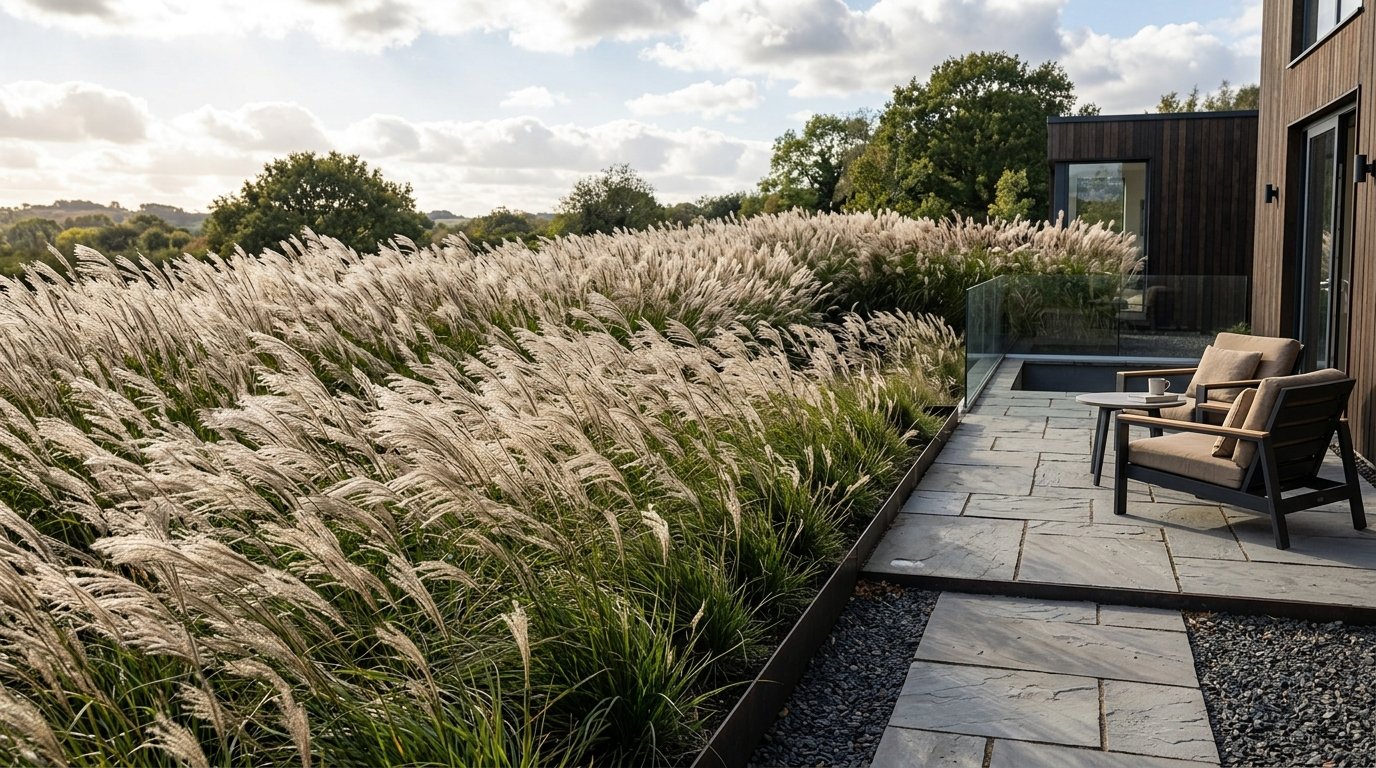
6. Ornamental Grass Buffers
Ornamental grasses provide movement and height without requiring the constant pruning of traditional shrubs. Use varieties like Karl Foerster feather reed grass to create a three foot tall screen that stays green through the summer and golden in the fall. Plant these in groups of three for a modern massed look that softens the hard edges of concrete or stone. A single gallon plant costs fifteen dollars and reaches full height in one growing season. People often plant these too close together which results in a messy tangled appearance that hides the individual beauty of the grass.
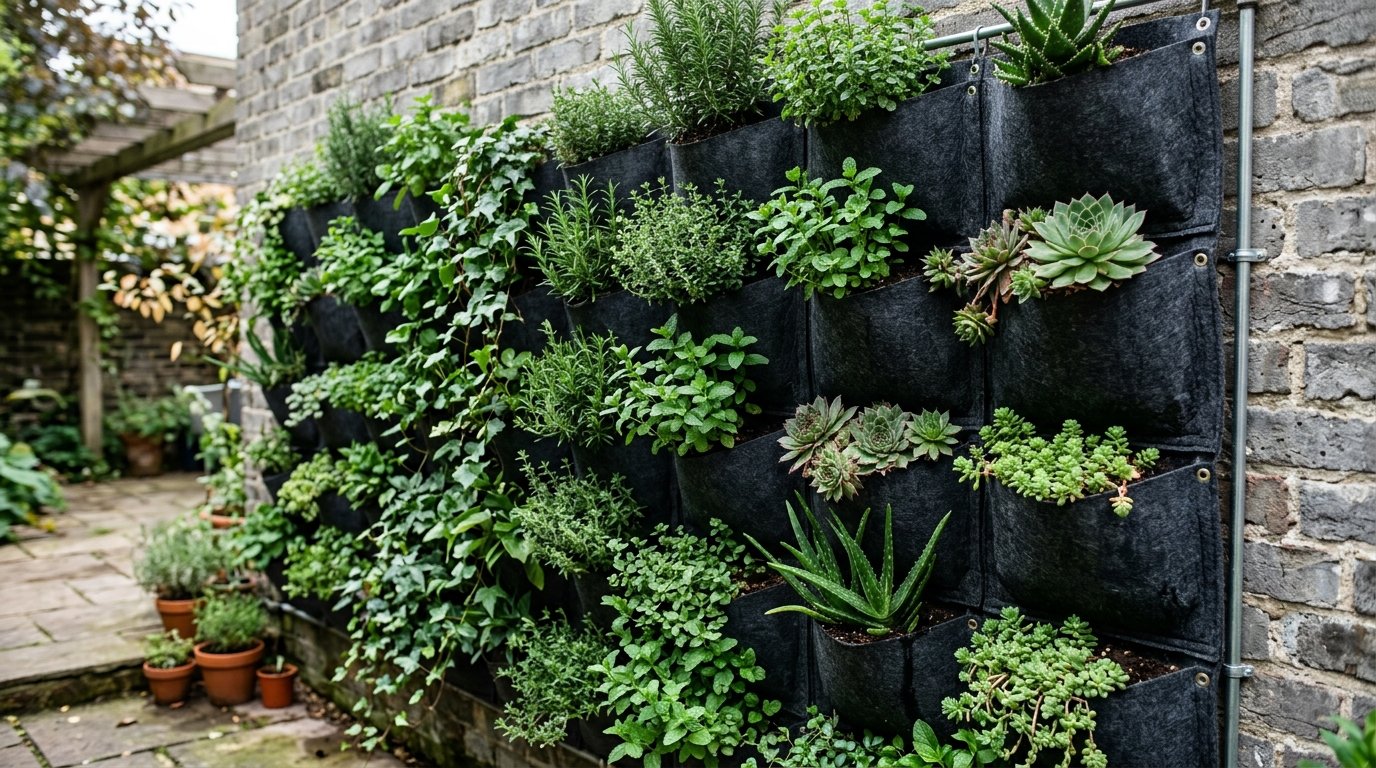
7. Vertical Wall Planters
Vertical planters allow you to grow fresh herbs or succulents in small spaces without taking up valuable floor area on the patio. Use a modular system like the WallyGro wall pockets which attach directly to fences or brick walls with simple anchors. Fill these with a mix of rosemary and mint to provide a pleasant scent while you sit outdoors. Each pocket costs thirty dollars and takes twenty minutes to mount securely. A common mistake is using standard potting soil instead of a lightweight professional mix which can become too heavy for the wall when fully saturated.
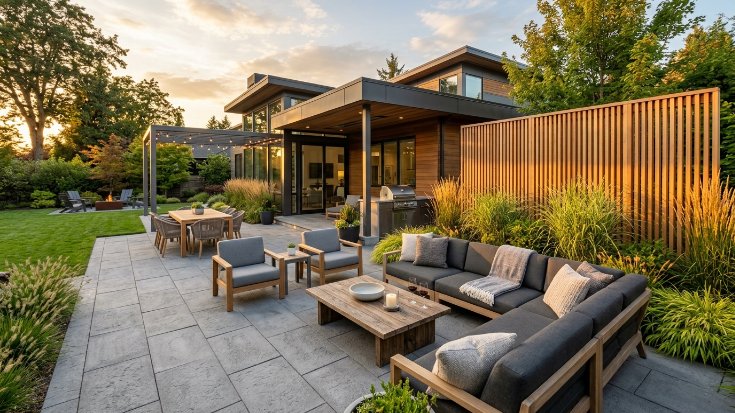
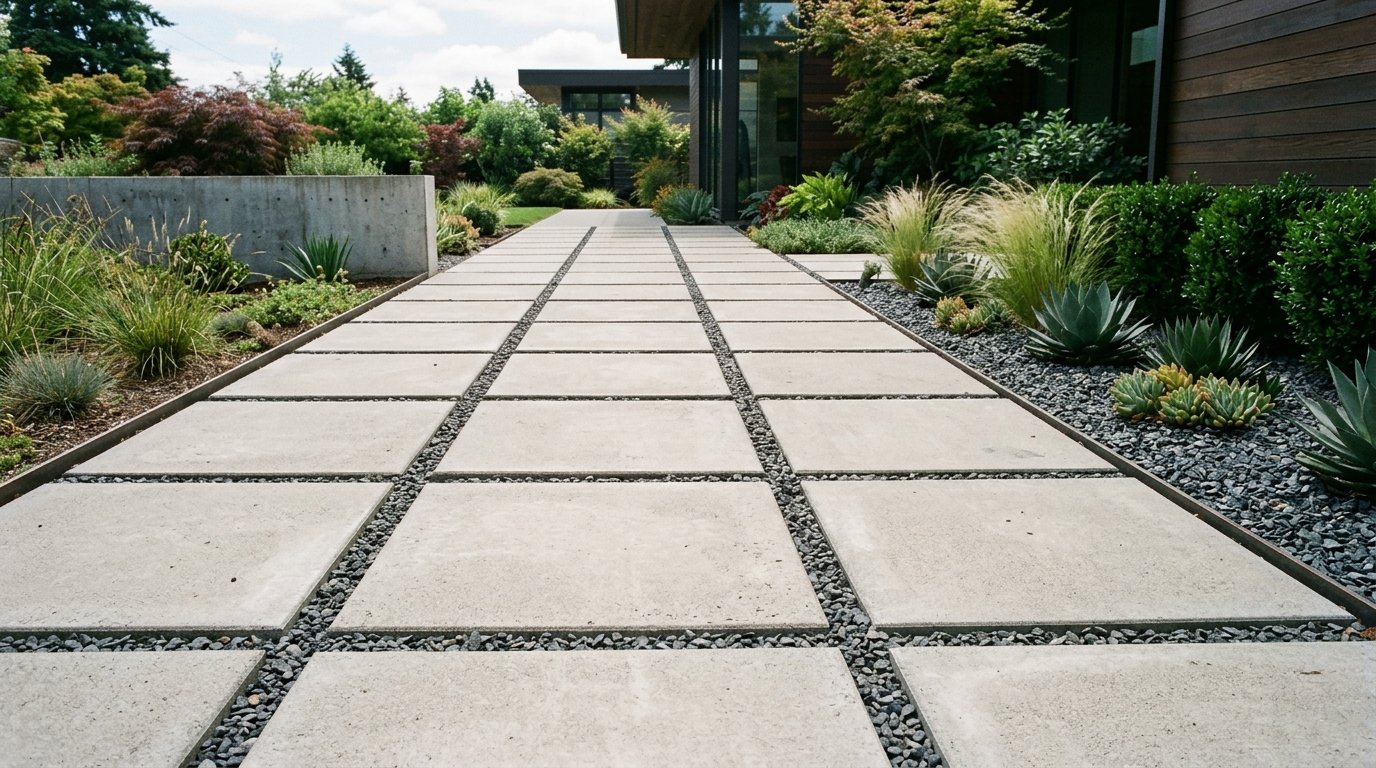
8. Large Format Pavers
Large format pavers create a contemporary clean aesthetic that makes small patios feel much larger than they actually are. Choose twenty four inch square concrete slabs and space them two inches apart with dark grey basalt chips in the gaps. This design mimics the look of high end California estates for a fraction of the cost. The materials for a ten by ten area cost about four hundred dollars and require a heavy duty plate compactor for a flat finish. Small pavers often look cluttered and busy whereas these large slabs provide a calm sophisticated foundation for furniture.
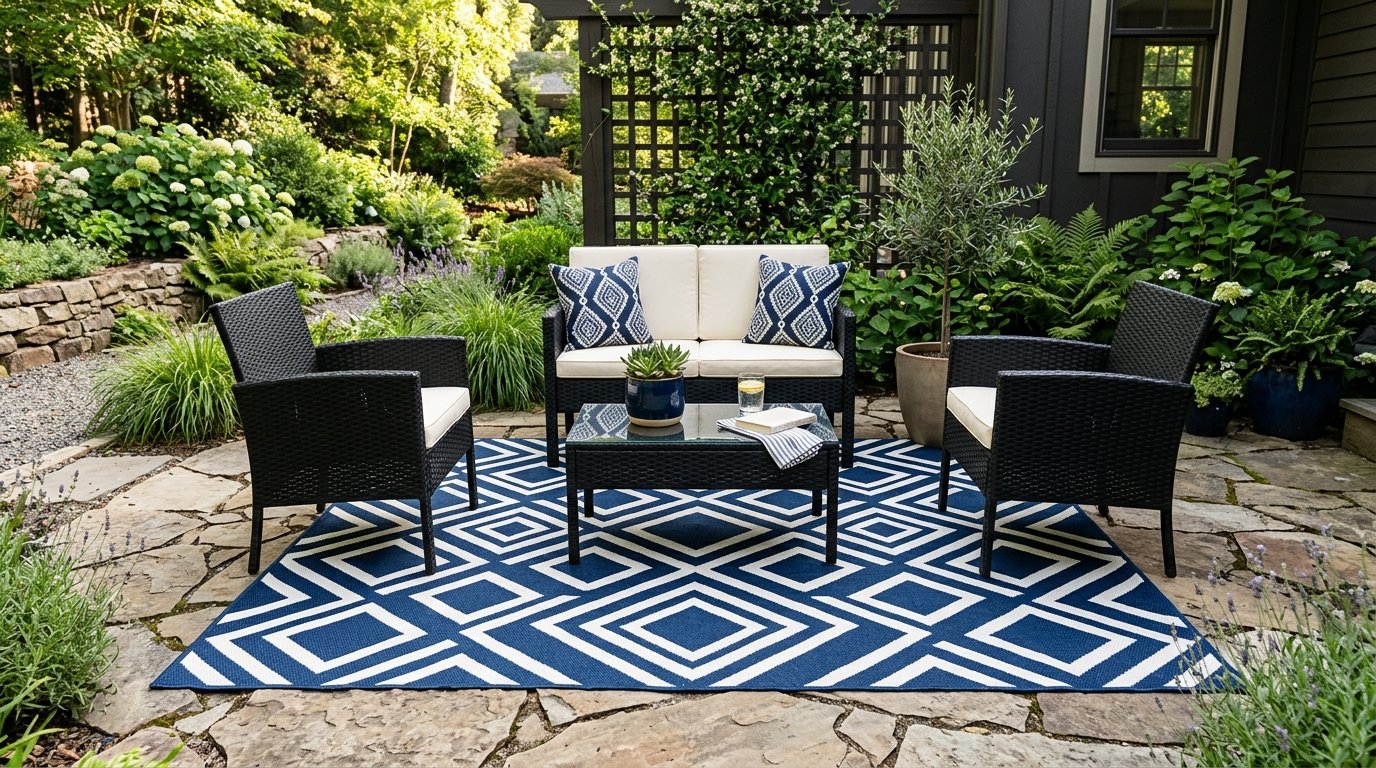
9. Defined Outdoor Rugs
An outdoor rug acts as the anchor for your furniture and instantly makes a hard surface feel like an indoor living room. Select a polypropylene weave from a brand like Safavieh because these materials resist mold and can be hosed off when they get dirty. Choose a pattern that contrasts with your flooring such as a navy blue rug over light grey concrete. A large eight by ten rug costs roughly one hundred twenty dollars and takes seconds to roll out. Leaving the rug out during heavy snow can shorten its lifespan so store it in a dry garage during the winter months.
10. Stacked Stone Retaining
Stacked stone walls solve slope issues while providing extra seating for large gatherings in the backyard. Use a gravity wall system with tapered blocks that lock together without the need for messy concrete or specialized masonry skills. A two foot tall wall that spans fifteen feet will cost approximately five hundred dollars in materials and two days of physical labor. Failing to include a perforated drainage pipe behind the wall is the most frequent cause of collapse because water pressure builds up behind the stones.
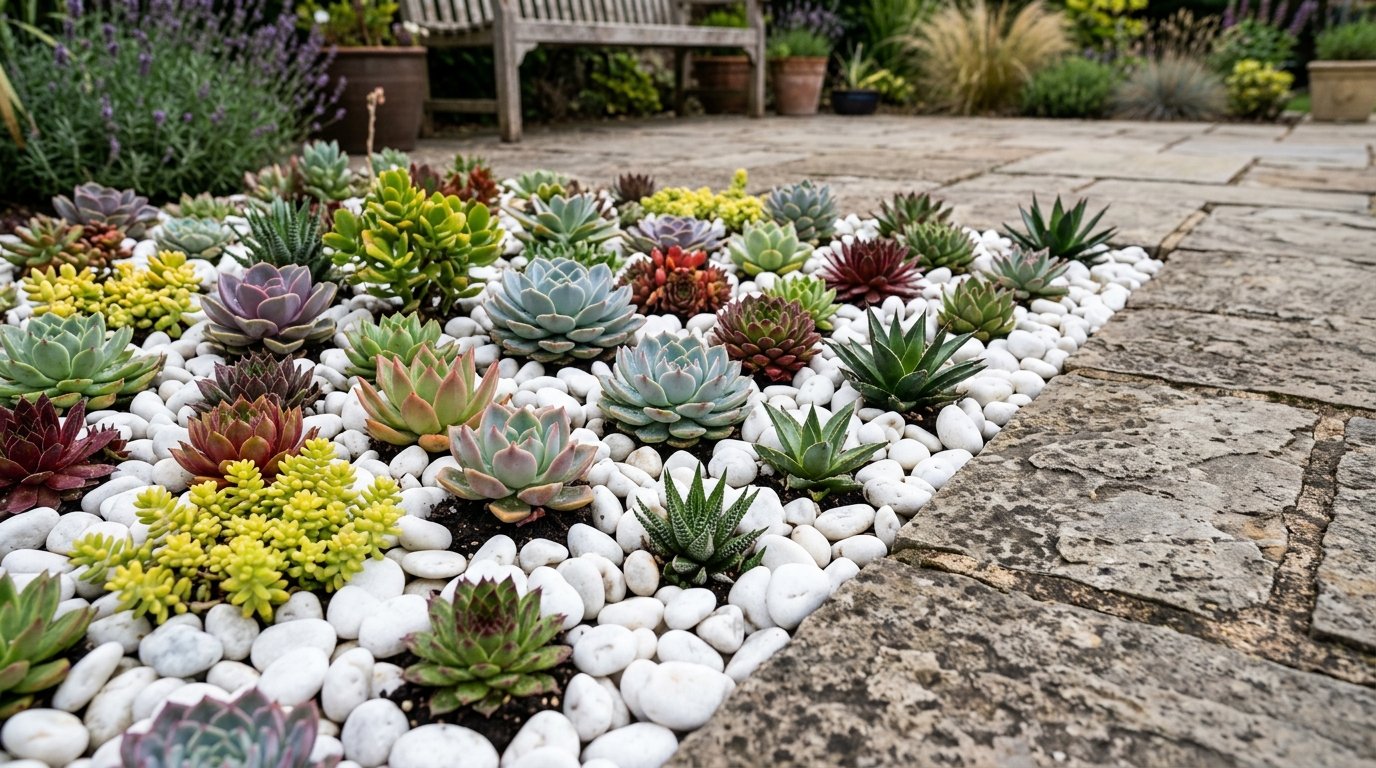
11. Hardscape Succulent Beds
Succulents thrive in the heat radiating off stone surfaces and require almost zero water once they are established. Create a dedicated planting pocket within your stone layout using a mixture of Echeveria and Sedum for different colors and textures. These plants cost five dollars each and look best when surrounded by white marble chips or black lava rock. A common error is overwatering these plants which leads to root rot within days. Treat them with neglect and they will reward you with vibrant colors and geometric growth patterns.
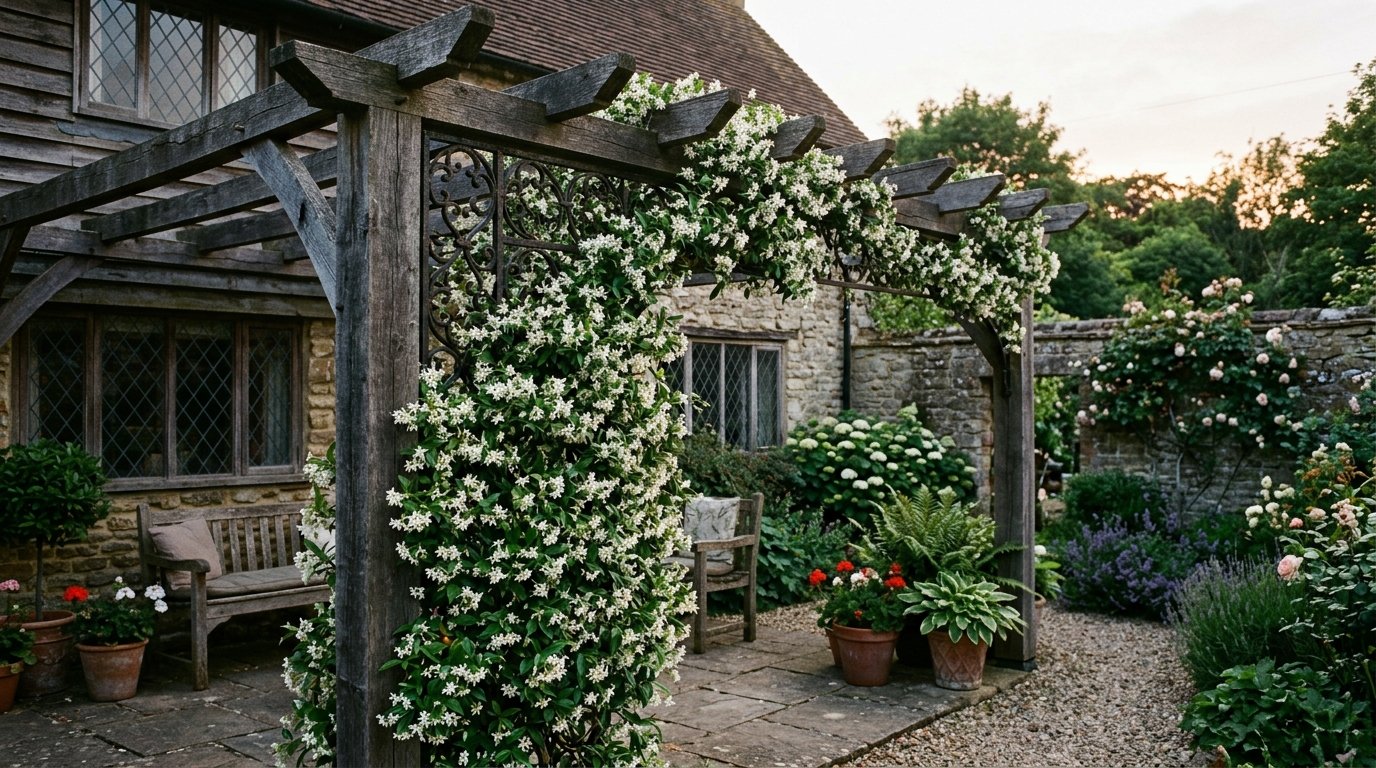
12. Living Vine Trellises
Climbing vines turn a standard fence or pergola into a lush wall of green that provides natural cooling during the hot summer months. Clematis or Star Jasmine are excellent choices because they produce fragrant flowers and have soft stems that are easy to manage. Install a simple wire trellis system using eye bolts and aircraft cable to give the vines a nearly invisible support structure. This setup costs forty dollars and requires annual pruning to keep the growth from becoming aggressive. Many people plant invasive species like English Ivy which can destroy wood structures over time.
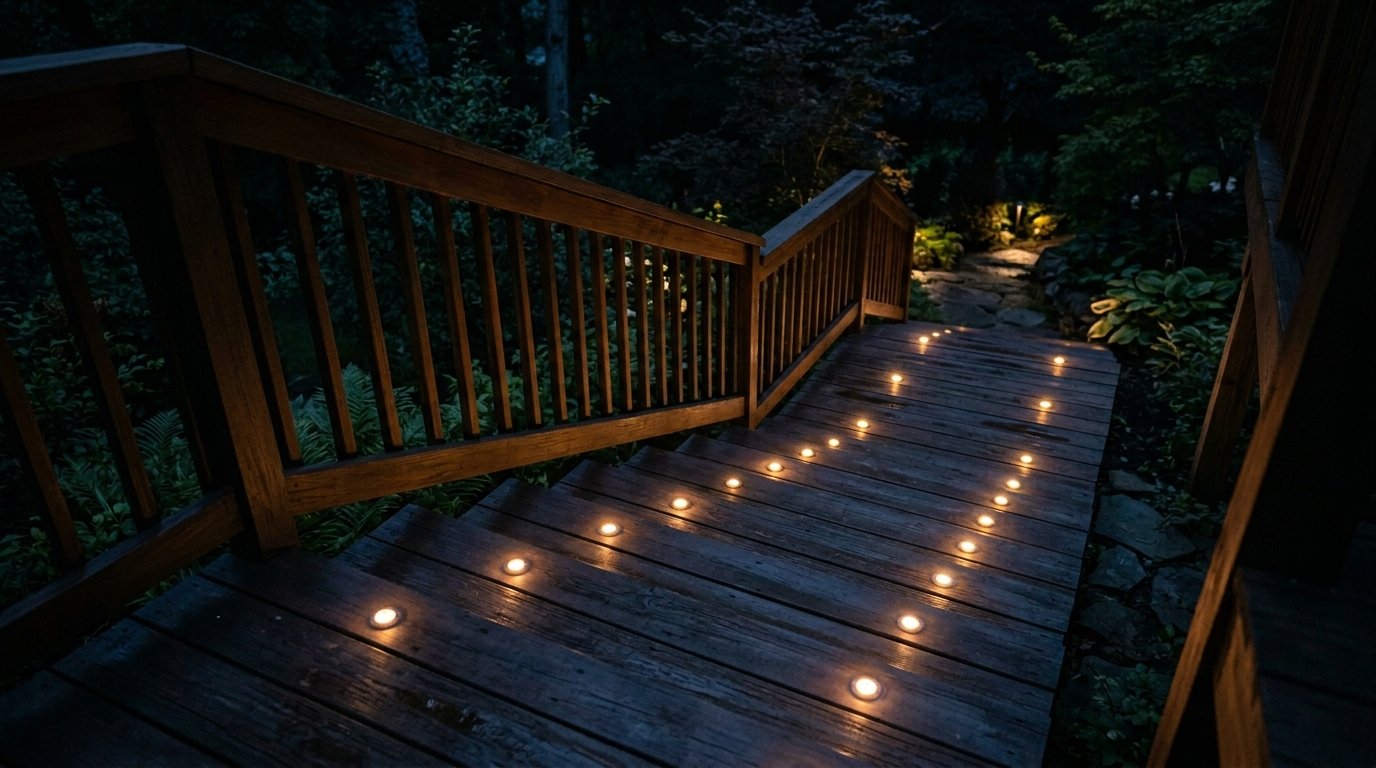
13. Deck Stair Lights
LED stair lights are a critical safety feature that also adds a high end custom look to your wooden or composite deck. Use low voltage puck lights that recess directly into the stair risers to illuminate the tread without creating glare in your eyes. A kit containing eight lights and a transformer costs one hundred dollars and requires a spade bit for the drill. The most frequent mistake is mounting the lights too high on the riser where they shine directly into the face of someone walking down the stairs.
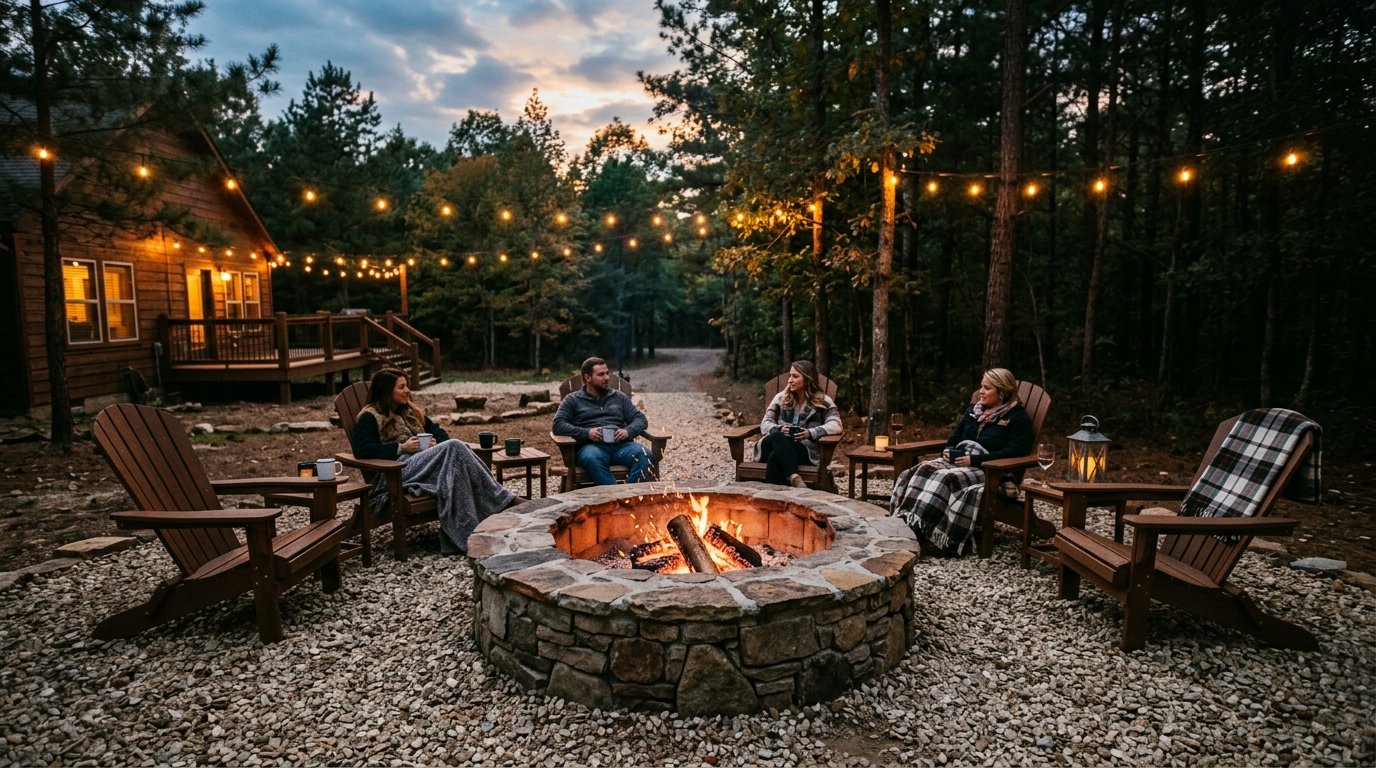
14. Paver Fire Pits
A permanent fire pit creates a natural focal point for evening relaxation and extends the usability of your patio into the colder months. Build a circular pit using heat resistant fire bricks for the interior and decorative wall stones for the exterior to match your flooring. A basic four foot diameter pit costs two hundred dollars in materials and takes four hours to assemble. Do not build a fire pit directly on top of wood decking or thin pavers as the intense heat can cause the materials underneath to crack or catch fire.
15. Minimalist Rock Gardens
Rock gardens provide a zen like atmosphere and are the ultimate solution for areas where grass refuses to grow because of heavy shade. Use a combination of large river boulders and fine decomposed granite to create a textured landscape that looks natural and intentional. The cost for a small garden bed is roughly seventy dollars for the rocks and a single day for the arrangement. Homeowners often use too many small rocks of the same size which looks like a gravel pit rather than a curated garden.

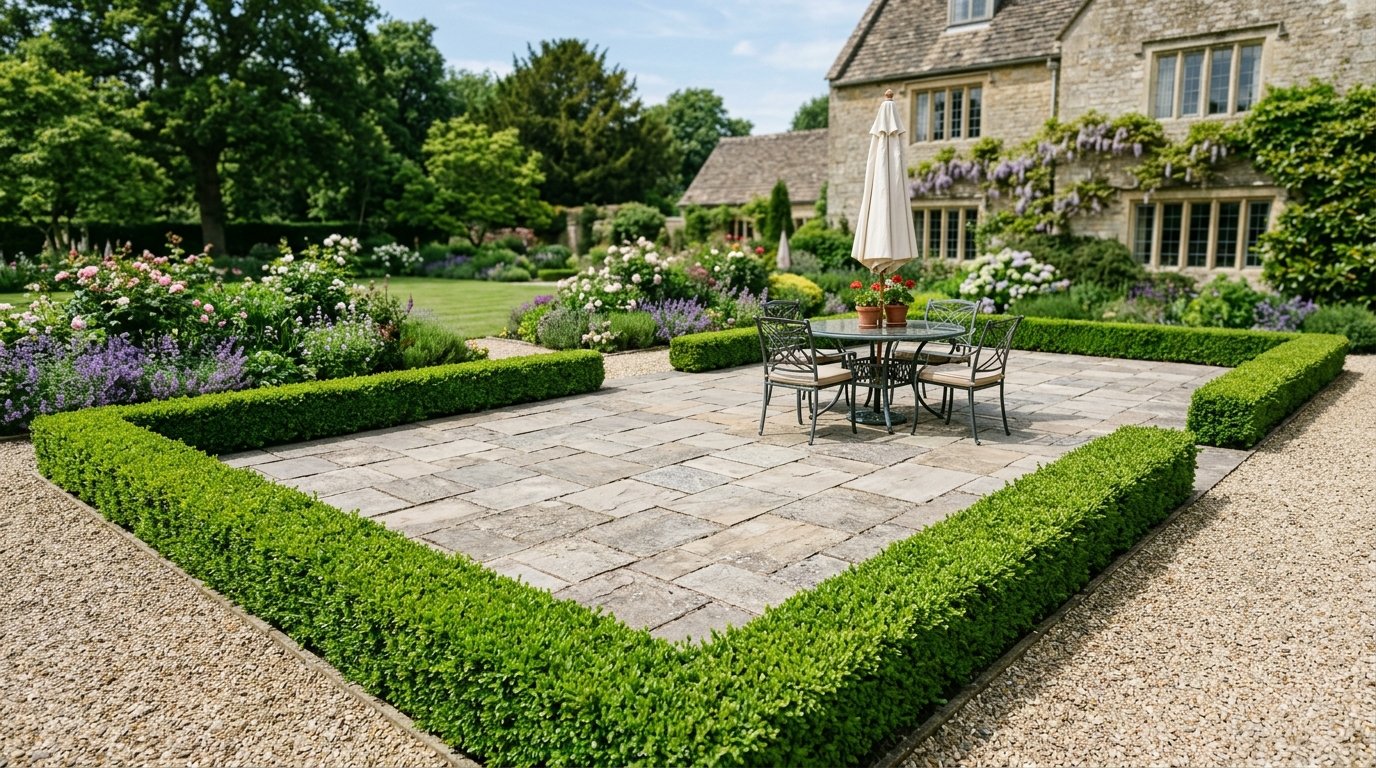
16. Sculpted Evergreen Hedges
Evergreen hedges like Boxwood or Privet provide a year round green border that defines the limits of your outdoor living area. Keep them trimmed to a height of eighteen inches to act as a living fence that does not block the view of the rest of the yard. A set of ten small shrubs costs one hundred dollars and requires a pair of sharp garden shears for maintenance. The biggest mistake is letting the hedges grow too tall which can make a small patio feel cramped and boxed in.
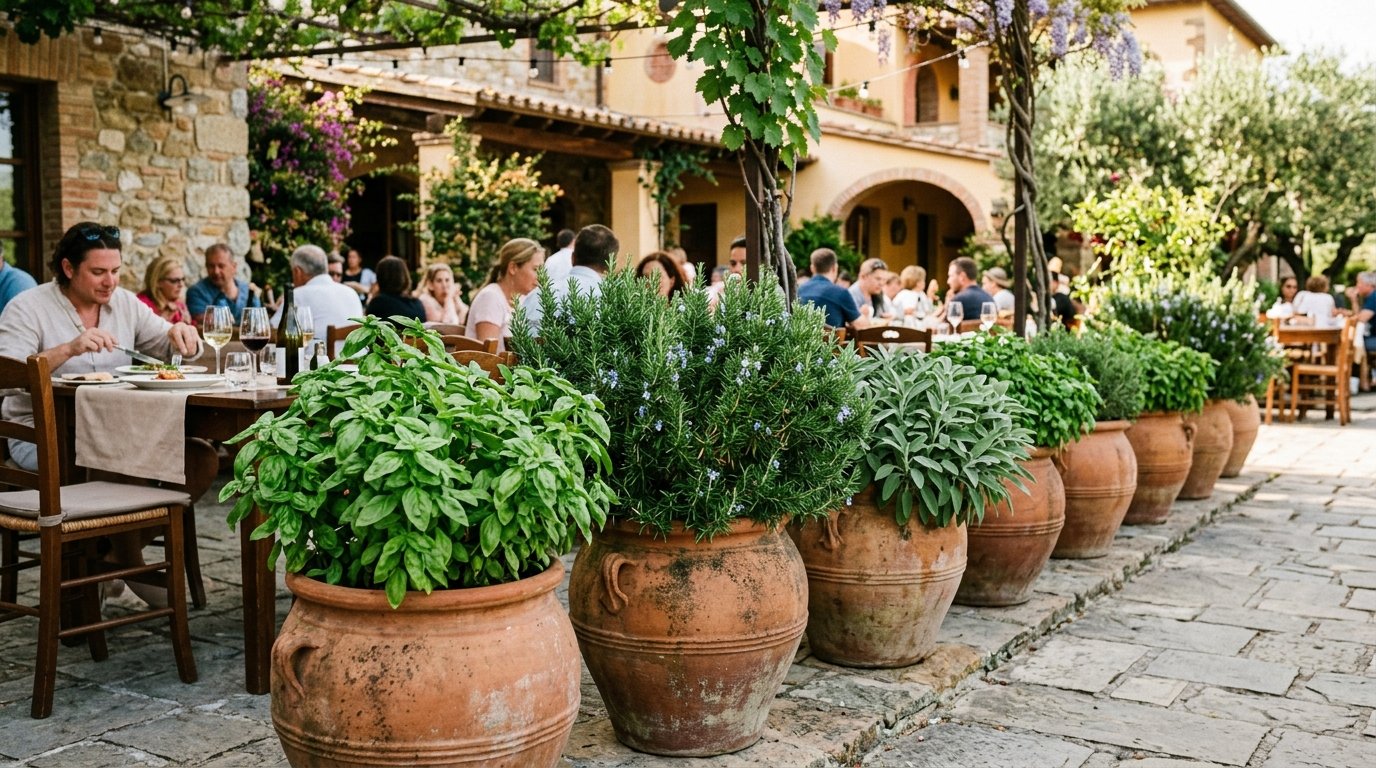
17. Culinary Herb Borders
Planting herbs directly along the edge of your patio allows you to grab fresh ingredients for cooking without leaving the seating area. Choose hardy perennials like sage and thyme that return every year and can withstand the occasional foot traffic. These plants cost six dollars each and provide a dense ground cover that prevents weeds from sprouting. Avoid planting aggressive herbs like mint directly in the ground because they will quickly take over the entire yard. Always keep mint in a buried pot to control its spread.
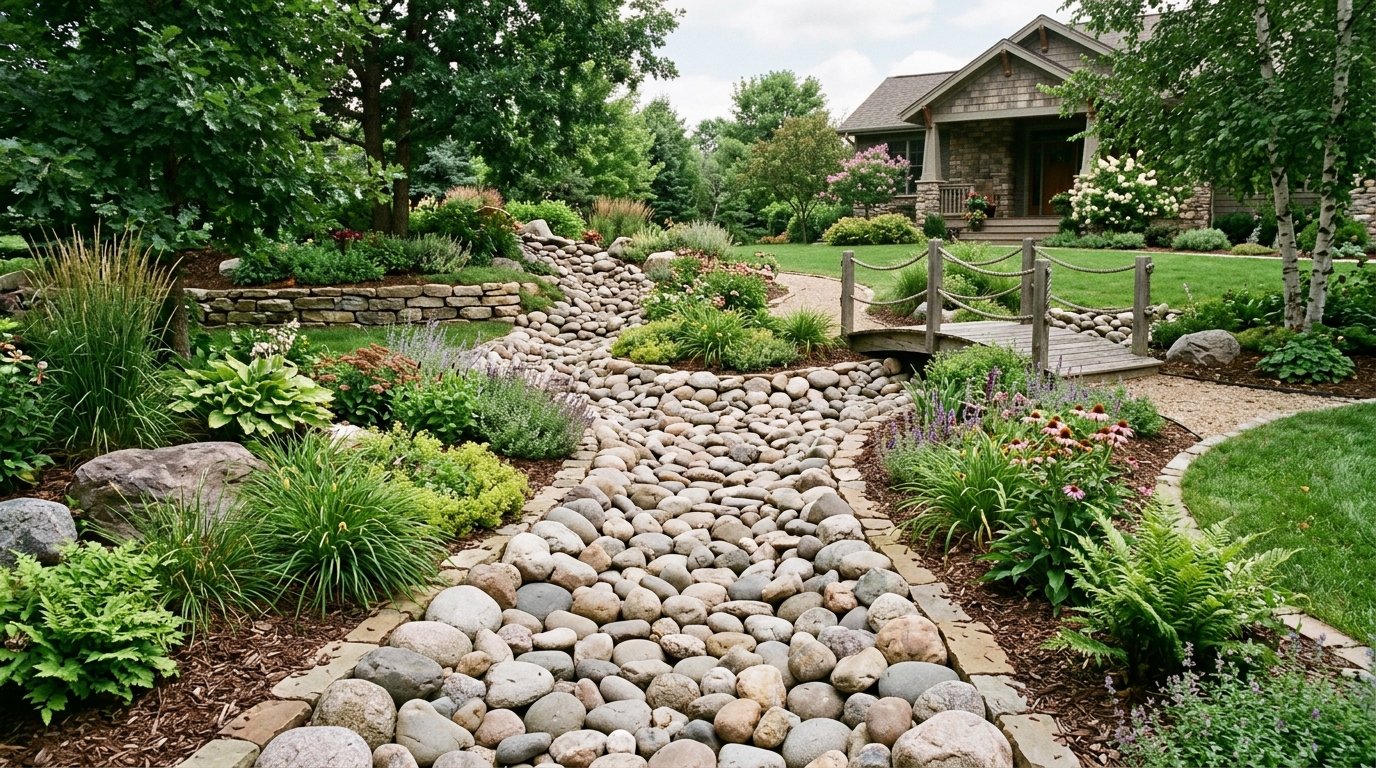
18. River Rock Drainage
Strategic drainage prevents mud from splashing onto your patio furniture and keeps your foundation dry during heavy storms. Create a dry creek bed using three inch smooth river stones in areas where water naturally flows off your roof or gutters. This project costs fifty dollars for a truckload of stone and improves the aesthetics of the yard instantly. Many people try to hide their drainage pipes with mulch which simply washes away during the first rainstorm. Heavy stone is the only permanent solution for water management.
19. Potted Citrus Trees
Citrus trees in large ceramic pots provide a Mediterranean feel and can be moved indoors during the winter in colder climates. Lemon or lime trees offer glossy green leaves and fragrant blossoms that improve the sensory experience of your patio. A high quality glazed pot and a three year old tree cost approximately one hundred fifty dollars. Use a specialized citrus potting mix to ensure the tree gets the drainage and nutrients it needs. Neglecting the fertilization schedule is a common reason why potted trees fail to produce fruit.

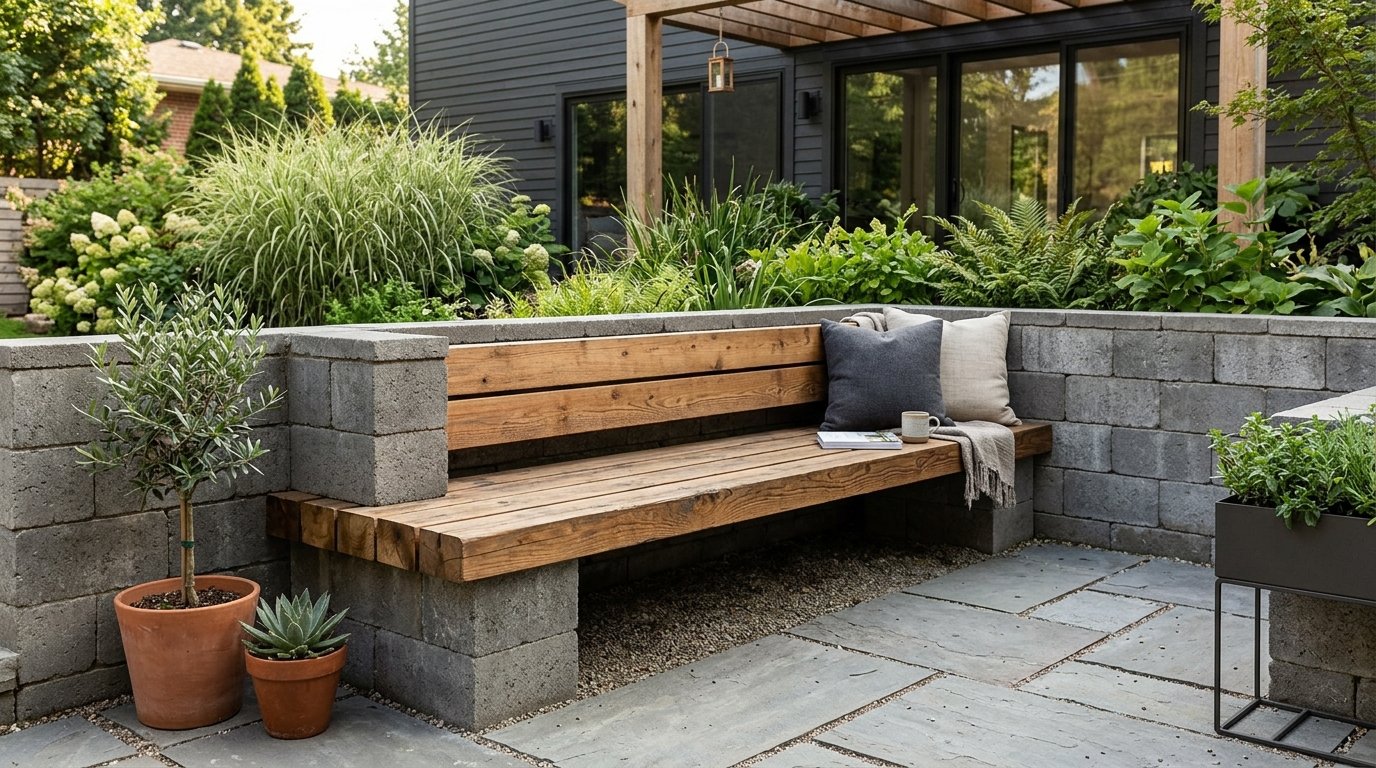
20. Built In Bench
A built in bench saves space and provides permanent seating that can never be blown away by strong winds. Construct a simple bench using concrete blocks as the base and thick cedar four by fours as the seat for a modern industrial look. This project costs ninety dollars and provides seating for four adults. Most people build their benches too high which makes them uncomfortable for long periods. Aim for a seat height of eighteen inches including any cushions you plan to add later.
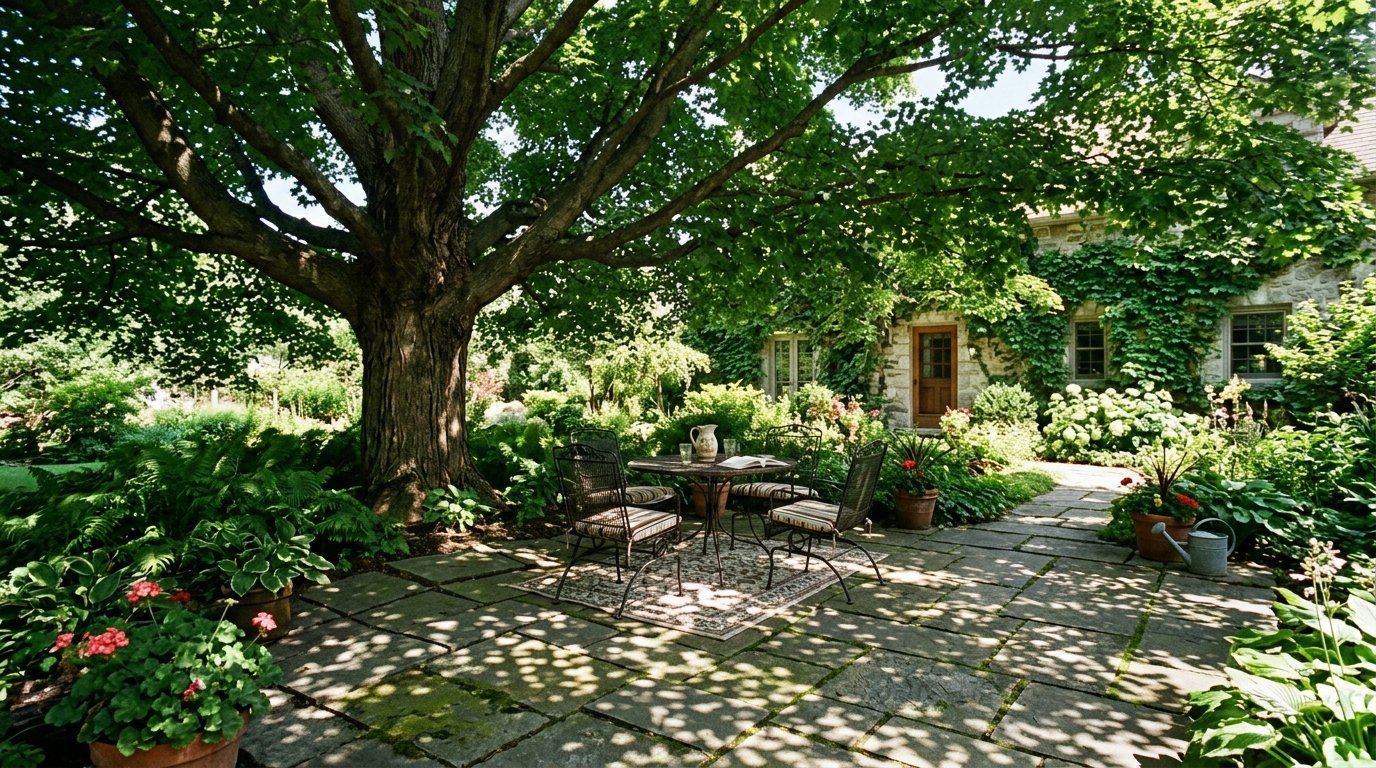
21. Shade Canopy Trees
Strategic tree placement provides natural shade that can lower the temperature of your patio by ten degrees during the afternoon. Choose a fast growing species like a Red Maple or an Autumn Blaze that provides a wide canopy and stunning fall color. A seven gallon tree costs seventy five dollars and should be planted at least fifteen feet away from the patio edge to protect the stone from root damage. Planting a tree too close to the house is a dangerous mistake that can lead to foundation cracks as the tree matures.
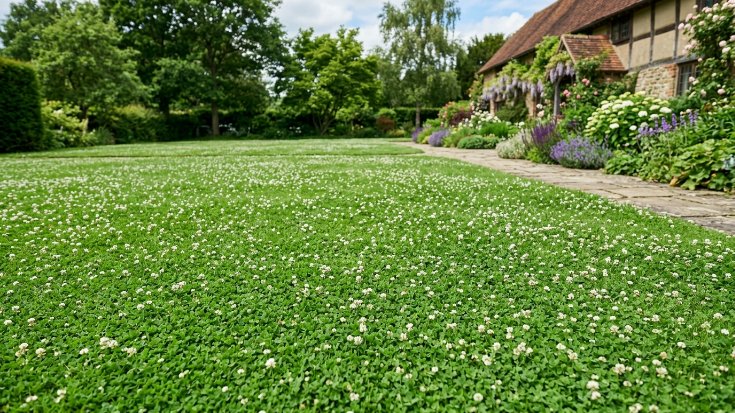
22. Low Maintenance Clover
Micro clover is a sustainable alternative to traditional grass that stays green with very little water and never needs fertilizer. It feels soft under bare feet and produces tiny white flowers that support local bee populations. A bag of seed costs twenty five dollars and can be overseeded into your existing lawn in minutes. Clover is naturally resistant to pet urine which makes it the perfect choice for dog owners who are tired of yellow spots on their grass. Traditional lawns are far more expensive and time consuming to maintain.
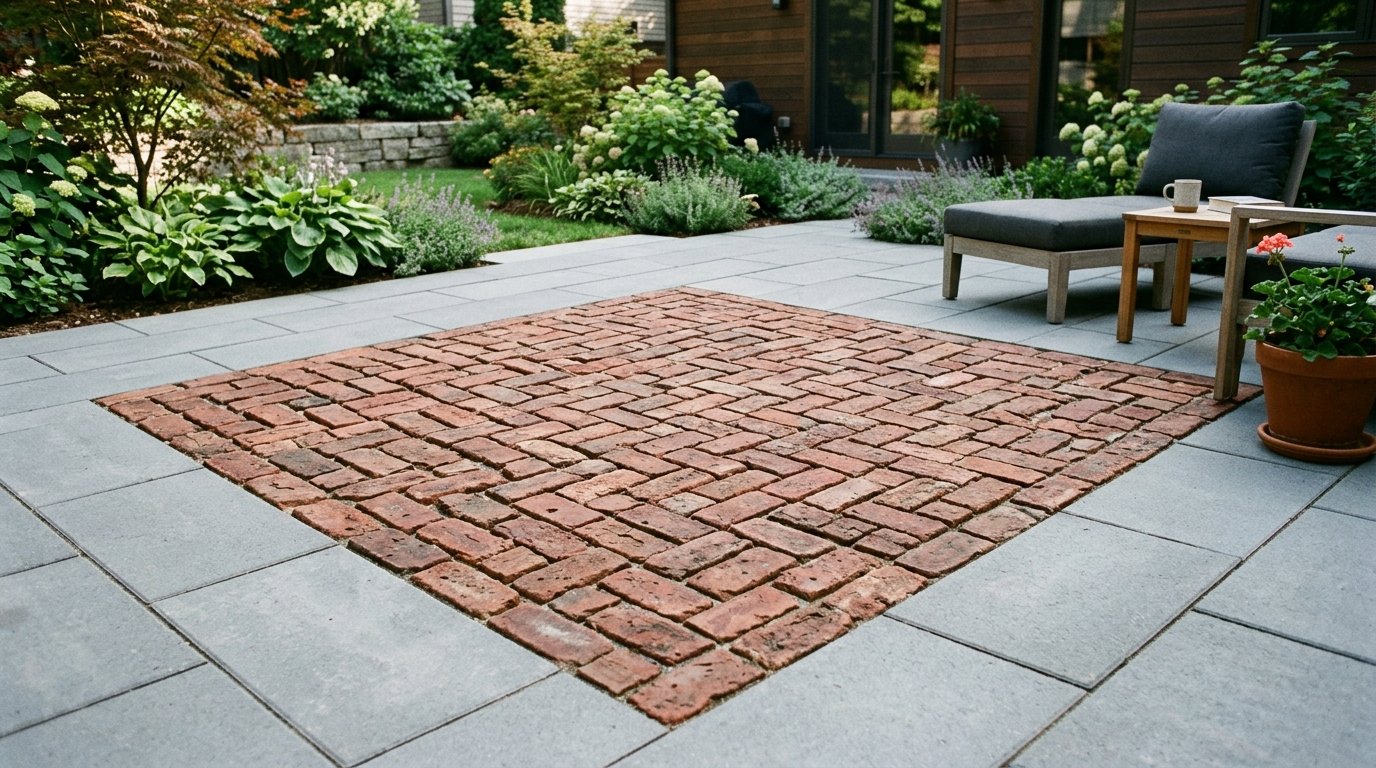
23. Recycled Brick Accents
Using old bricks as accents within your patio design adds a layer of history and character that new materials simply cannot replicate. Search local marketplaces for “free bricks” or visit a salvage yard to find unique textures and colors from old buildings. Use these bricks to create a decorative inlay or a small landing at the bottom of your steps. This project can often be done for free or very low cost and takes a few hours of creative layout. Mixing too many different types of brick can look messy so stick to one or two consistent styles for the best visual result.
Frequently Asked Questions
What is the most durable material for a new patio?
Natural stone such as granite or bluestone is the most durable choice because it does not fade in the sun or crack under heavy weight like poured concrete often does. These materials have been used for centuries and can withstand extreme temperature shifts without losing their structural integrity. While the initial cost is higher the long term value is much greater because you will never need to replace them. Use a professional grade polymeric sand between the joints to prevent weeds from growing and to keep the stones locked in place for decades.
How do I prevent weeds from growing between my pavers?
The best way to stop weeds is to use high quality polymeric sand like the Gator Dust brand which hardens into a flexible grout when misted with water. This material fills the gaps completely so seeds cannot reach the soil underneath. You must ensure the joints are clean and dry before applying the sand to get a proper bond. Many people make the mistake of using regular play sand which simply washes away and provides a perfect nursery for weed growth within weeks of installation.
How much does professional patio landscaping cost per square foot?
You should expect to pay between fifteen and thirty dollars per square foot for a professional installation depending on the materials you choose and the complexity of the site. This price usually includes site preparation excavation and the final cleaning of the area. If you do the labor yourself you can reduce this cost by nearly sixty percent as labor is the most expensive part of the process. Always get three quotes and check for recent photos of completed projects to ensure the contractor has experience with your specific material choice.
Can I install a patio directly over an existing concrete slab?
Yes you can install pavers over concrete but you must ensure the slab is in good condition without major cracks or sinking areas. Use a thin layer of sand or specialized adhesive to secure the new stones to the old surface. This is a common way to upgrade an ugly builder grade patio without the massive cost of demolition and removal. However if the underlying concrete is shifting the new pavers will eventually shift as well so assess the foundation carefully before spending money on new materials.
What are the best plants for a low maintenance outdoor space?
Focus on native perennials like Coneflower or Black Eyed Susans because they are adapted to your local climate and require very little supplemental water. Ornamental grasses and evergreen shrubs also provide year round interest with minimal effort. Avoid annual flowers that need to be replanted every spring and high maintenance shrubs like roses that require constant pruning and chemical treatments. By choosing plants that belong in your region you save time and money while creating a habitat for local wildlife.
How do I improve the drainage on my patio?
Install a French drain or a dry creek bed at the lowest point of your yard to direct water away from your seating area and foundation. You can also use permeable pavers which allow water to soak through the surface and into the ground instead of running off. This is especially important in urban areas where heavy rain can quickly overwhelm local sewer systems. Proper grading is the most critical factor so ensure your patio slopes away from your house at a rate of one inch for every four feet.
Is solar lighting bright enough for a backyard?
High end solar fixtures with glass lenses and lithium batteries are now bright enough to provide excellent ambient light for any outdoor area. While they may not be as powerful as hardwired spotlights they are perfect for defining paths and highlighting garden features. Look for lights with at least twenty lumens for the best performance. The main benefit is that you can install them anywhere without hiring an electrician or digging deep trenches for wires which saves you hundreds of dollars in labor costs.
How do I clean my patio without damaging the stone?
Use a specialized stone cleaner and a soft bristle brush rather than a high pressure washer which can strip the surface and wash away the joint sand. For tough stains like grease or rust you can find targeted treatments that are safe for natural stone and concrete. Rinse the area thoroughly with a standard garden hose to remove any residue. Many homeowners accidentally damage their pavers by using harsh bleach or acidic cleaners that eat away at the finish and leave the stone looking dull and porous.
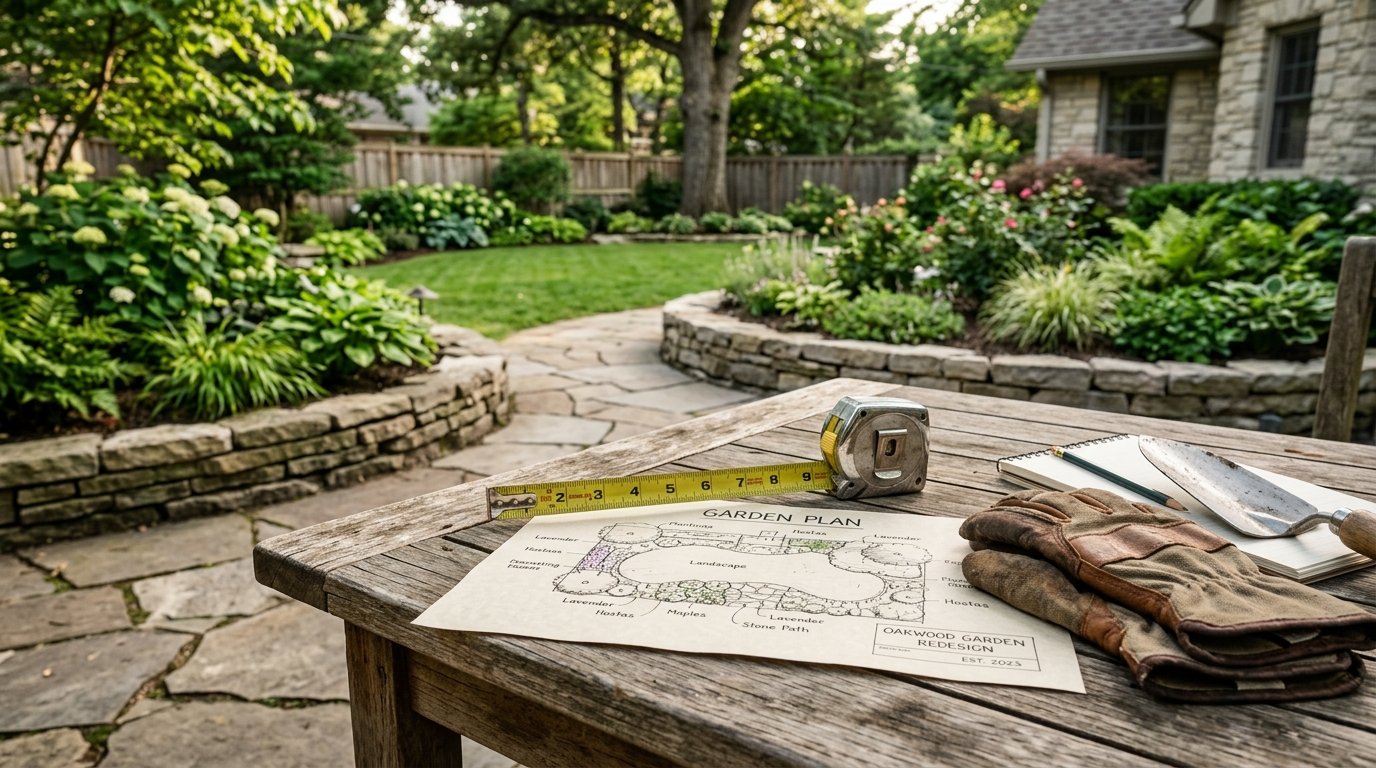
What is the best time of year to start a landscaping project?
Early spring or late fall are the best times because the weather is cool enough for physical labor and the soil is easy to work with. Planting during these seasons also gives your new greenery time to establish roots before the heat of summer or the deep freeze of winter. If you plan to hire a professional you will often get better rates during the off season as most crews are fully booked during the peak summer months. Plan your project at least two months in advance to ensure materials are in stock.
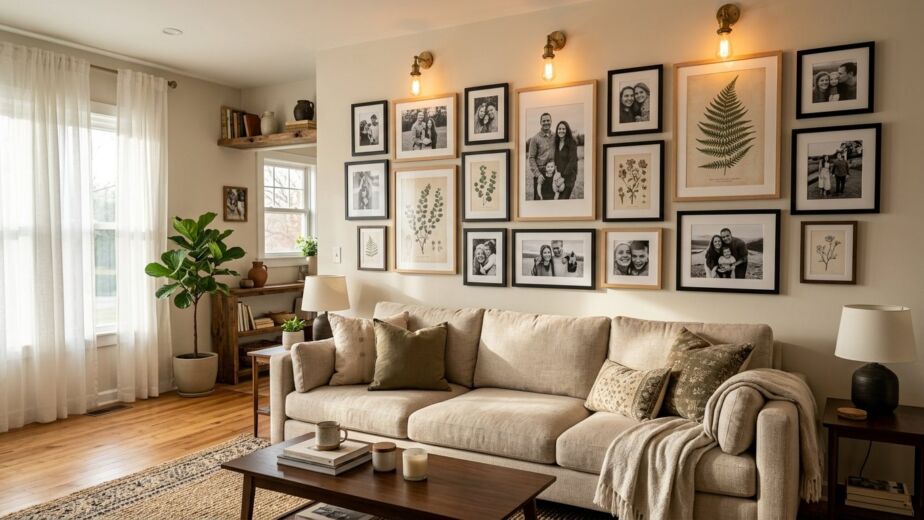
How do I make a small patio feel larger?
Use large pavers and a light color palette to create an open airy feeling that tricks the eye into seeing more space. Keep the perimeter clear of bulky furniture and use vertical elements like wall planters or tall thin trees to draw the eye upward. A well defined rug can also help organize the space and make it feel more intentional. Avoid cluttering the area with small decorative items which can make the space feel busy and cramped. Focus on a few high quality pieces that serve multiple purposes.
Should I use mulch or rock in my garden beds?
Rock is a better choice for long term low maintenance because it does not decompose or need to be replaced every year like wood mulch. It also provides better drainage and does not harbor pests like termites. However mulch is better for the health of your plants as it provides nutrients and helps retain moisture in the soil. Many designers use rock around the patio edge for a clean look and mulch in the deeper garden beds where plants are the focus. This gives you the best of both worlds in terms of aesthetics and plant health.
How do I choose the right size for a new patio?
A good rule of thumb is to measure your indoor dining room and add two feet to every side to ensure you have enough space for furniture and walking paths. Most people build their patios too small and regret it once they try to host a gathering. Use a garden hose or spray paint to outline the area on your lawn and leave it there for a few days to get a feel for the size. This allows you to visualize the space and make adjustments before you start digging or ordering expensive materials.
Building a beautiful outdoor retreat is about making intentional choices that balance style with practical function. I have seen how small changes like adding a stone border or a few well placed lights can completely transform a boring backyard into the favorite room of the house. By using these ideas you can create a high end look that lasts for decades and provides a peaceful space for your family to enjoy. Save this post on Pinterest so you can reference these steps when you are ready to start your next weekend project.