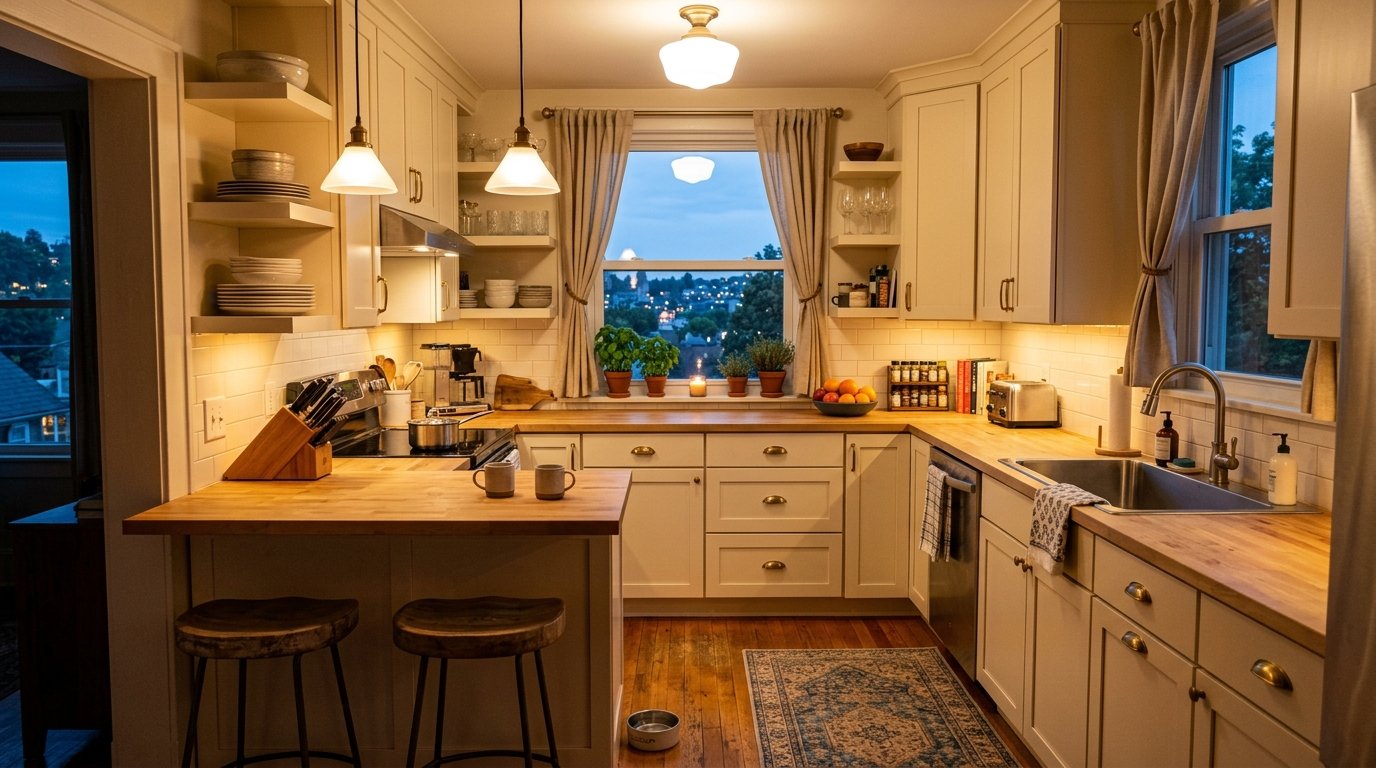
Staring at a single drawer and a two-foot counter can make even a simple pasta dinner feel like a high-stakes puzzle. I remember helping my brother move into his first studio in Brooklyn; the kitchen apartment layout was so cramped we had to keep the toaster on top of the refrigerator. We spent a Sunday and about $85 on tension rods and adhesive hooks to turn that narrow hallway into a functional cooking zone. Have you ever felt like your home is working against your love for cooking? Is it possible that your clutter isn’t a lack of discipline, but a lack of vertical strategy? Most renters assume they are stuck with what the landlord provided, but I have seen that temporary, smart modifications can triple your prep space without losing your security deposit.
Executive Summary
Navigating a compact culinary space requires a shift from horizontal thinking to vertical mastery. You will find that by utilizing often-overlooked areas like the sides of cabinets, the space above the sink, and the inside of pantry doors, you can create a professional-grade workflow in under 500 square feet. This guide explores 23 specific tactical setups including magnetic storage, modular furniture, and lighting hacks that brighten dark corners. We cover budget-friendly solutions ranging from $10 DIYs to $200 investment pieces like rolling islands. I have observed that the most successful small kitchens rely on “active” storage—keeping daily tools within reach while tucking seasonal items away. This article intentionally excludes major plumbing or electrical work, focusing instead on renter-friendly, reversible upgrades that provide immediate relief.

1. Vertical Magnet Strips
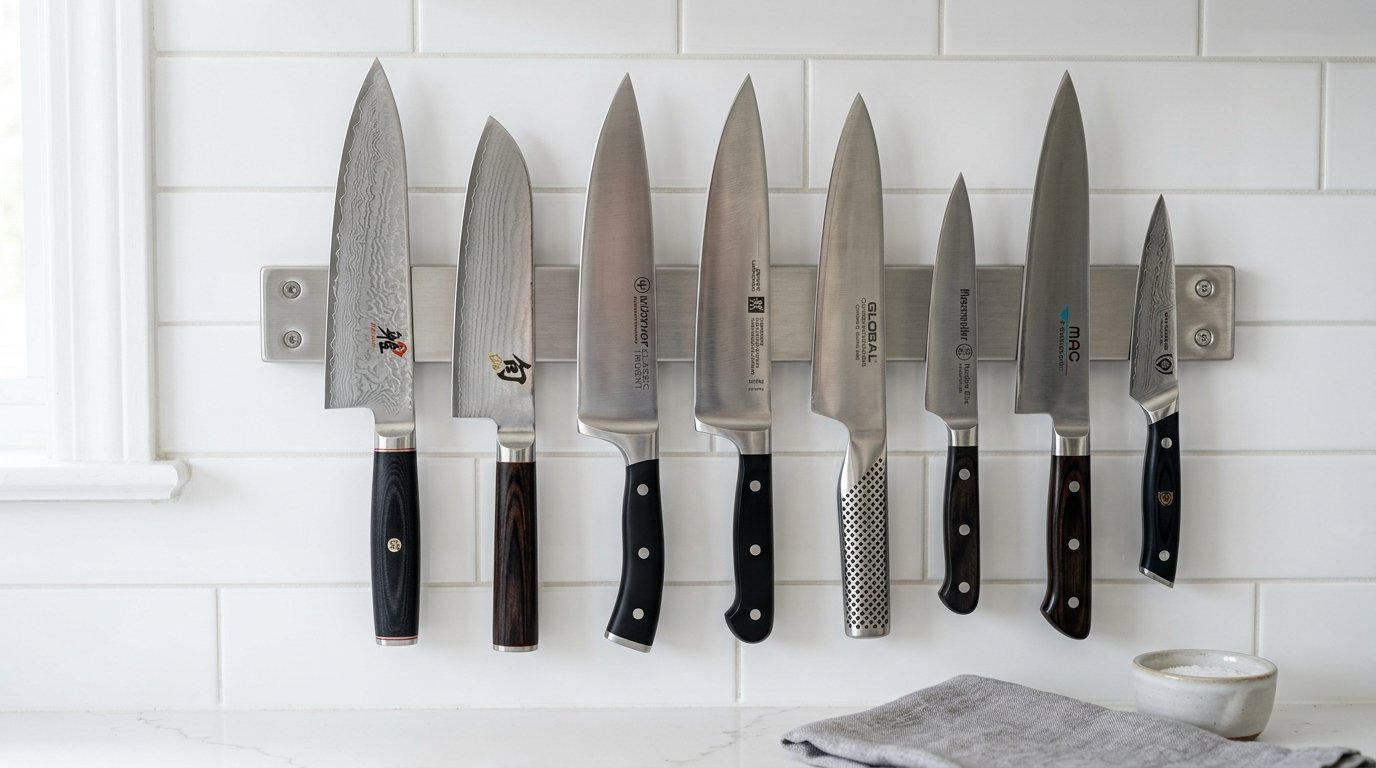
Installing a heavy-duty magnetic knife strip clears up vital counter space previously occupied by a bulky knife block. I have noticed that brands like Modern Innovations offer sleek stainless steel versions that hold even heavy shears and honing steels securely.
Practical Action: Mount the strip on the backsplash area between the stove and the sink for the most efficient workflow. Cost/Time: $20 and 15 minutes to install. Contrarian Note: Do not use cheap, weak magnets for heavy cleavers; the risk of a falling blade outweighs the space savings.
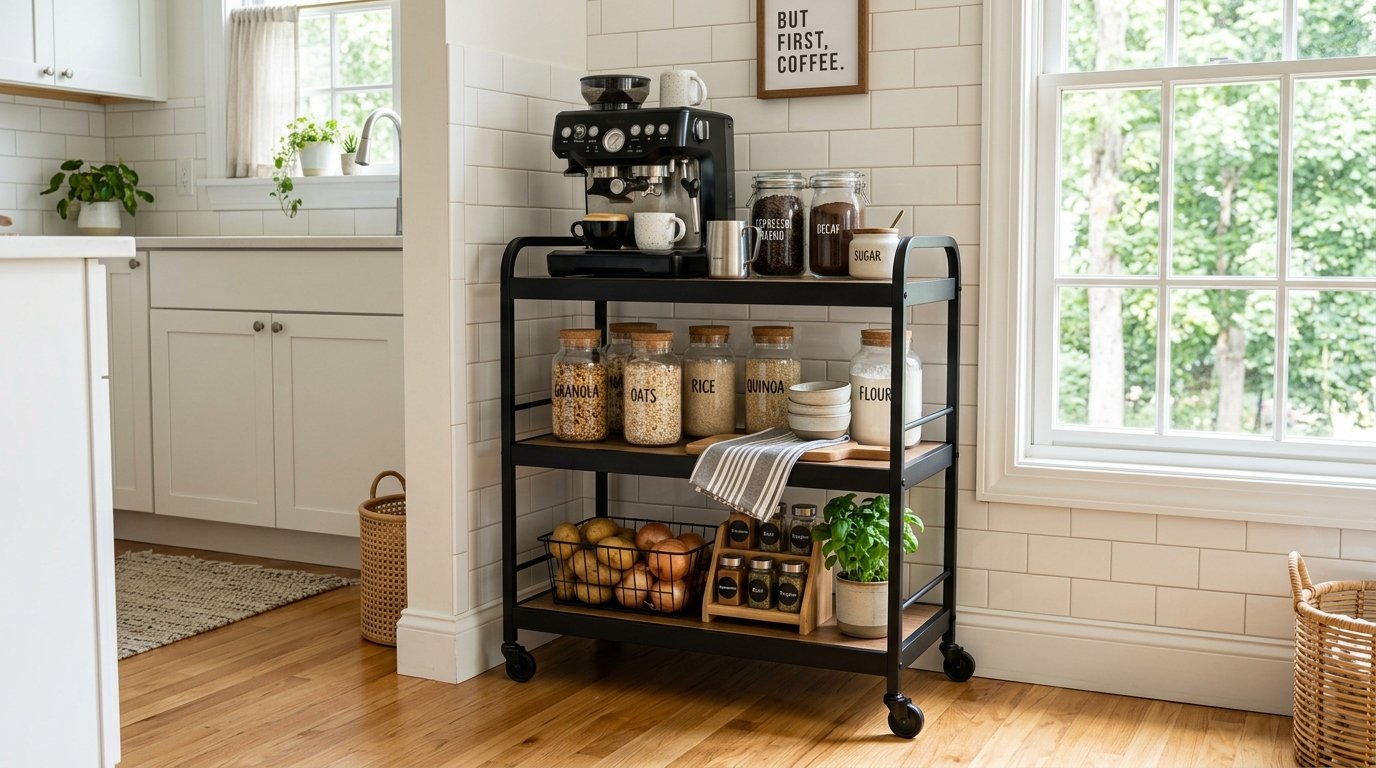
2. Rolling Kitchen Carts
A slim rolling cart acts as a mobile island that can be tucked into a corner when not in use. I’ve seen many people benefit from the IKEA RÅSKOG cart for storing everything from coffee supplies to heavy bags of potatoes.
Practical Action: Use the top tier for items you use daily and the bottom tier for heavy appliances like an air fryer. Cost/Time: $40 and 30 minutes for assembly. Contrarian Note: Avoid carts with plastic wheels; they tend to buckle under the weight of heavy canned goods or small appliances.
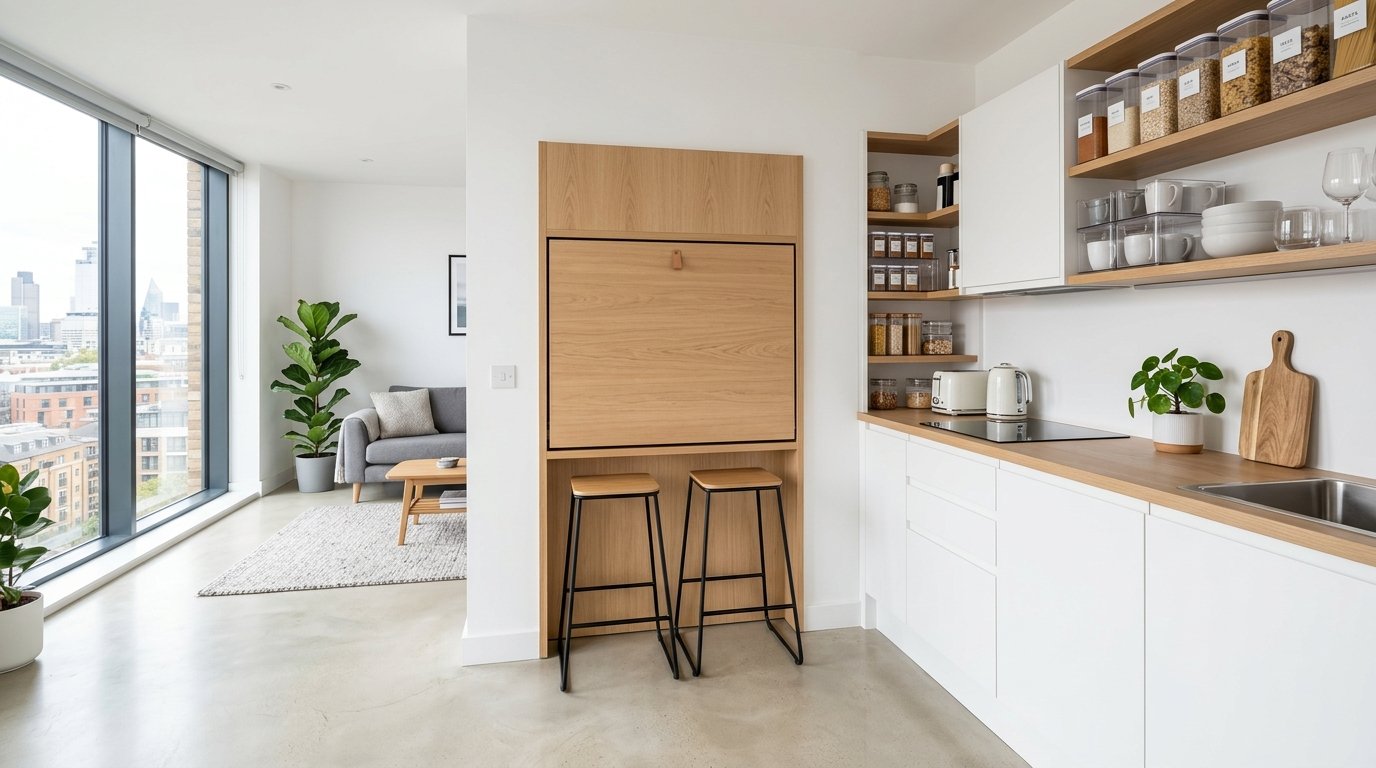
3. Foldable Dining Tables
Wall-mounted drop-leaf tables provide a dining surface that disappears when the meal is over. In my experience, these are lifesavers in studio apartments where the kitchen and living room share a single wall.
Practical Action: Mount the table at counter height so it can double as extra prep space during big meal prep sessions. Cost/Time: $60 to $120 and one hour for secure wall mounting. Contrarian Note: These require heavy-duty wall anchors; never trust the standard plastic plugs included in the box.
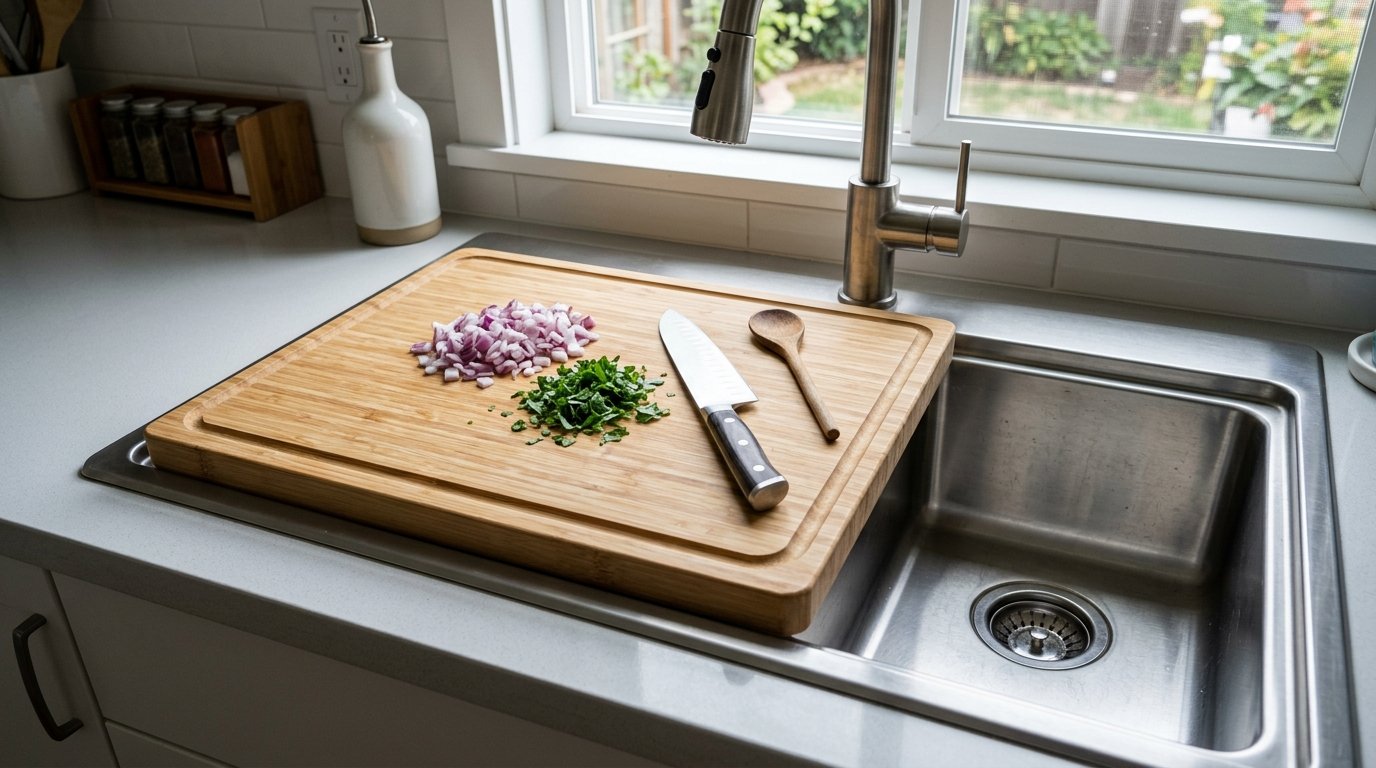
4. Over-The-Sink Boards
A large, sturdy cutting board designed to sit across the sink basin instantly adds two square feet of workspace. I once saw a tiny apartment where this was the only place to chop vegetables, and it worked perfectly.
Practical Action: Choose a bamboo board with a juice groove to prevent liquids from running into the sink while you work. Cost/Time: $35 and zero installation time. Contrarian Note: Make sure the board has non-slip feet so it doesn’t slide into the basin while you are using a sharp knife.
5. Adhesive Wall Hooks
Command hooks are the unsung heroes of the renter world for hanging measuring cups, oven mitts, and even lightweight pots. I have noticed that grouping these on the side of a refrigerator keeps them accessible but out of the main line of sight.
Practical Action: Clean the surface with rubbing alcohol first to ensure the adhesive bonds permanently to greasy kitchen surfaces. Cost/Time: $10 for a multi-pack and 5 minutes. Contrarian Note: Always check the weight limit; hanging a cast iron skillet on a plastic hook will result in a loud midnight crash.
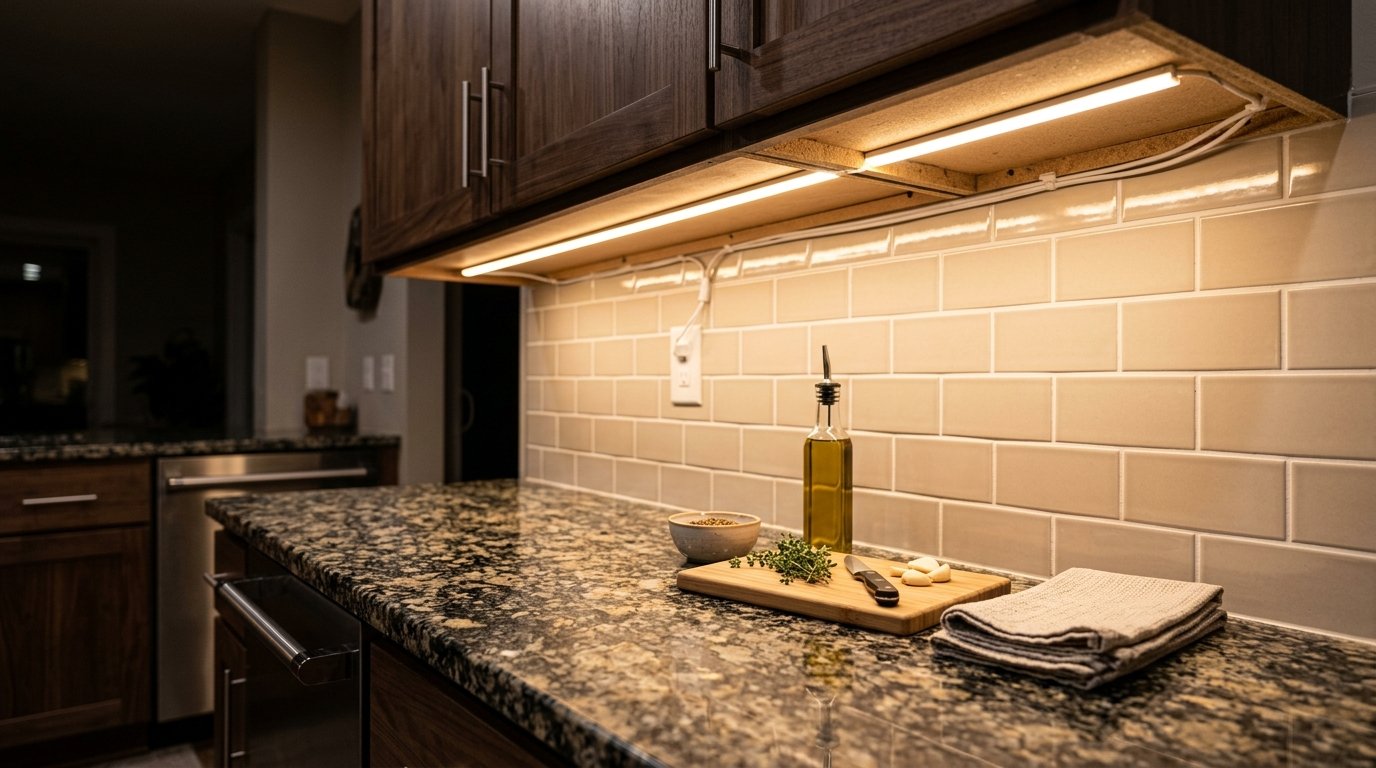
6. Under-Cabinet Lighting
Battery-operated LED puck lights or strip lights eliminate the shadows that make a small kitchen feel like a cave. I’ve tried the motion-sensor versions and they are incredibly convenient when your hands are covered in flour.
Practical Action: Place the lights toward the front edge of the cabinet underside, not the back, to light the middle of your workspace. Cost/Time: $25 for a set of three and 10 minutes. Contrarian Note: Cheap “cool white” LEDs can make food look unappealing; look for “warm white” or 3000K color temperatures.
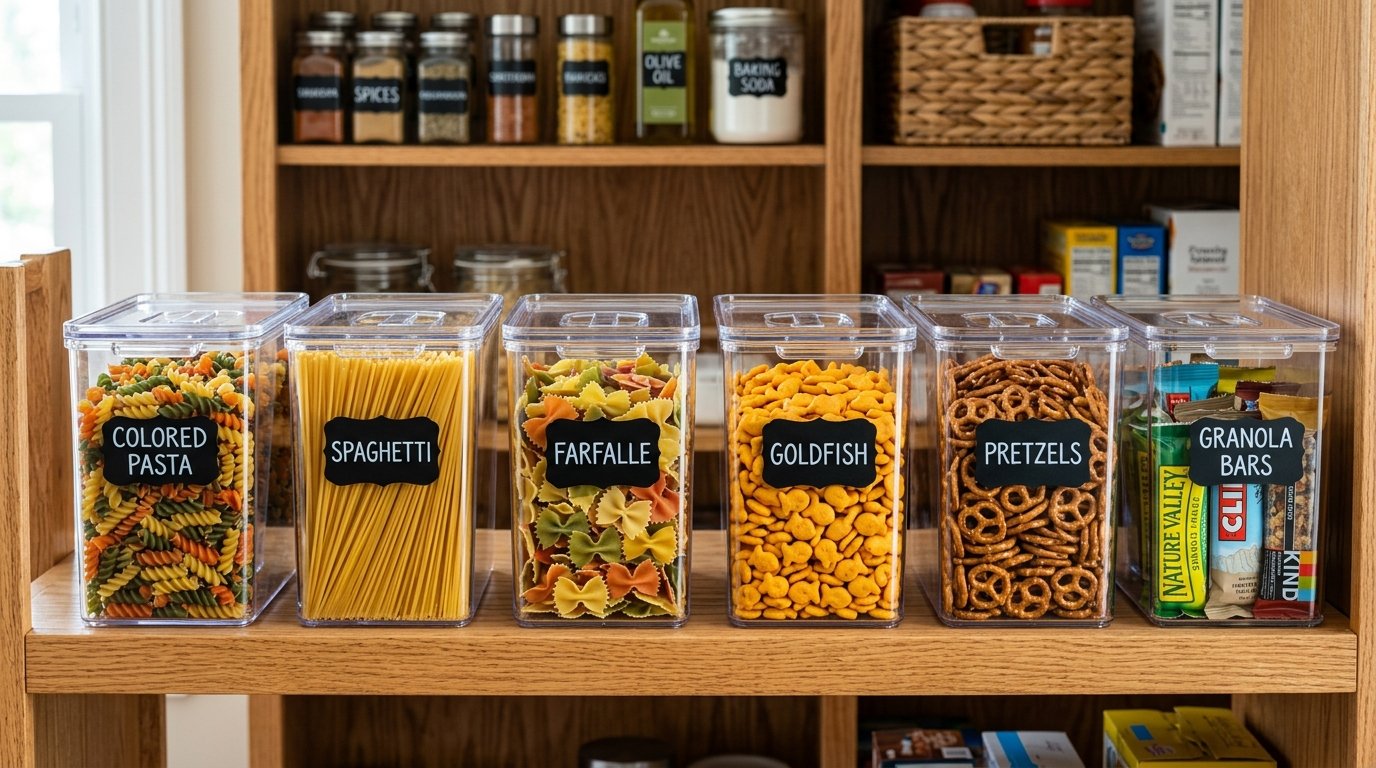
7. Clear Acrylic Organizers
Replacing mismatched cardboard boxes with clear bins allows you to see exactly what you have, preventing double-buying. I have seen that this works best for snack bars, tea bags, and spice packets.
Practical Action: Use a label maker to mark the bins so every member of the household knows exactly where the “pasta” bin goes. Cost/Time: $30 for a set of four. Contrarian Note: Don’t buy “sets” with sizes you don’t need; measure your shelves before ordering to maximize every inch.
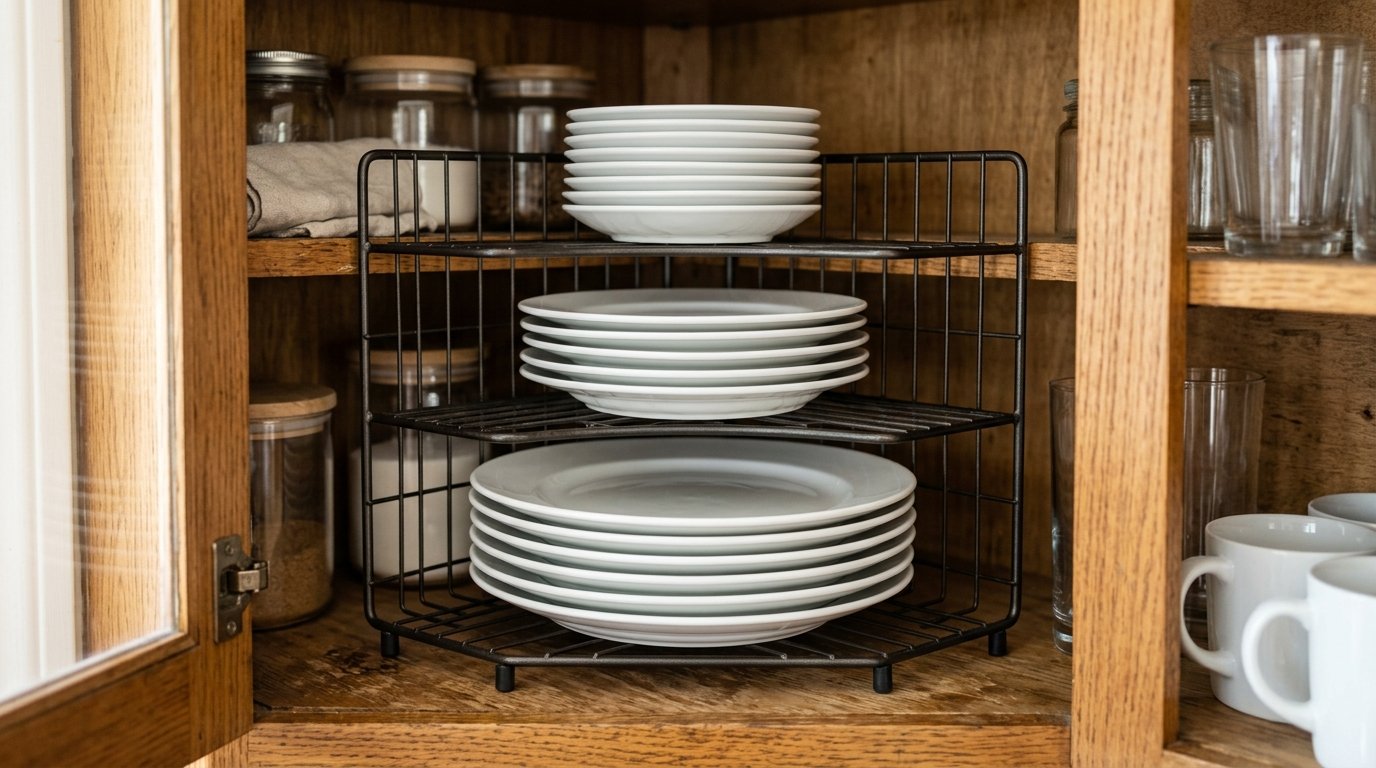
8. Tiered Corner Shelves
Kitchen corners are often dead space where items go to be forgotten. A three-tier wire rack allows you to stack plates or mugs vertically rather than in precarious, tall piles.
Practical Action: Use the bottom tier for large dinner plates and the top for smaller salad plates or saucers. Cost/Time: $15 and zero assembly. Contrarian Note: Wire racks can be unstable for stemmed glassware; keep your wine glasses on a flat surface.
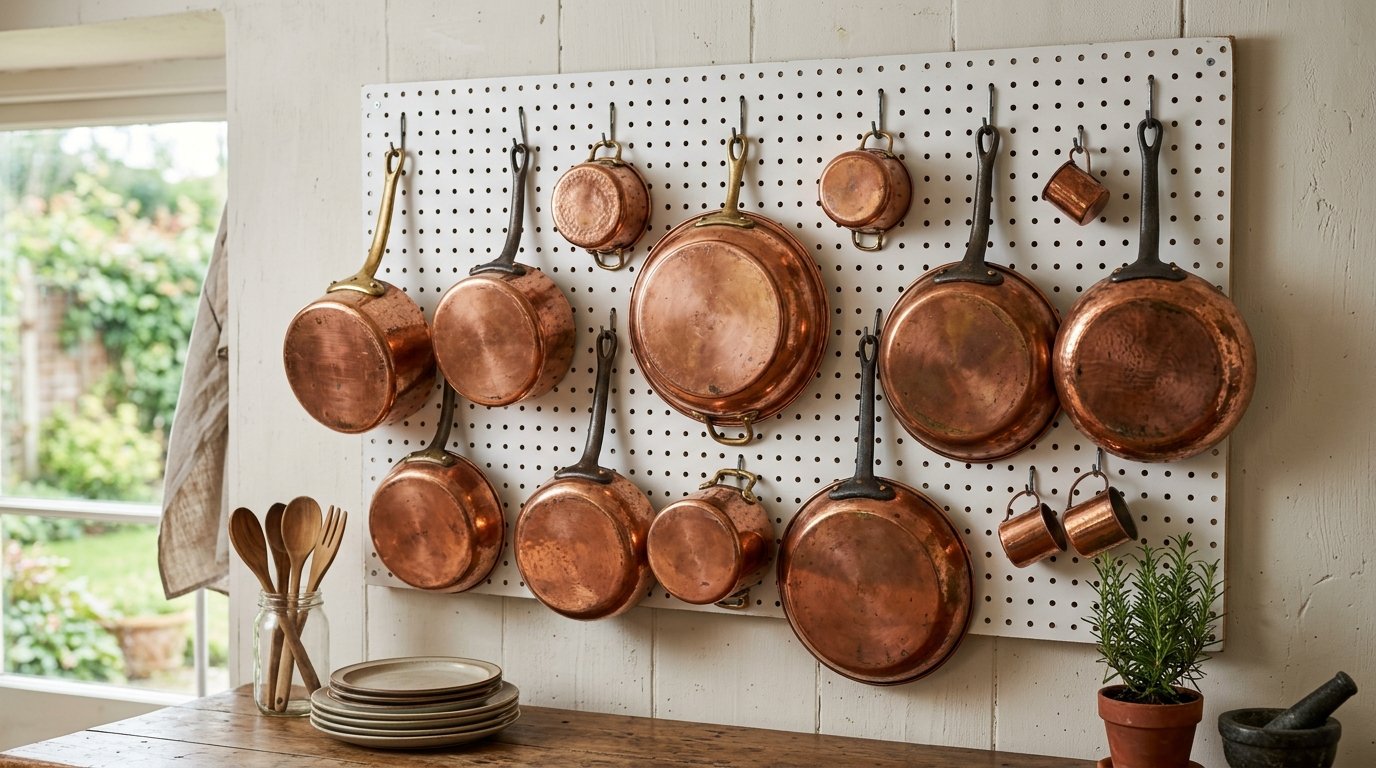
9. Pegboard Wall Systems
A large pegboard turns an empty wall into a custom storage gallery for pots, pans, and colanders. I have noticed that painting the pegboard to match your walls makes the storage look like a deliberate design choice.
Practical Action: Use “peg locks” to keep the hooks from falling out every time you grab a pan. Cost/Time: $50 for a full kit and two hours to hang. Contrarian Note: This can look cluttered quickly; keep the items organized by size and color for a cleaner look.
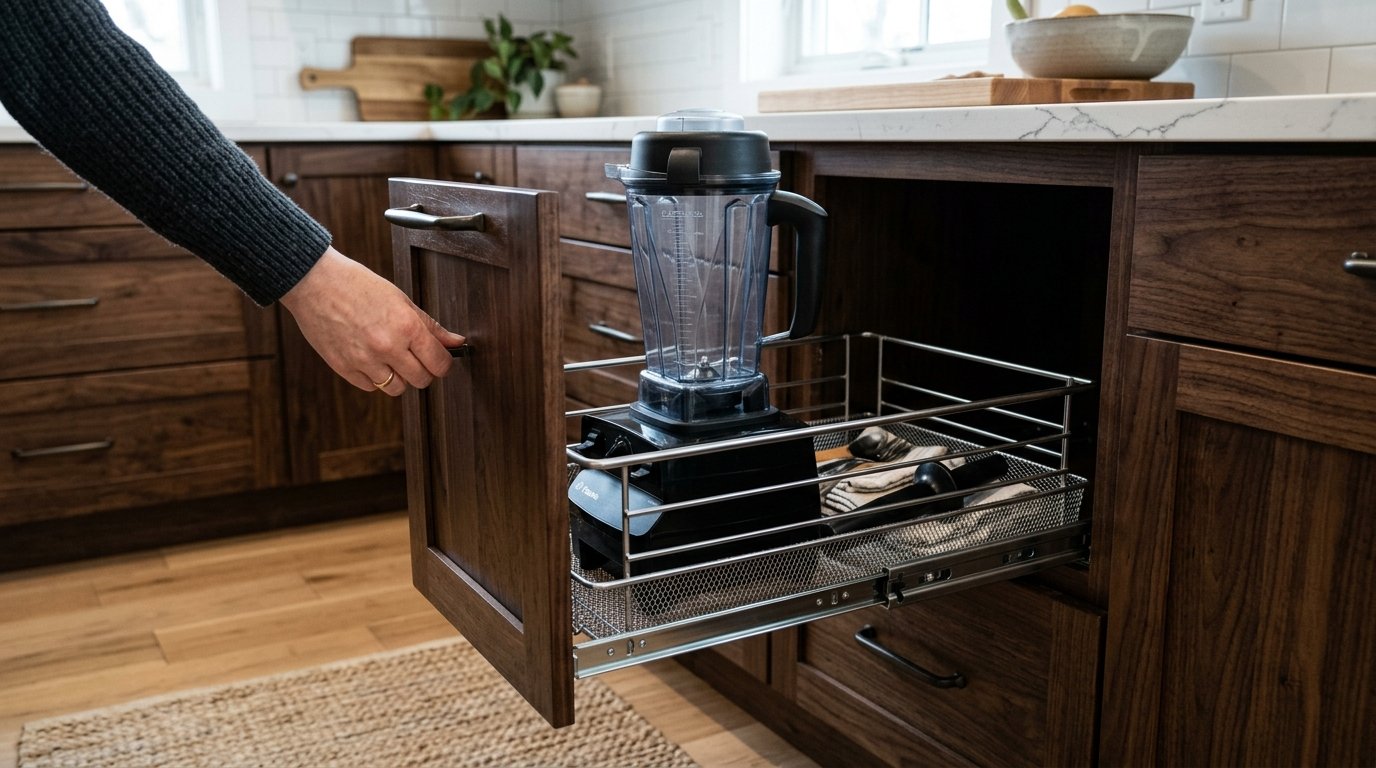
10. Pull-Out Cabinet Trays
Deep cabinets are great for storage but terrible for access. Installing a sliding wire drawer allows you to reach the blender at the very back without emptying the entire cupboard.
Practical Action: Look for “no-drill” versions that use heavy-duty adhesive or tension if your landlord forbids screws. Cost/Time: $45 per drawer and 20 minutes. Contrarian Note: Ensure the drawer clearance accounts for the cabinet door hinges, or it won’t slide out.
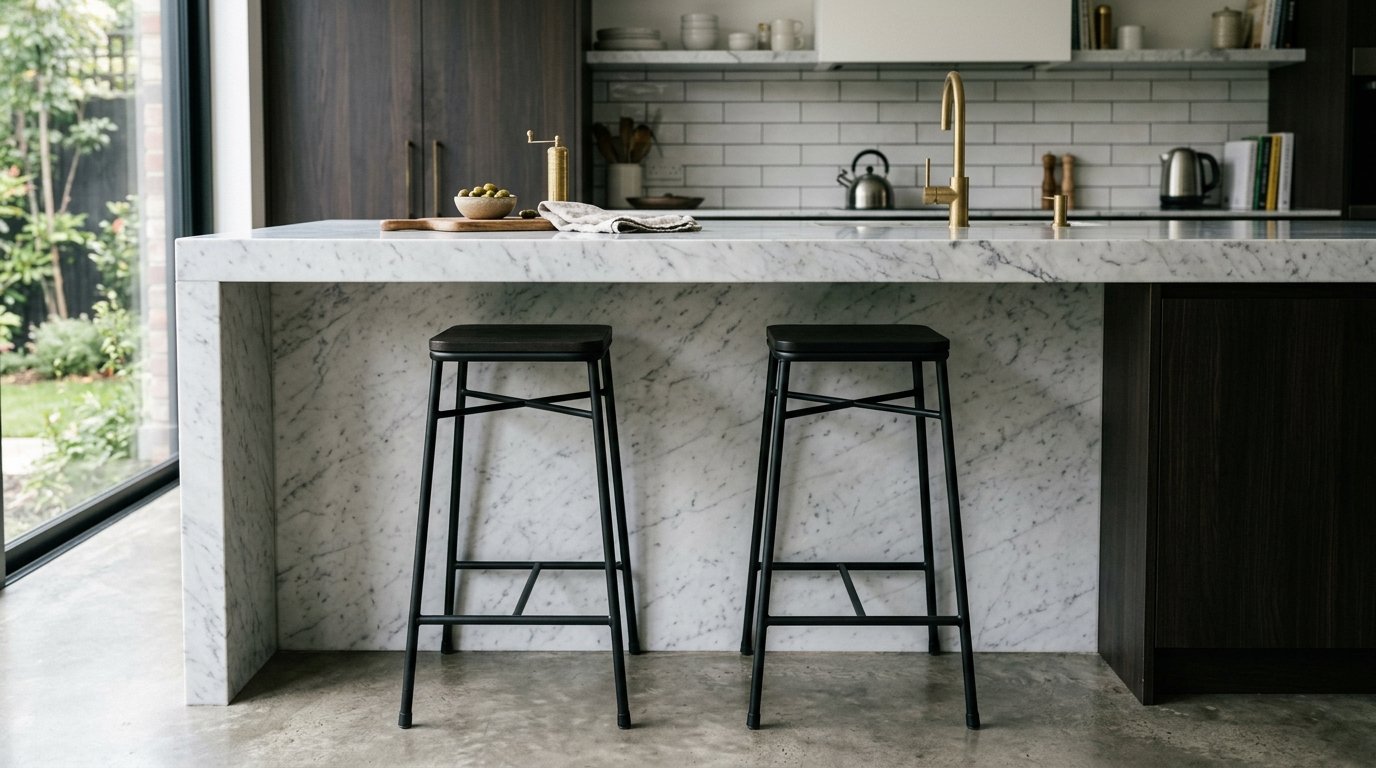
11. Minimalist Bar Stools
Backless stools can be tucked completely under a counter, keeping the floor path clear. I’ve seen that metal stools like the Tolix style are durable and take up very little visual “weight” in a room.
Practical Action: Choose stools with a built-in footrest for comfort if you plan on using the counter as a workspace. Cost/Time: $80 for a pair. Contrarian Note: Metal stools can be noisy on hardwood floors; add felt pads to the feet immediately.
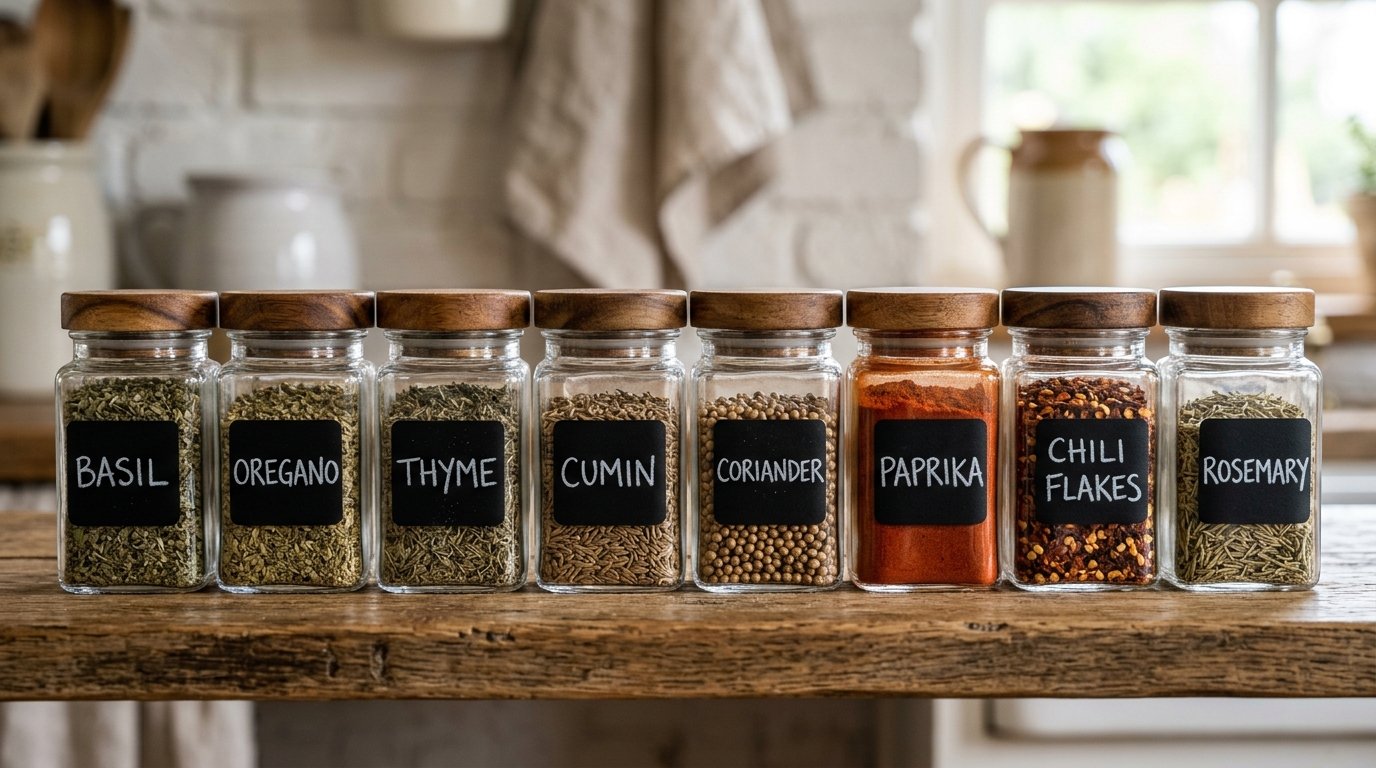
12. Magnetic Spice Tins
Moving spices to the side of the fridge or a wall-mounted metal plate frees up an entire cabinet shelf. I have seen this work best when using uniform glass or tin containers with clear lids.
Practical Action: Keep spices away from the stove’s heat, as high temperatures degrade the flavor of dried herbs quickly. Cost/Time: $25 for a set of 12 tins. Contrarian Note: Round tins can roll if the magnet isn’t perfectly centered; look for tins with flat backs.

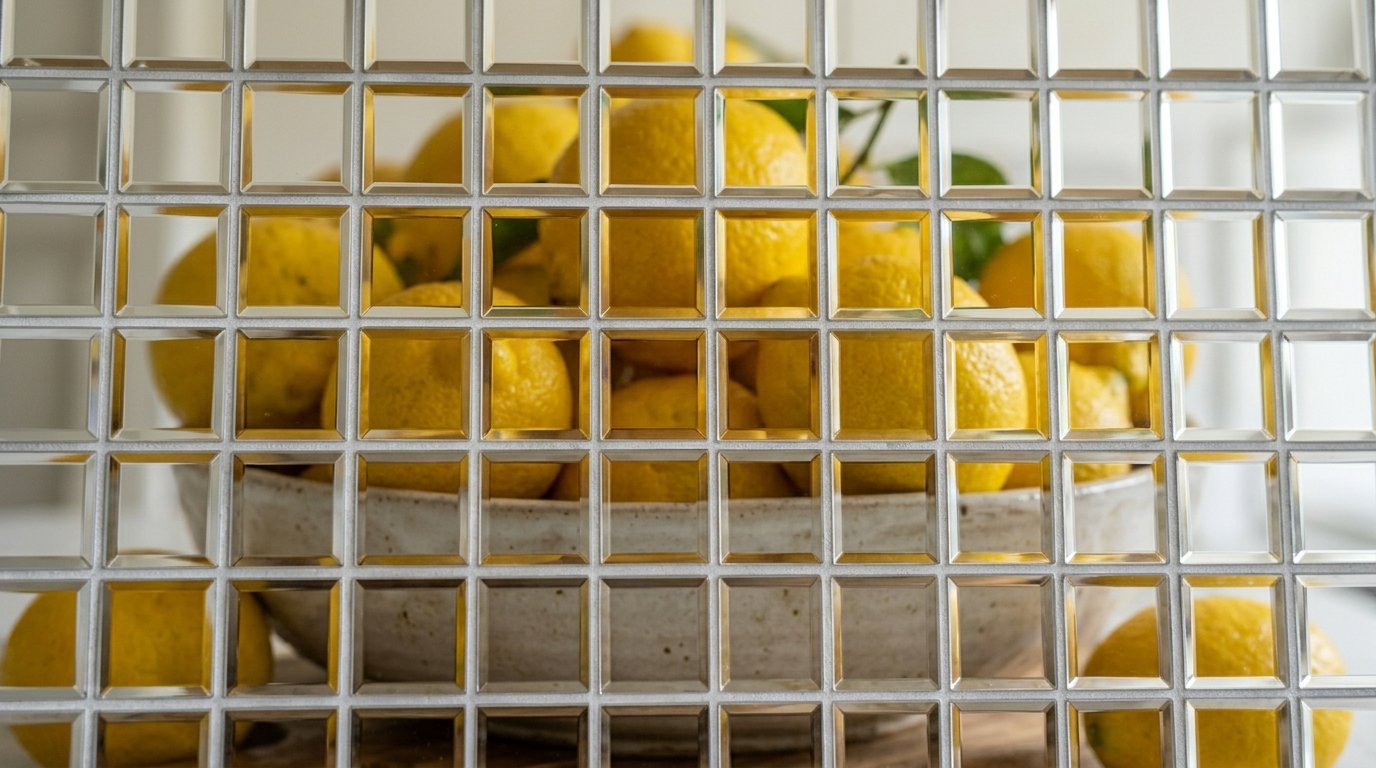
13. Mirror Backsplash Tiles
Peel-and-stick mirrored tiles reflect light and give the illusion of double the counter depth. I’ve noticed that this simple trick makes a windowless kitchen feel significantly less claustrophobic.
Practical Action: Use a laser level to ensure your first row is perfectly straight, as mirrors amplify any crooked lines. Cost/Time: $40 for a box of tiles and 3 hours. Contrarian Note: Mirrors show every splash of grease and water; be prepared to wipe them down daily.
14. Removable Vinyl Floors
If your apartment has ugly, stained linoleum, a peel-and-stick vinyl floor can modernize the space in an afternoon. I have seen that checkered or slate patterns work best for hiding small imperfections in the subfloor.
Practical Action: Order 10% more than you think you need to account for tricky cuts around the base of the stove and fridge. Cost/Time: $100 for a standard kitchen and 5 hours. Contrarian Note: In very hot climates, the adhesive can sometimes soften, causing tiles to shift slightly.

15. Hanging Pot Racks
Ceiling-mounted racks utilize the space above an island or sink that is otherwise wasted. In my experience, this is the most effective way to store heavy cast iron that would otherwise take up an entire cabinet.
Practical Action: Ensure you are mounting the rack into a ceiling joist, as the weight of several pans can easily rip through plain drywall. Cost/Time: $70 and two hours for installation. Contrarian Note: This isn’t ideal for low ceilings; you don’t want to be ducking under pans while you cook.
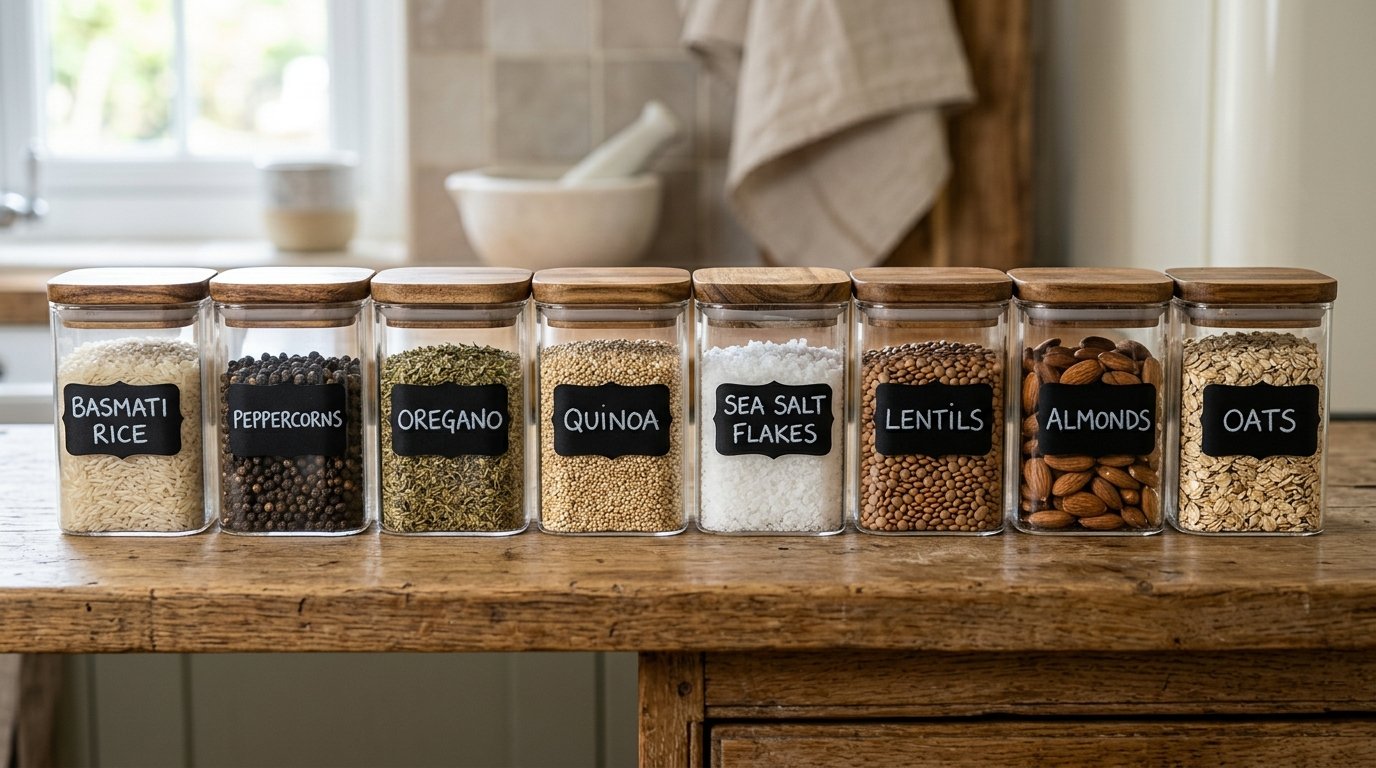
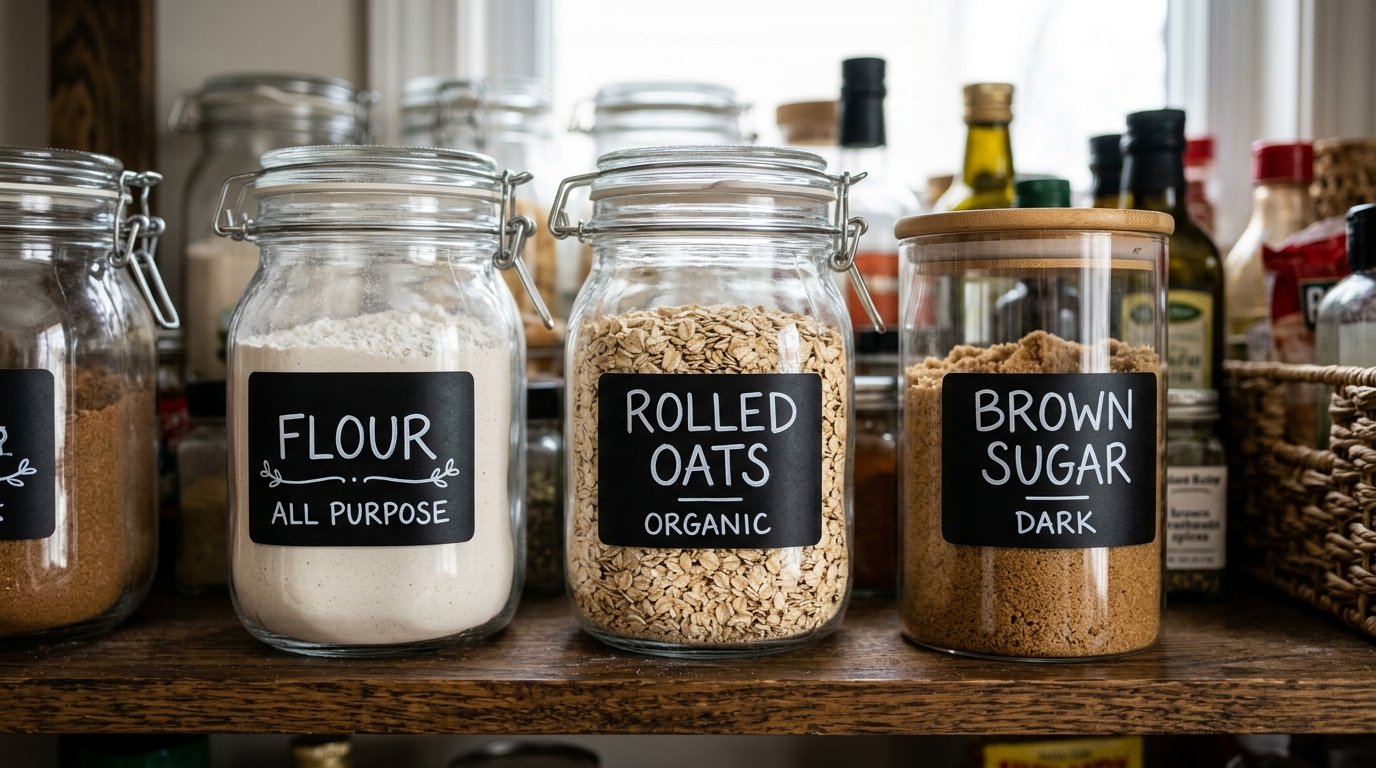
16. Stackable Glass Jars
Standardizing your dry goods in square glass jars eliminates the “visual noise” of various branded bags. I have noticed that square jars use corner space better than round ones.
Practical Action: Write the expiration date or cooking instructions on a piece of painter’s tape on the bottom of the jar. Cost/Time: $40 for a set of 6 jars. Contrarian Note: Glass is heavy; ensure your shelving brackets are rated for the weight of several full flour and sugar jars.
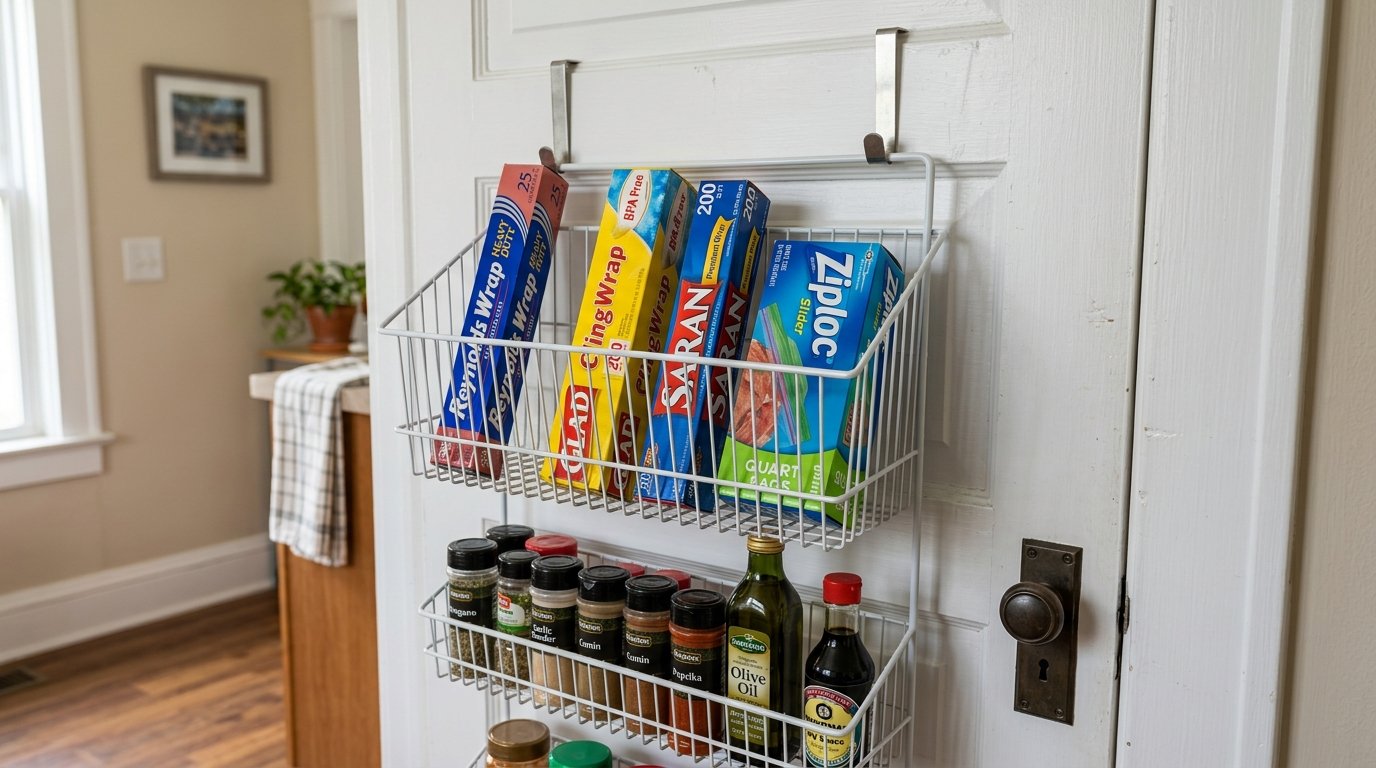
17. Inside-Door Organizers
The back of the pantry or cabinet door is prime real estate for narrow items like foil, plastic wrap, or pot lids. I’ve seen many people benefit from over-the-door wire racks for spice jars as well.
Practical Action: Check the clearance between the shelves and the door when it’s closed to ensure the organizer doesn’t prevent the door from shutting. Cost/Time: $20 and 5 minutes. Contrarian Note: Over-the-door hooks can scratch the top of the door frame; use a small piece of foam tape to protect the wood.
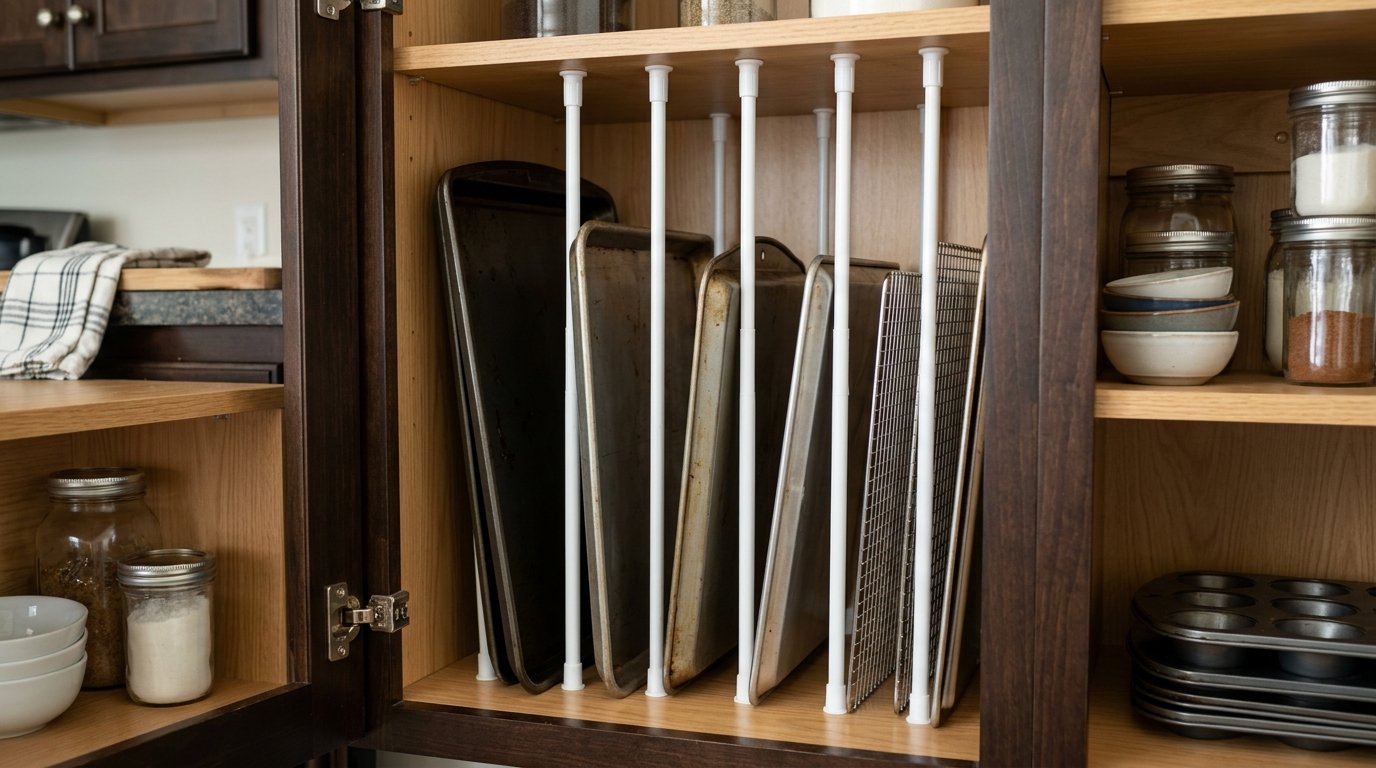
18. Tension Rod Dividers
Placing small tension rods vertically in a cabinet creates “slots” for baking sheets and cutting boards. This prevents the “clattering avalanche” that happens when you try to pull one sheet from a horizontal pile.
Practical Action: Use rubber-tipped rods to ensure they stay in place against smooth cabinet interiors. Cost/Time: $12 for a pair. Contrarian Note: These only work for lightweight items; heavy stoneware platters will push the rods out of place.
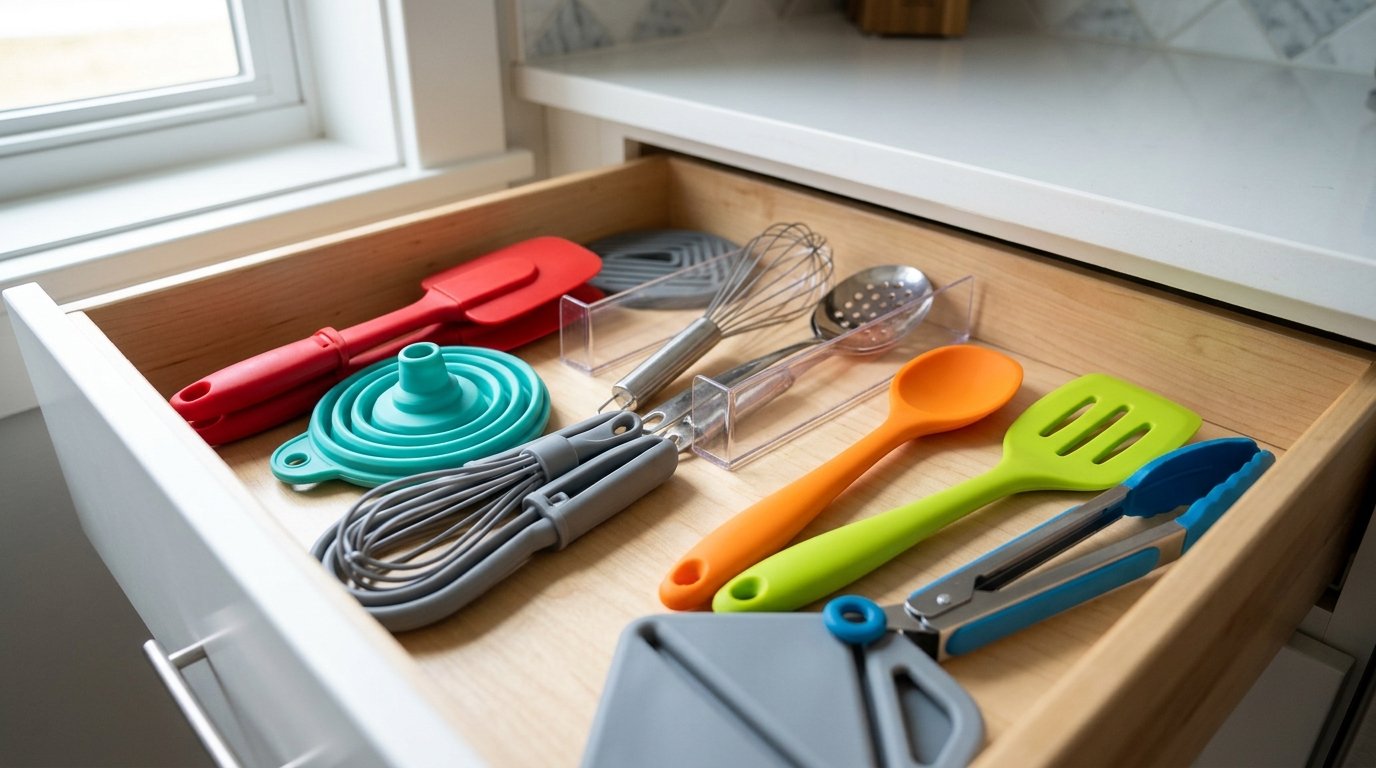
19. Collapsible Colander Sets
Silicon kitchen tools that fold flat are essential for shallow drawers. I have seen that these perform just as well as metal versions but take up 80% less space.
Practical Action: Look for BPA-free, heat-resistant silicone so you can use them for draining boiling pasta safely. Cost/Time: $15 per set. Contrarian Note: Some silicone can retain odors if not cleaned thoroughly with vinegar or baking soda occasionally.
20. Floating Bamboo Shelves
Adding a single long shelf above the window or door frame provides a spot for items you only use once a month. I have noticed that bamboo is particularly good for kitchens because it handles humidity better than cheap particle board.
Practical Action: Use this high-up space for your large turkey roaster or holiday-specific serving platters. Cost/Time: $30 and one hour. Contrarian Note: These will collect grease and dust quickly; store items in bags or be prepared to wash them before every use.
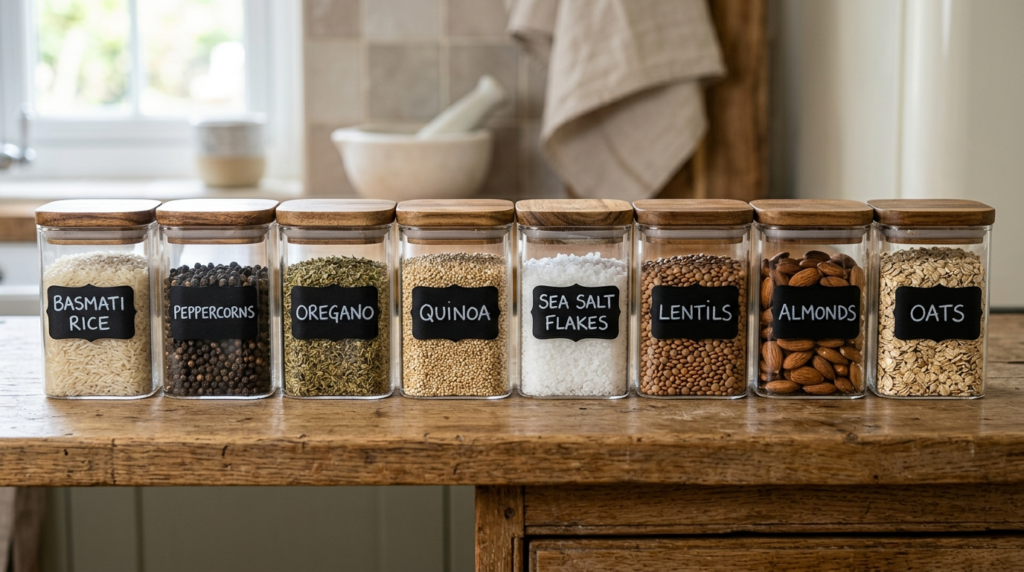
21. Uniform Label Systems
A cohesive labeling system makes even the most crowded pantry look intentional and organized. I’ve noticed that black chalkboard labels with a white paint pen provide a high-contrast, professional look.
Practical Action: Label the front of the jar, not the lid, so you can identify the contents while they are still on the shelf. Cost/Time: $10 for a set of 50 labels. Contrarian Note: Avoid “trendy” script fonts that are hard to read at a glance; stick to clean, block lettering.
22. Countertop Risers
A small “shelf on legs” allows you to stack items on the counter without losing the surface area underneath. I have seen this work perfectly for keeping a coffee maker on top while storing mugs or sugar bowls underneath.
Practical Action: Choose a riser with a heat-resistant surface if you plan on placing it near the stove. Cost/Time: $20 for a metal or wood riser. Contrarian Note: Avoid cheap plastic risers that bow in the middle under the weight of a ceramic canister.
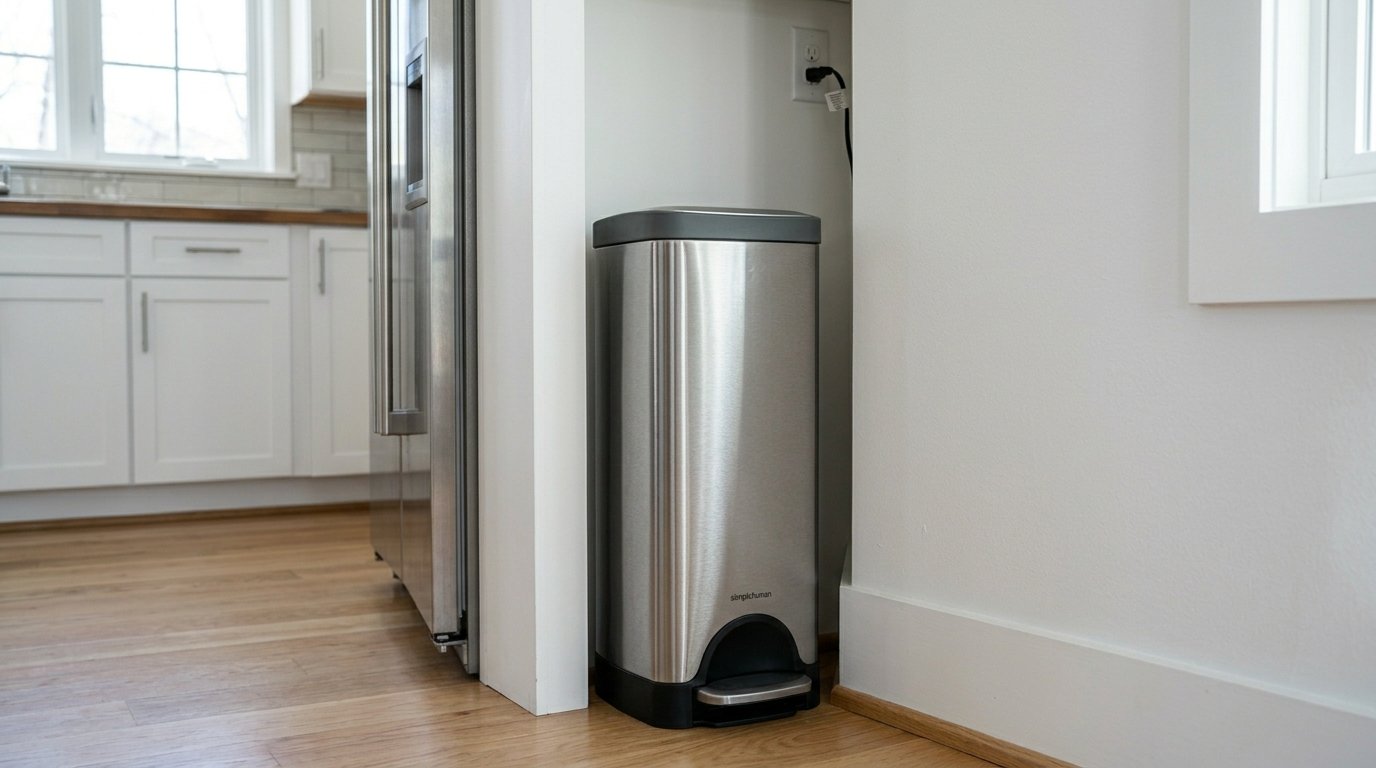
23. Slim Trash Bins
A narrow, rectangular trash can fit into the small gap between the fridge and the wall. I’ve seen that many people benefit from dual-compartment bins that handle both trash and recycling in a single slim footprint.
Practical Action: Measure the width of your “gap” before buying; some “slim” bins are still too wide for standard apartment layouts. Cost/Time: $60 to $100. Contrarian Note: Slim bins fill up fast; you will likely be taking the trash out more frequently than with a standard round bin.
Frequently Asked Questions
How do I maximize counter space in a small apartment?
The key is to move everything off the surface that doesn’t need to be there. In my experience, using wall-mounted magnetic strips for knives and hanging baskets for fruit clears the most room. I have noticed that even moving a microwave to a dedicated rolling cart or a wall shelf can reclaim 20% of your total counter area. If you are still short on space, an over-the-sink cutting board is the most effective temporary solution I’ve tried.
Can I paint my apartment kitchen cabinets?
Most landlords do not allow permanent painting, but you can use “contact paper” or removable vinyl wraps to change the color. I have seen many people benefit from white or light grey wraps to brighten up dark, dated wood cabinets. If you do get permission to paint, use a high-quality enamel paint designed for kitchens to ensure it can be scrubbed without chipping. Always check your lease agreement before starting any project involving paint.
What are the best small appliances for a kitchen apartment?
Multi-functional tools are your best friends. I recommend an Instant Pot because it replaces a pressure cooker, slow cooker, and rice maker. Similarly, a high-quality toaster oven with air-fryer capabilities can often replace a full-size oven for small meals. I have noticed that choosing “mini” versions of blenders or coffee makers can save significant space without sacrificing much performance for a single person or couple.
How do I organize a pantry with no shelves?
If your apartment has a deep closet instead of a pantry, use a “freestanding” wire shelving unit. I’ve seen that the Amazon Basics or Metro-style wire racks are incredibly sturdy and adjustable. You can also use over-the-door organizers to hold hundreds of small items like cans and jars. In my experience, adding floor-to-ceiling shelving is the only way to make a shelf-less closet functional for food storage.
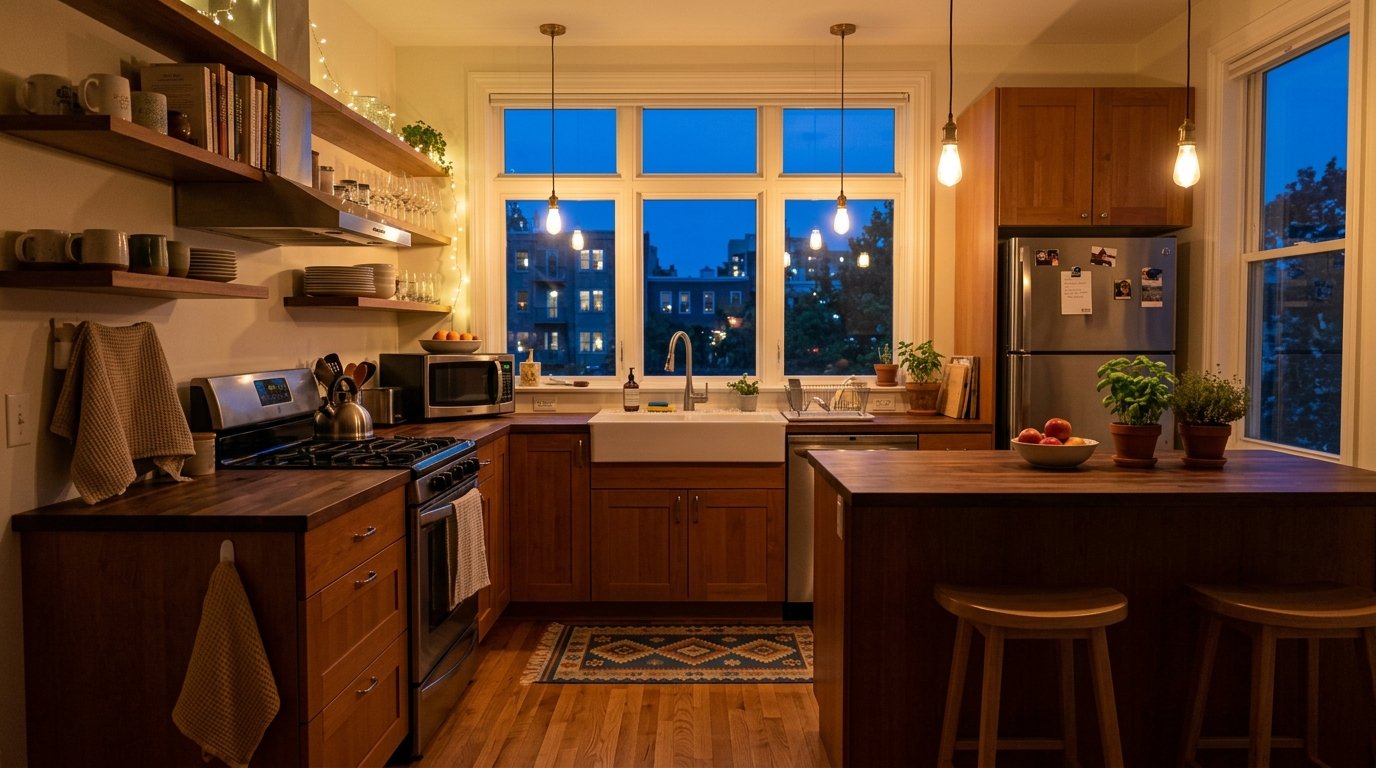
How can I make a windowless kitchen feel brighter?
Lighting and reflection are your two main tools. I recommend installing bright under cabinet LED strips and replacing your main ceiling bulb with a high-lumen “Daylight” LED. I have noticed that adding a large mirror or mirrored backsplash tiles helps bounce existing light into dark corners. Additionally, using white or light-colored canisters and dishware can help reflect light rather than absorbing it like dark wood or plastic does.
What is the best way to store pots and pans in a small space?
Vertical storage is essential here. Hanging a pot rack from the ceiling or using a pegboard on an empty wall are the most efficient methods. If you must use cabinets, use vertical dividers rather than stacking pans inside each other. I have seen that this prevents damage to non stick coatings and makes it much easier to grab the exact pan you need without a struggle.
How do I hide an ugly backsplash in a rental?
Peel-and-stick tiles are the perfect solution for renters. They come in hundreds of patterns, from classic subway tile to colorful Moroccan designs. I’ve tried these in several apartments and they are easy to remove with a hairdryer when you move out. I have noticed that they not only hide the old surface but also provide a wipeable area that protects the wall from grease and water splashes.
Where should I put a microwave in a tiny kitchen?
If you have zero counter space, consider an “under cabinet” mounting kit or placing the microwave on a sturdy rolling cart. I have seen many people benefit from removing a cabinet door and placing the microwave inside a shelf, provided there is enough ventilation. In my experience, putting it on top of the refrigerator is a last resort as it can be a safety hazard when handling hot liquids.
How do I deal with a lack of drawers?
Use “vessel” storage on your counters or shelves. A large ceramic crock can hold all your spatulas and spoons. For smaller items like silverware, use a tiered organizer inside a plastic bin on a shelf. I have noticed that magnetic strips can also hold small metal tools like measuring spoons and whisks, keeping them organized even without a dedicated “junk drawer.”
How can I make my kitchen apartment look more expensive?
Uniformity is the secret to a high end look. Replace mismatched plastic containers with glass jars and use a consistent label style. I recommend upgrading your cabinet hardware; replacing cheap plastic knobs with heavy brass or matte black ones makes a massive difference. I have seen that even adding a small, high quality rug or runner in front of the sink can make the room feel curated rather than “standard issue.”
Living in a small space shouldn’t mean sacrificing your passion for home cooked meals. Your kitchen apartment layout is simply a starting point, and with these 23 strategic shifts, you can turn a cramped corner into a high efficiency workspace. I’ve seen how small changes like these can completely transform a space, making it feel intentional and supportive of your daily life. Take one idea perhaps just those magnetic spice tins or an over the sink board and start today. Save this guide on Pinterest so you can tackle your kitchen one project at a time, and share your results to inspire other small space dwellers.